Thank you for choosing the Nantu AB Test template to enhance your Google Tag Manager experience. This guide will walk you through the step-by-step process of downloading, installing, and utilizing the Nantu AB Test template to create efficient and insightful A/B tests.
Download Steps #
Before you begin the installation process, you need to download the Nantu AB Test template from the official GitHub repository:
Step 1: Access Nantu GitHub Repository #
- Open your web browser and navigate to the Nantu GitHub repository.
Step 2: Access the Repository Code #
- On the Nantu GitHub repository page, you’ll find the repository’s main interface displaying various tabs such as “Code”, “Issues”, “Pull requests” and more.
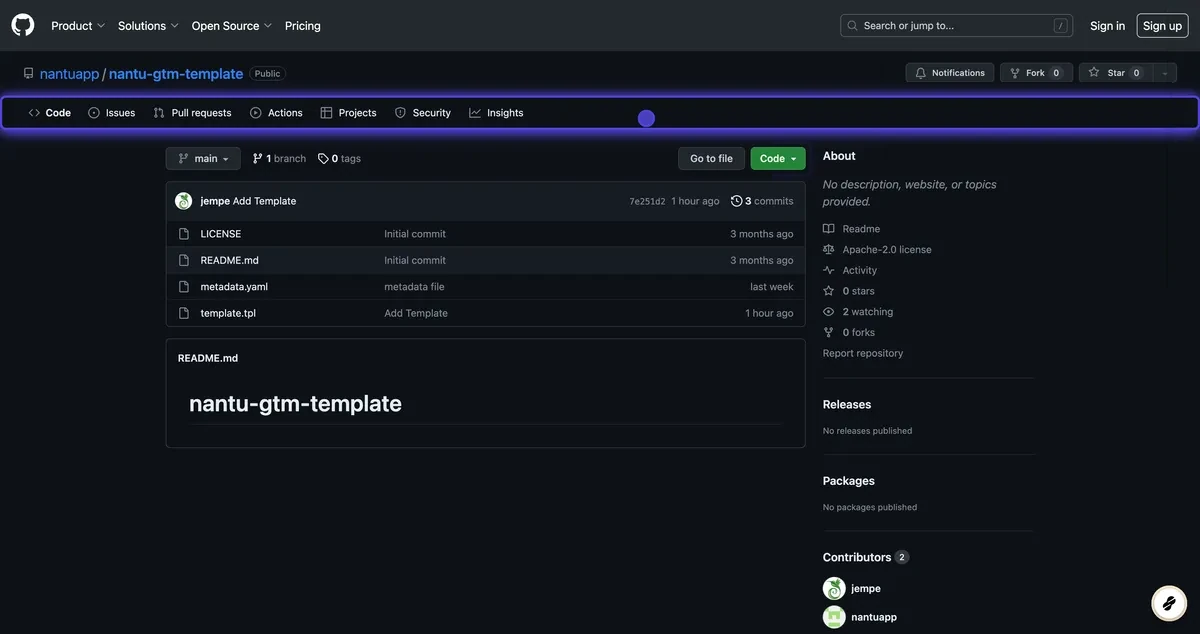
- Click on the “Code” tab to proceed.
Step 3: Download the ZIP File #
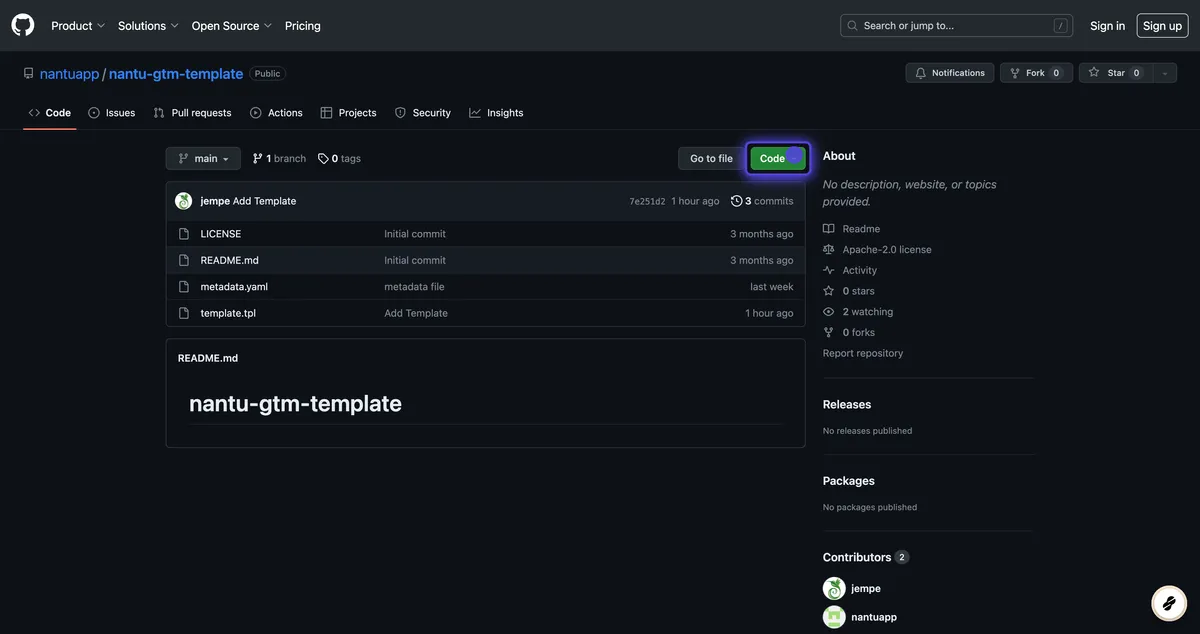
- Once you’re in the “Code” section, locate the green “Code” button on the right-hand side of the page.
- Click on the “Code” button to reveal a dropdown menu.
- From the dropdown menu, select “Download ZIP.”
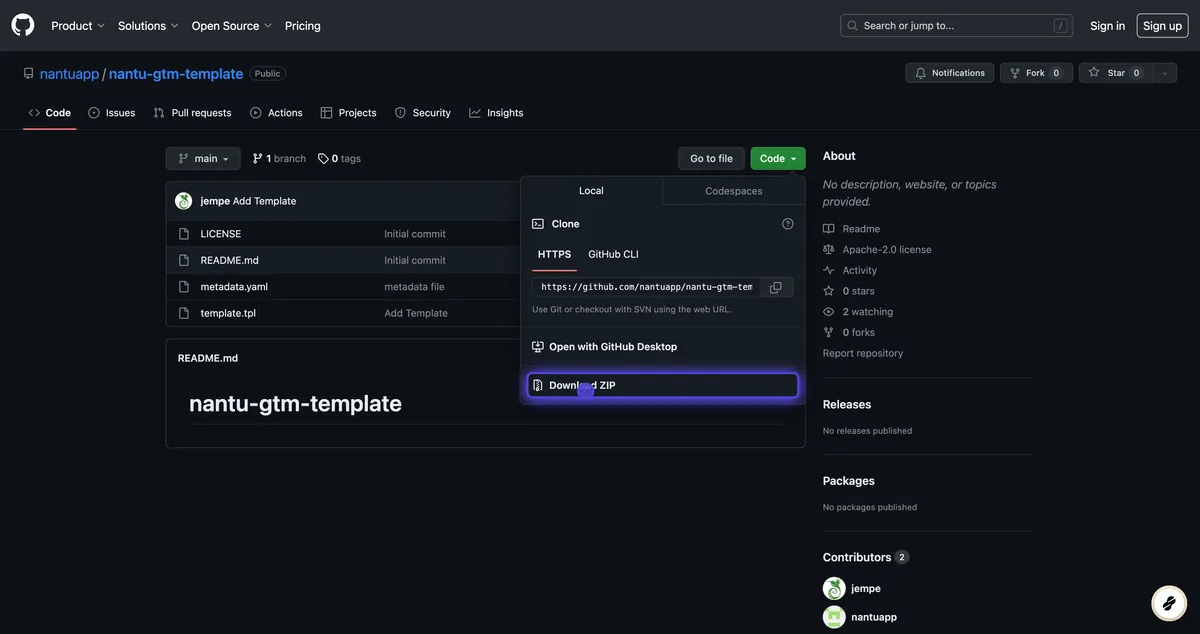
- This will initiate the download of a ZIP file containing the Nantu AB Test template.
Step 4: Decompress the ZIP File #
- After the ZIP file is downloaded, locate the file in your computer’s designated download directory.
- Right-click on the ZIP file and select the option to “Extract” or “Decompress” the file.
- This will extract the contents of the ZIP file to a new folder, making the template files accessible for the installation process.
Now that you have successfully downloaded and decompressed the Nantu AB Test template files, you are ready to proceed with the installation steps.
Installation Steps #
Follow these simple steps to successfully install the Nantu AB Test template:
Step 1: Access Google Tag Manager #
- Open your web browser and navigate to Google Tag Manager.
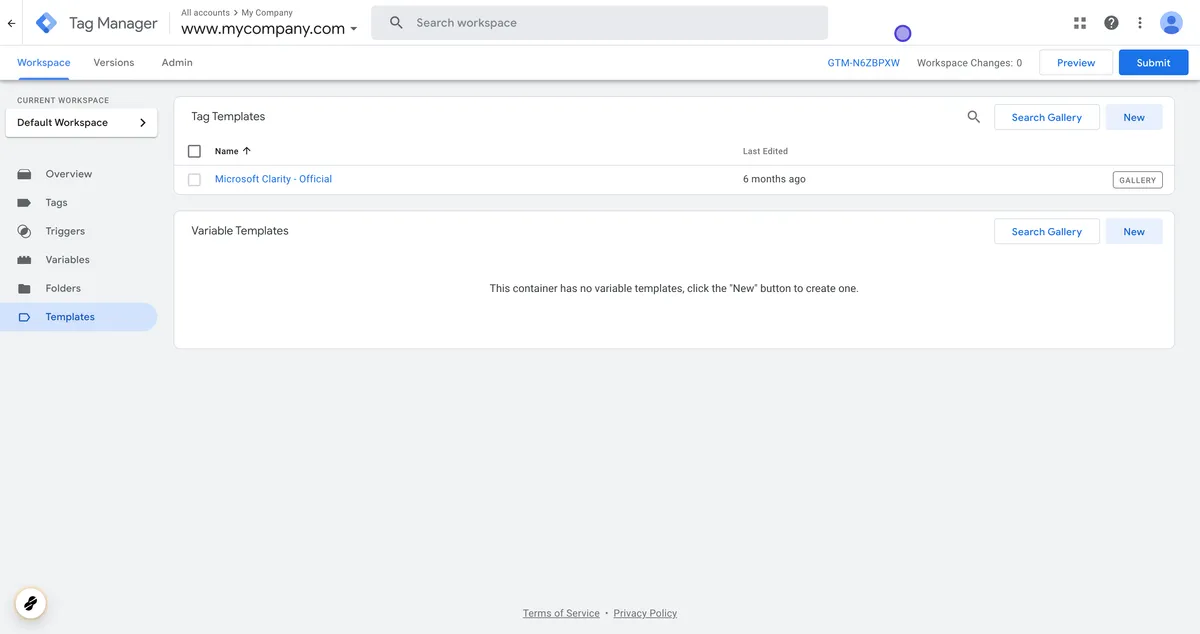
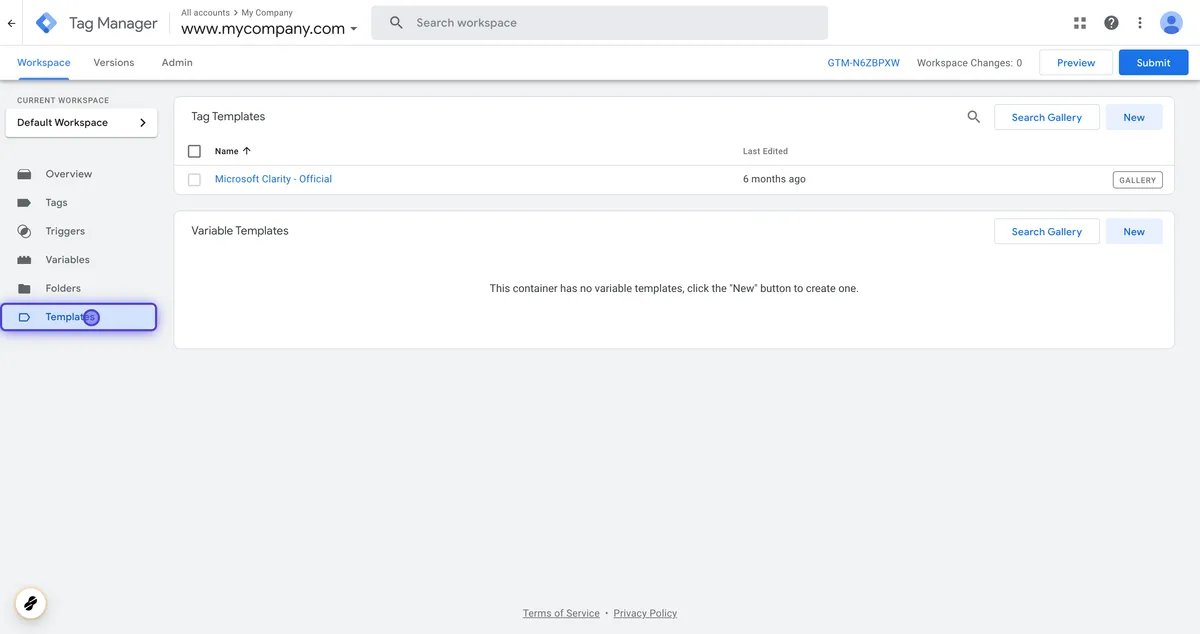
Step 2: Access Templates #
- Once you’re logged in to Google Tag Manager, you’ll find yourself in the GTM workspace.
- In the left-hand menu, click on “Templates”
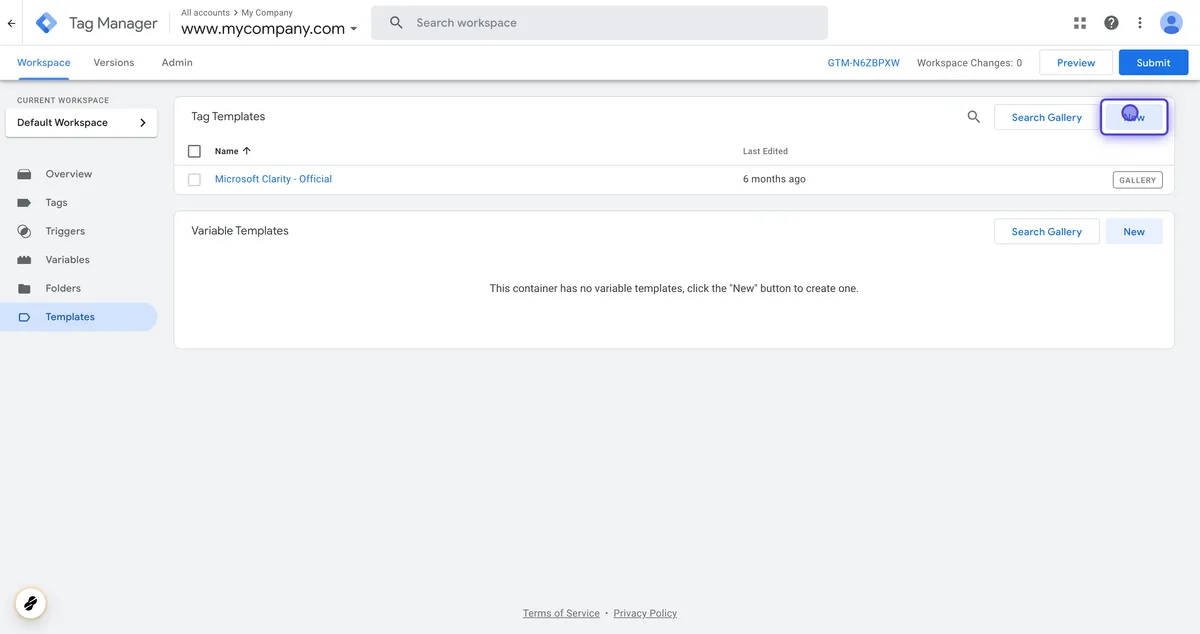
Step 3: Create a New Template #
- Within the “Templates” section, click on the “New” button located on the upper right corner of the screen.
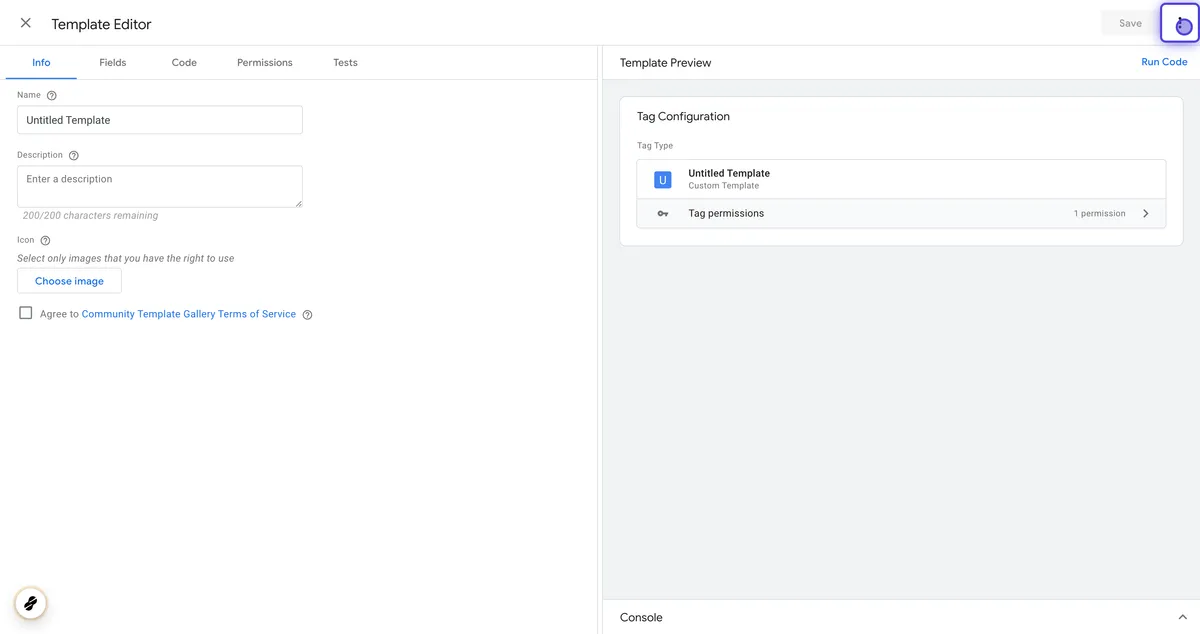
Step 4: Import the Nantu AB Test Template #
- After clicking “New” a new panel will appear. In this panel, you’ll see various options.
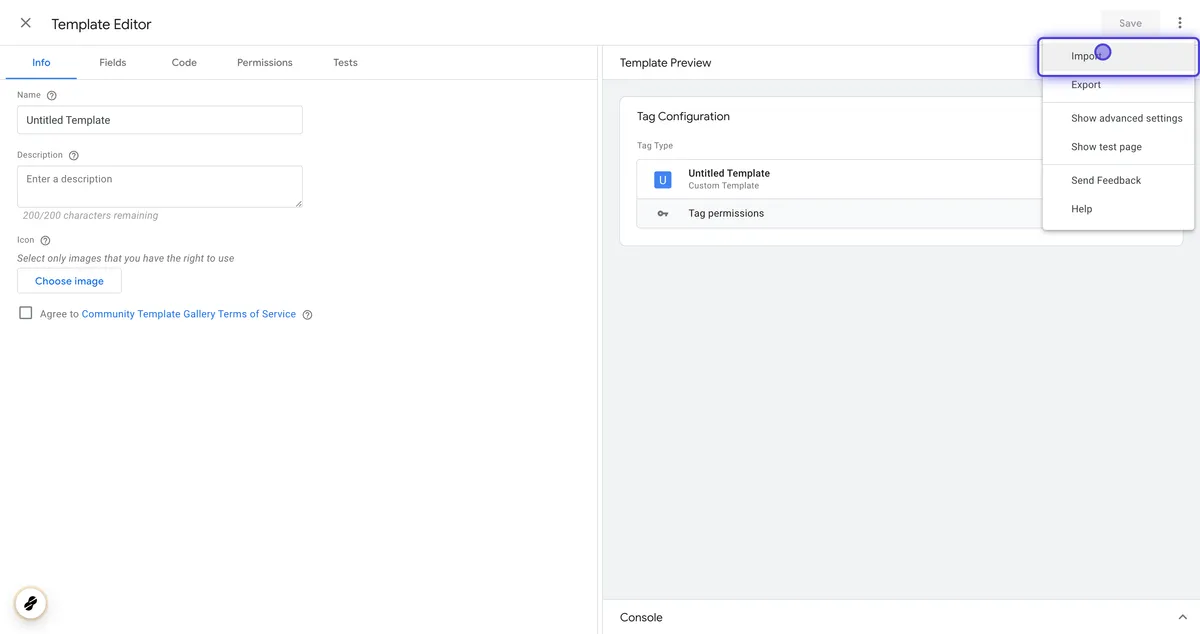
- Click on the vertical ellipsis (three dots) icon to reveal a dropdown menu.
- From the dropdown menu, select “Import”
Step 5: Save the Template #
- A dialog box will appear, allowing you to upload a template file.
- Upload the Nantu AB Test template.tpl file that you obtained from your trusted source.
- After uploading the file, click on the “Save” button. This will initiate the template import process.
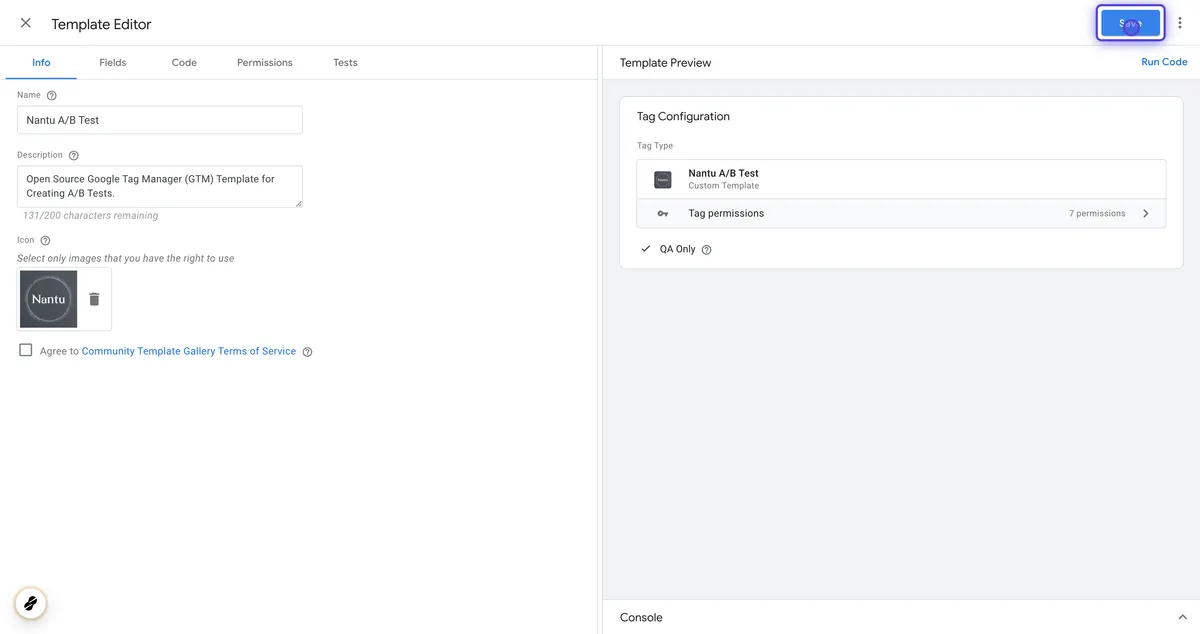
Step 6: Review #
- The template will be imported into your Google Tag Manager workspace.
- You will be directed to the template configuration screen. Review the template details and settings.
- Close the configuration screen
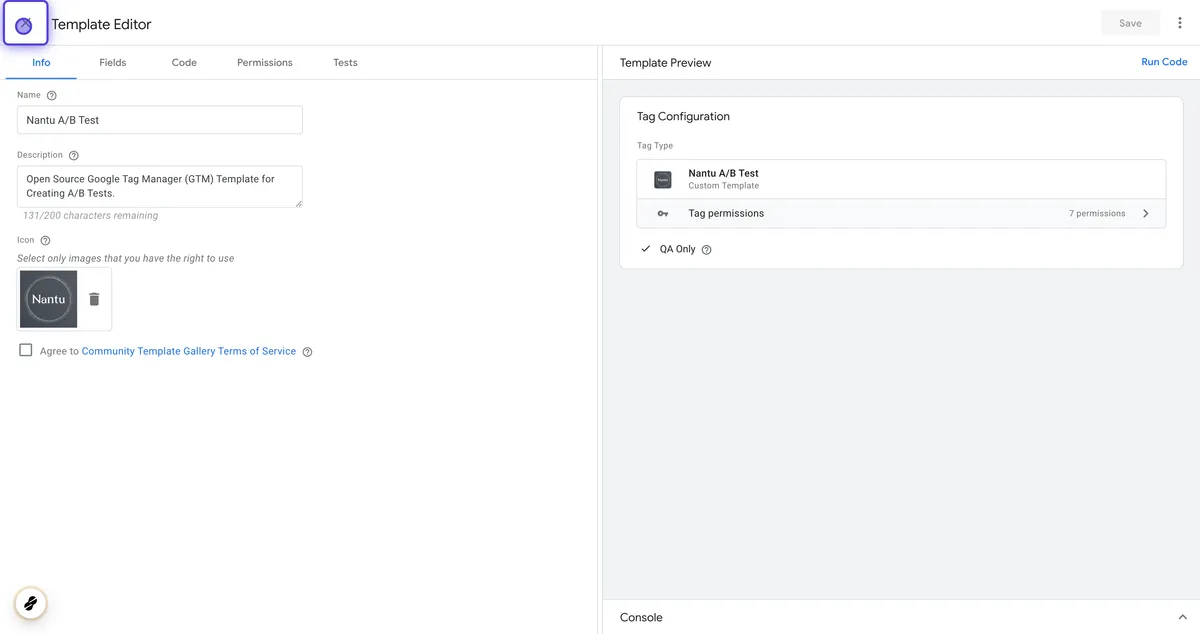
Congratulations! You have successfully installed the Nantu AB Test template in Google Tag Manager. You can now leverage this template to create effective A/B tests and gain valuable insights into your website’s performance.


