Nantu AB Test Full Suite include the following components:
- AB Testing Tag Template: Split the traffic between variations
- GA4 Tracking Helper Tag: Set GA4 dimensions for measuring results
- Trigger Creation Helper: Helps to run the AB Test on specific pages, also setup on which devices the test will run
- QA Helper Tab: Displays a tab to the right of the page to preview variations easily
- QA Container: Setup a second GTM container to preview tests easily
- Clarity Helper: Adds Microsoft Clarity to provide heatmaps and recordings of user interactions
The following steps will help to install it on your site:
Download Steps #
Before you begin the installation process, you need to download the Nantu AB Test Full Suite site to import it on your GTM container
Step 1: Access Nantu GitHub Repository #
- Open your web browser and navigate to the Nantu Full Suite export.
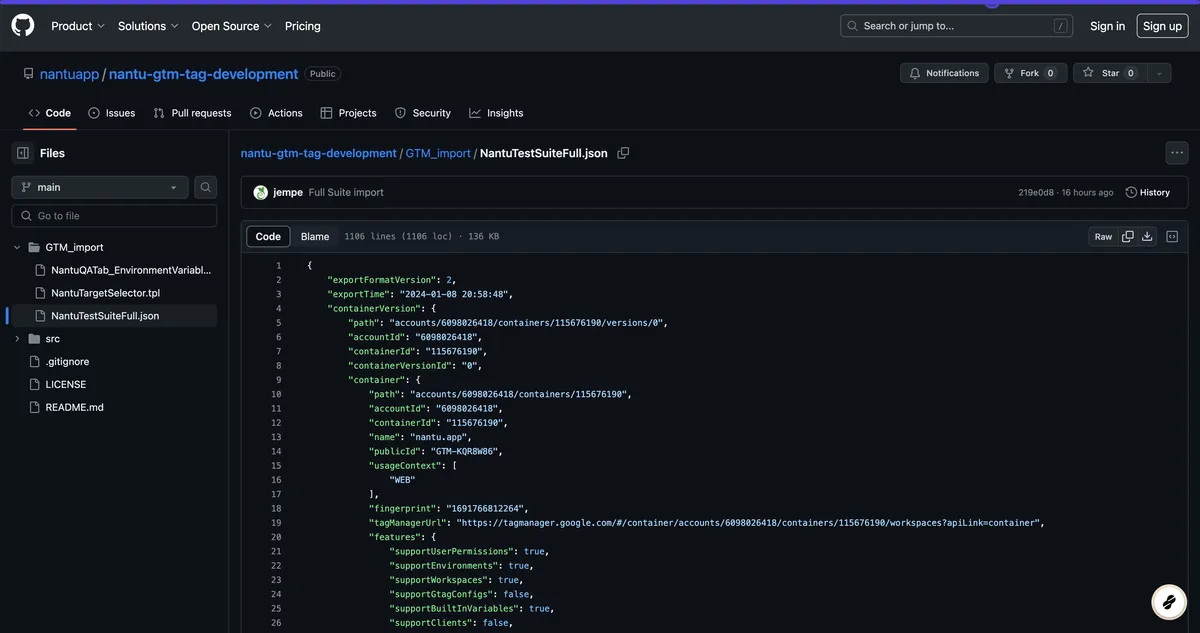
Step 2: Download the container export #
- On the Nantu GitHub repository page, click the Download raw file button.

- Click on the “Code” tab to proceed.
Now that you have successfully downloaded the file, you are ready to proceed with the import steps.
Import Steps #
Follow these simple steps to successfully import the Nantu AB Test Full Suite:
Step 1: Access Google Tag Manager #
- Open your web browser and navigate to Google Tag Manager.
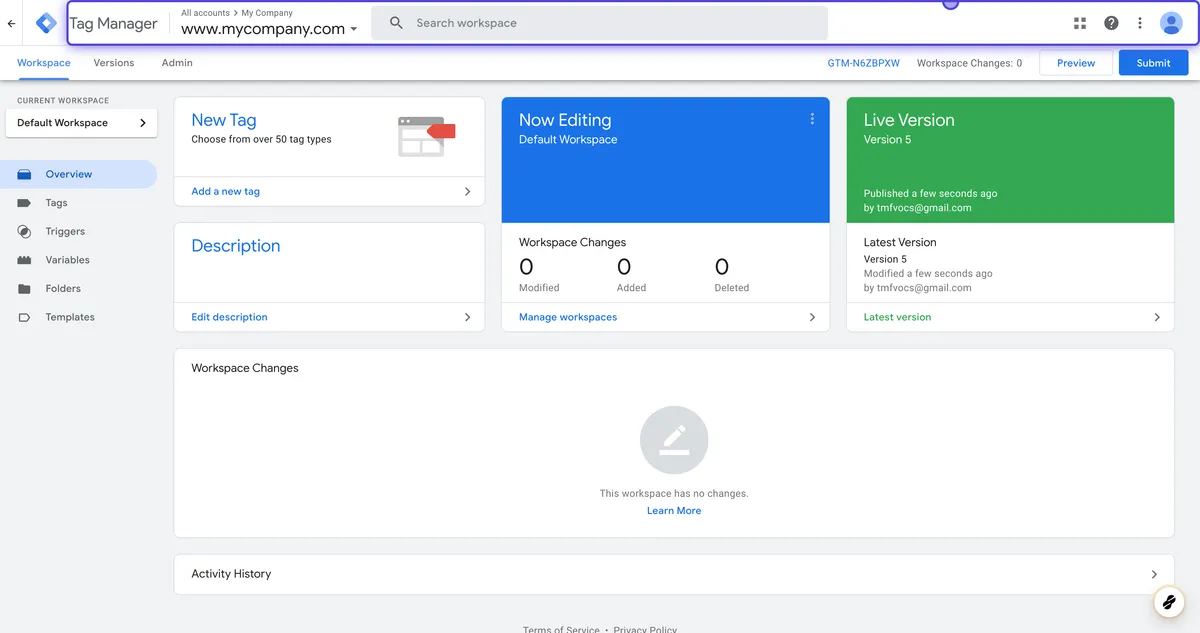
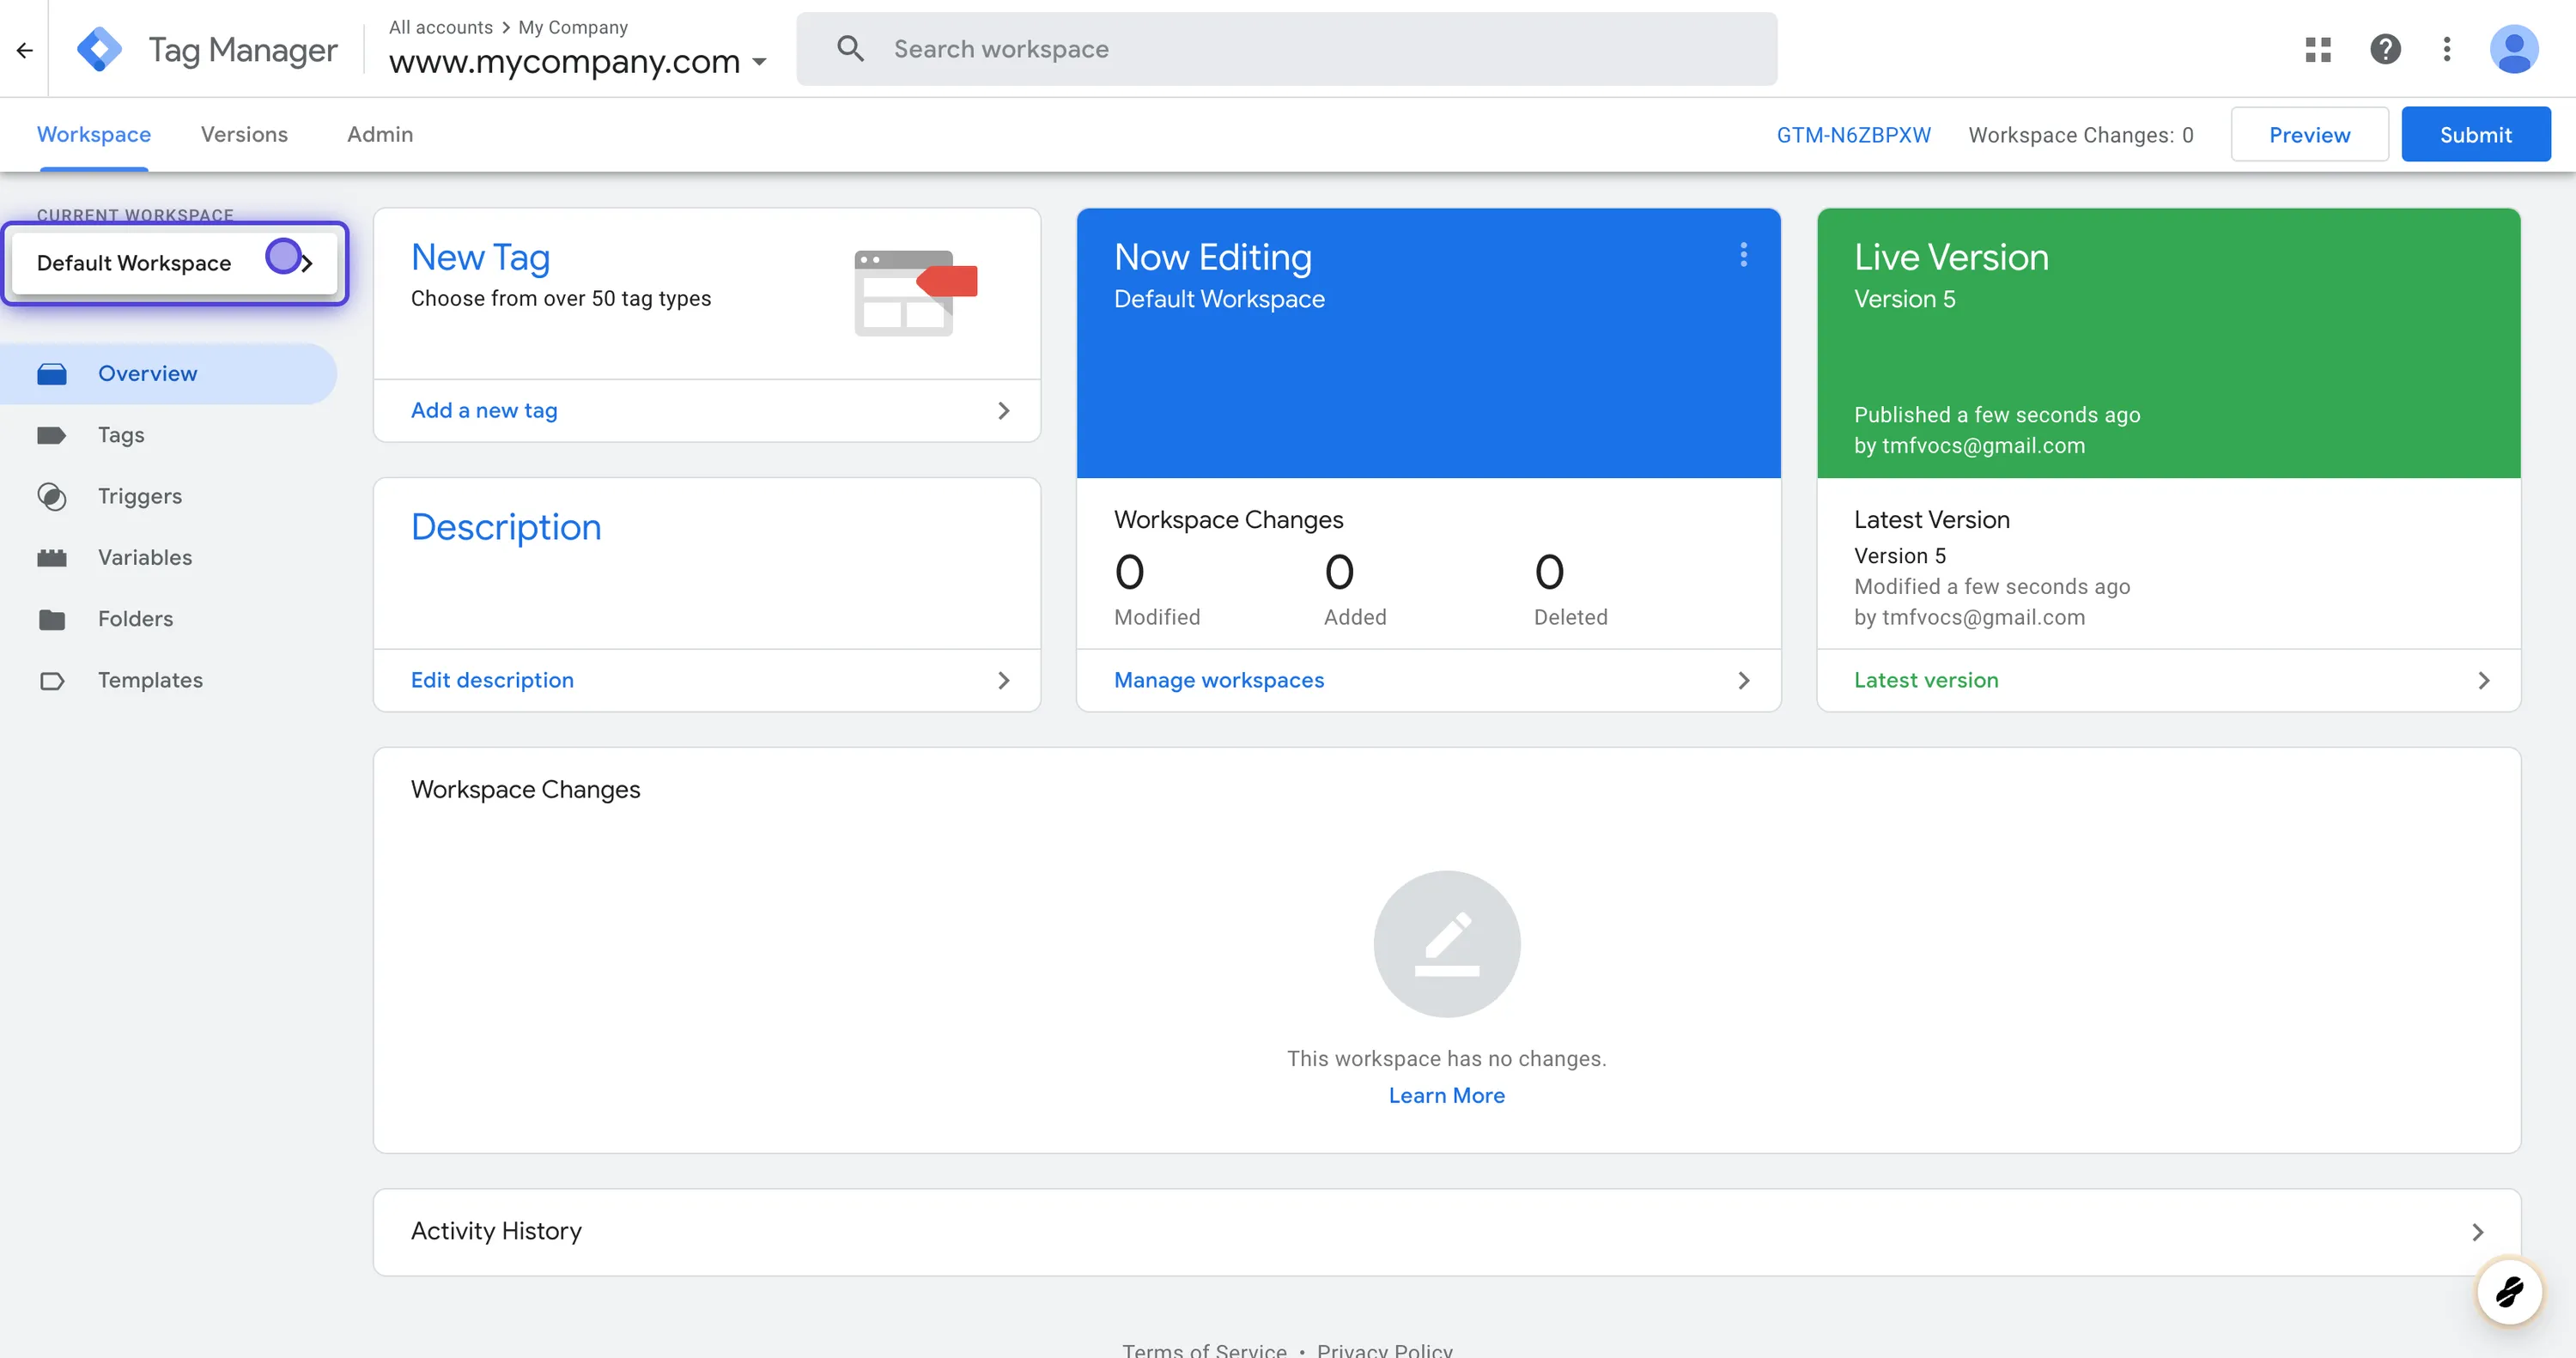
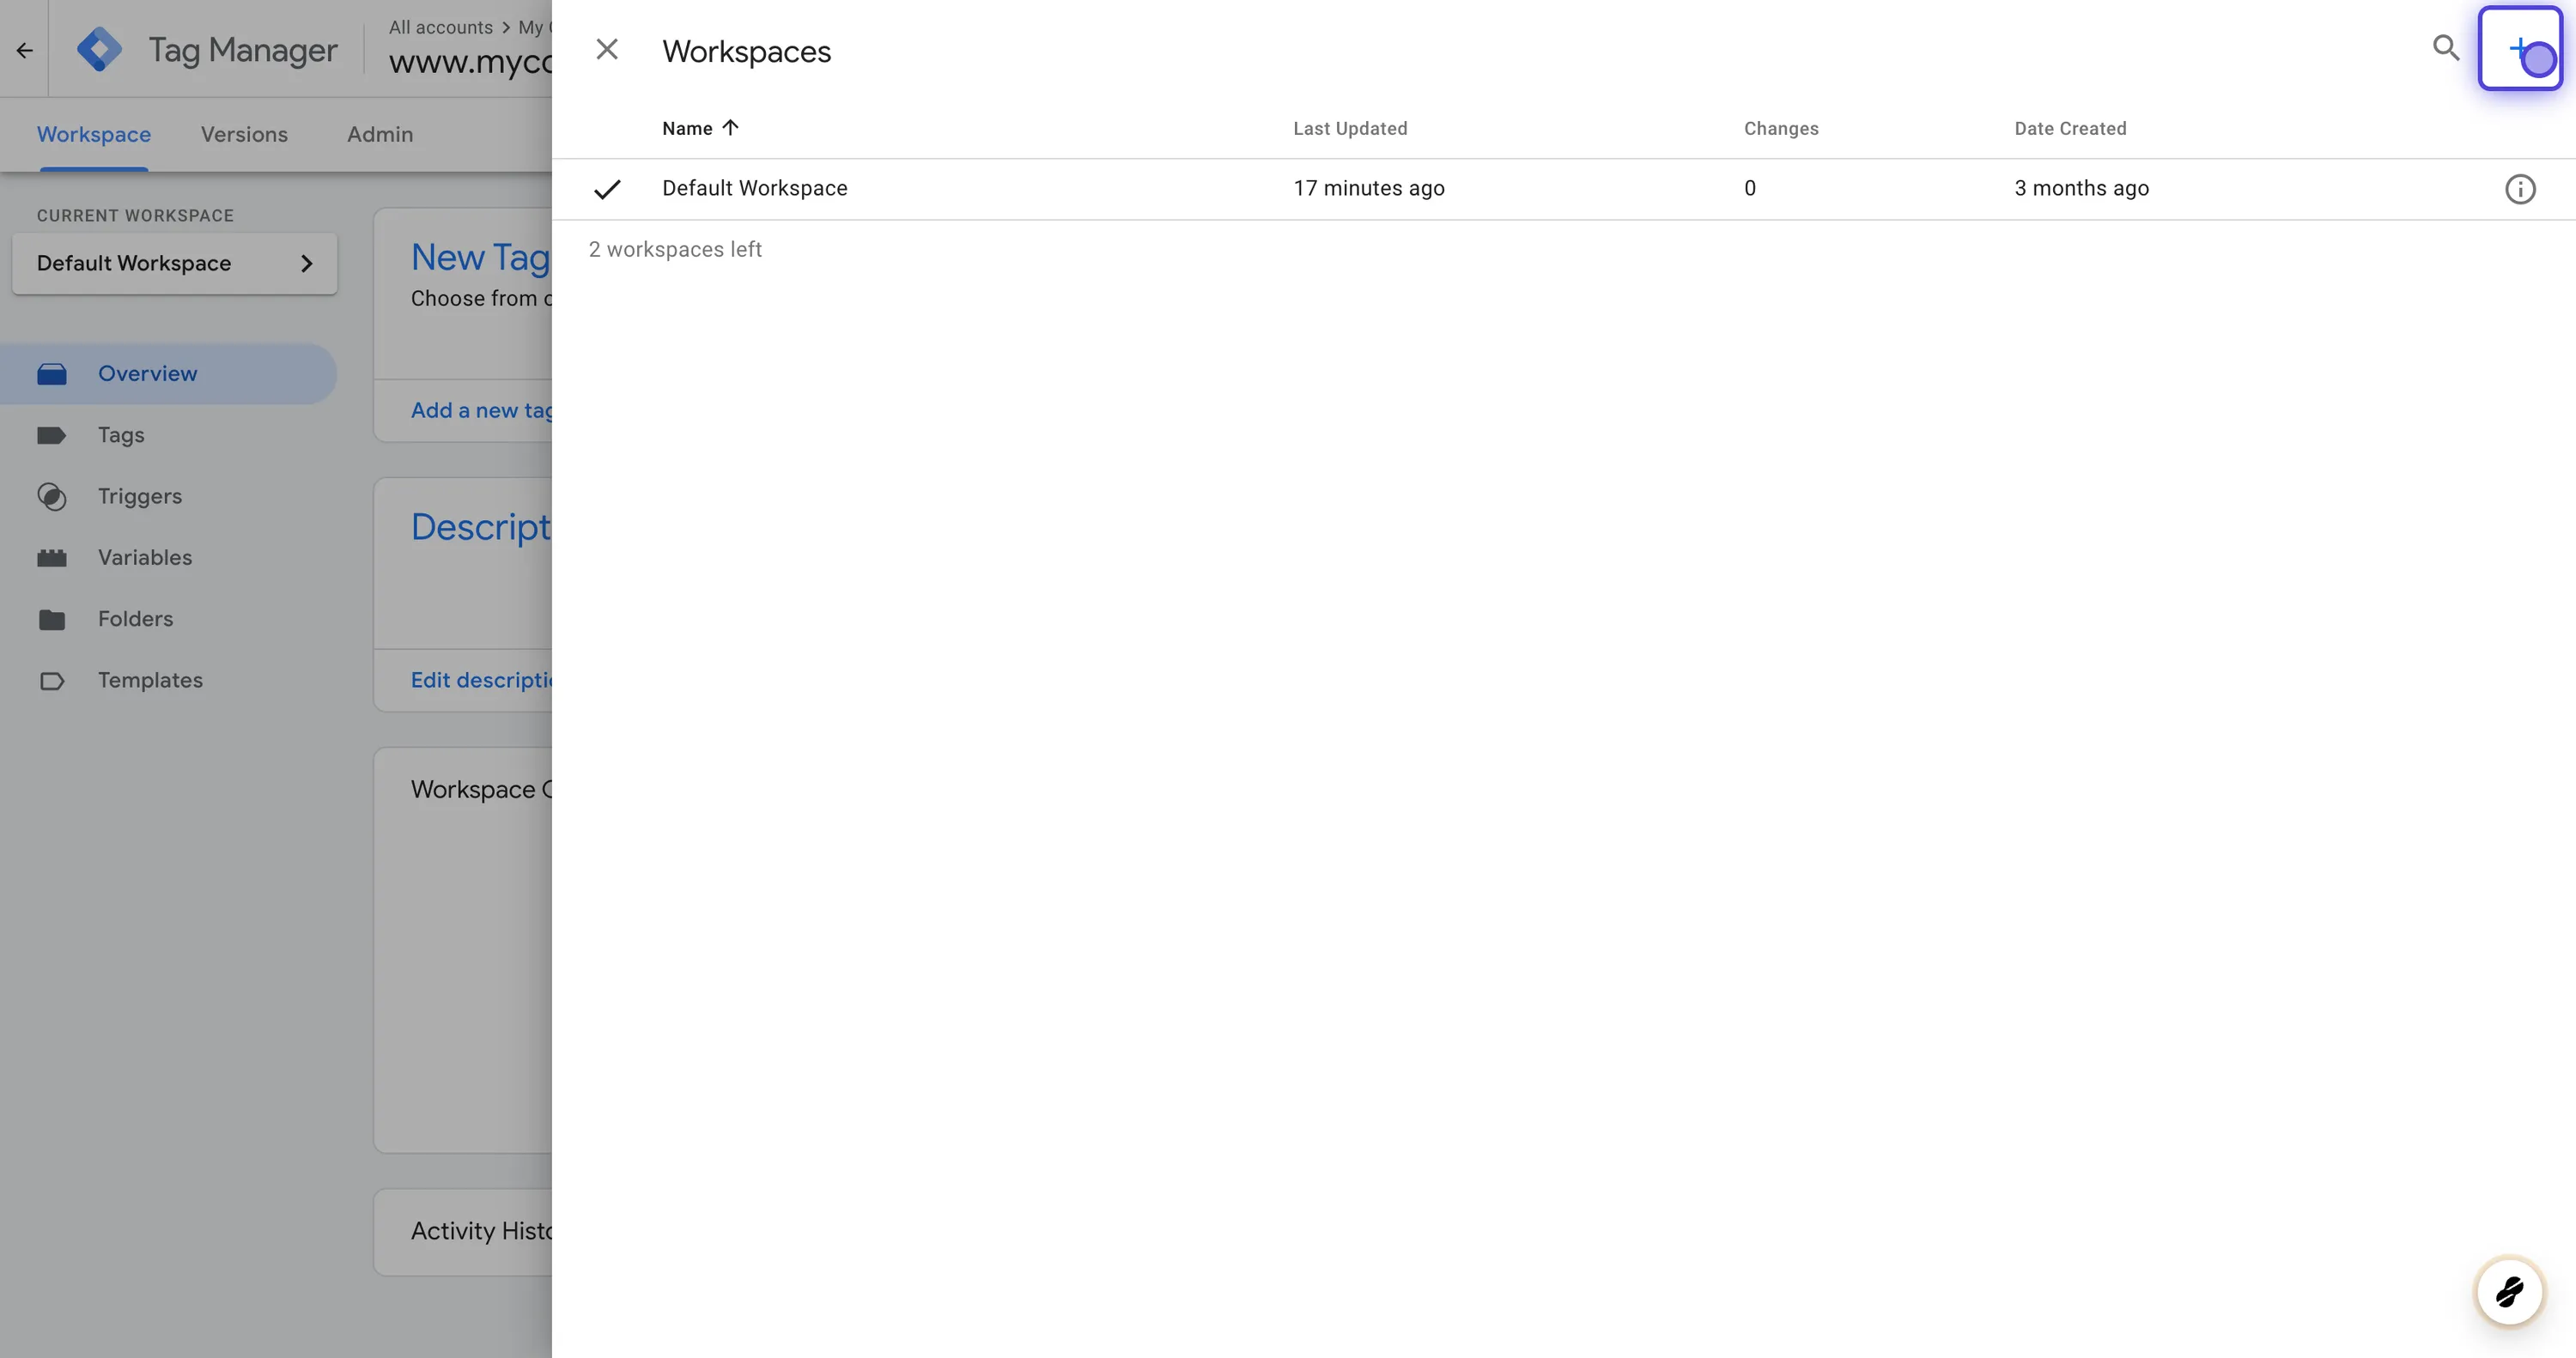
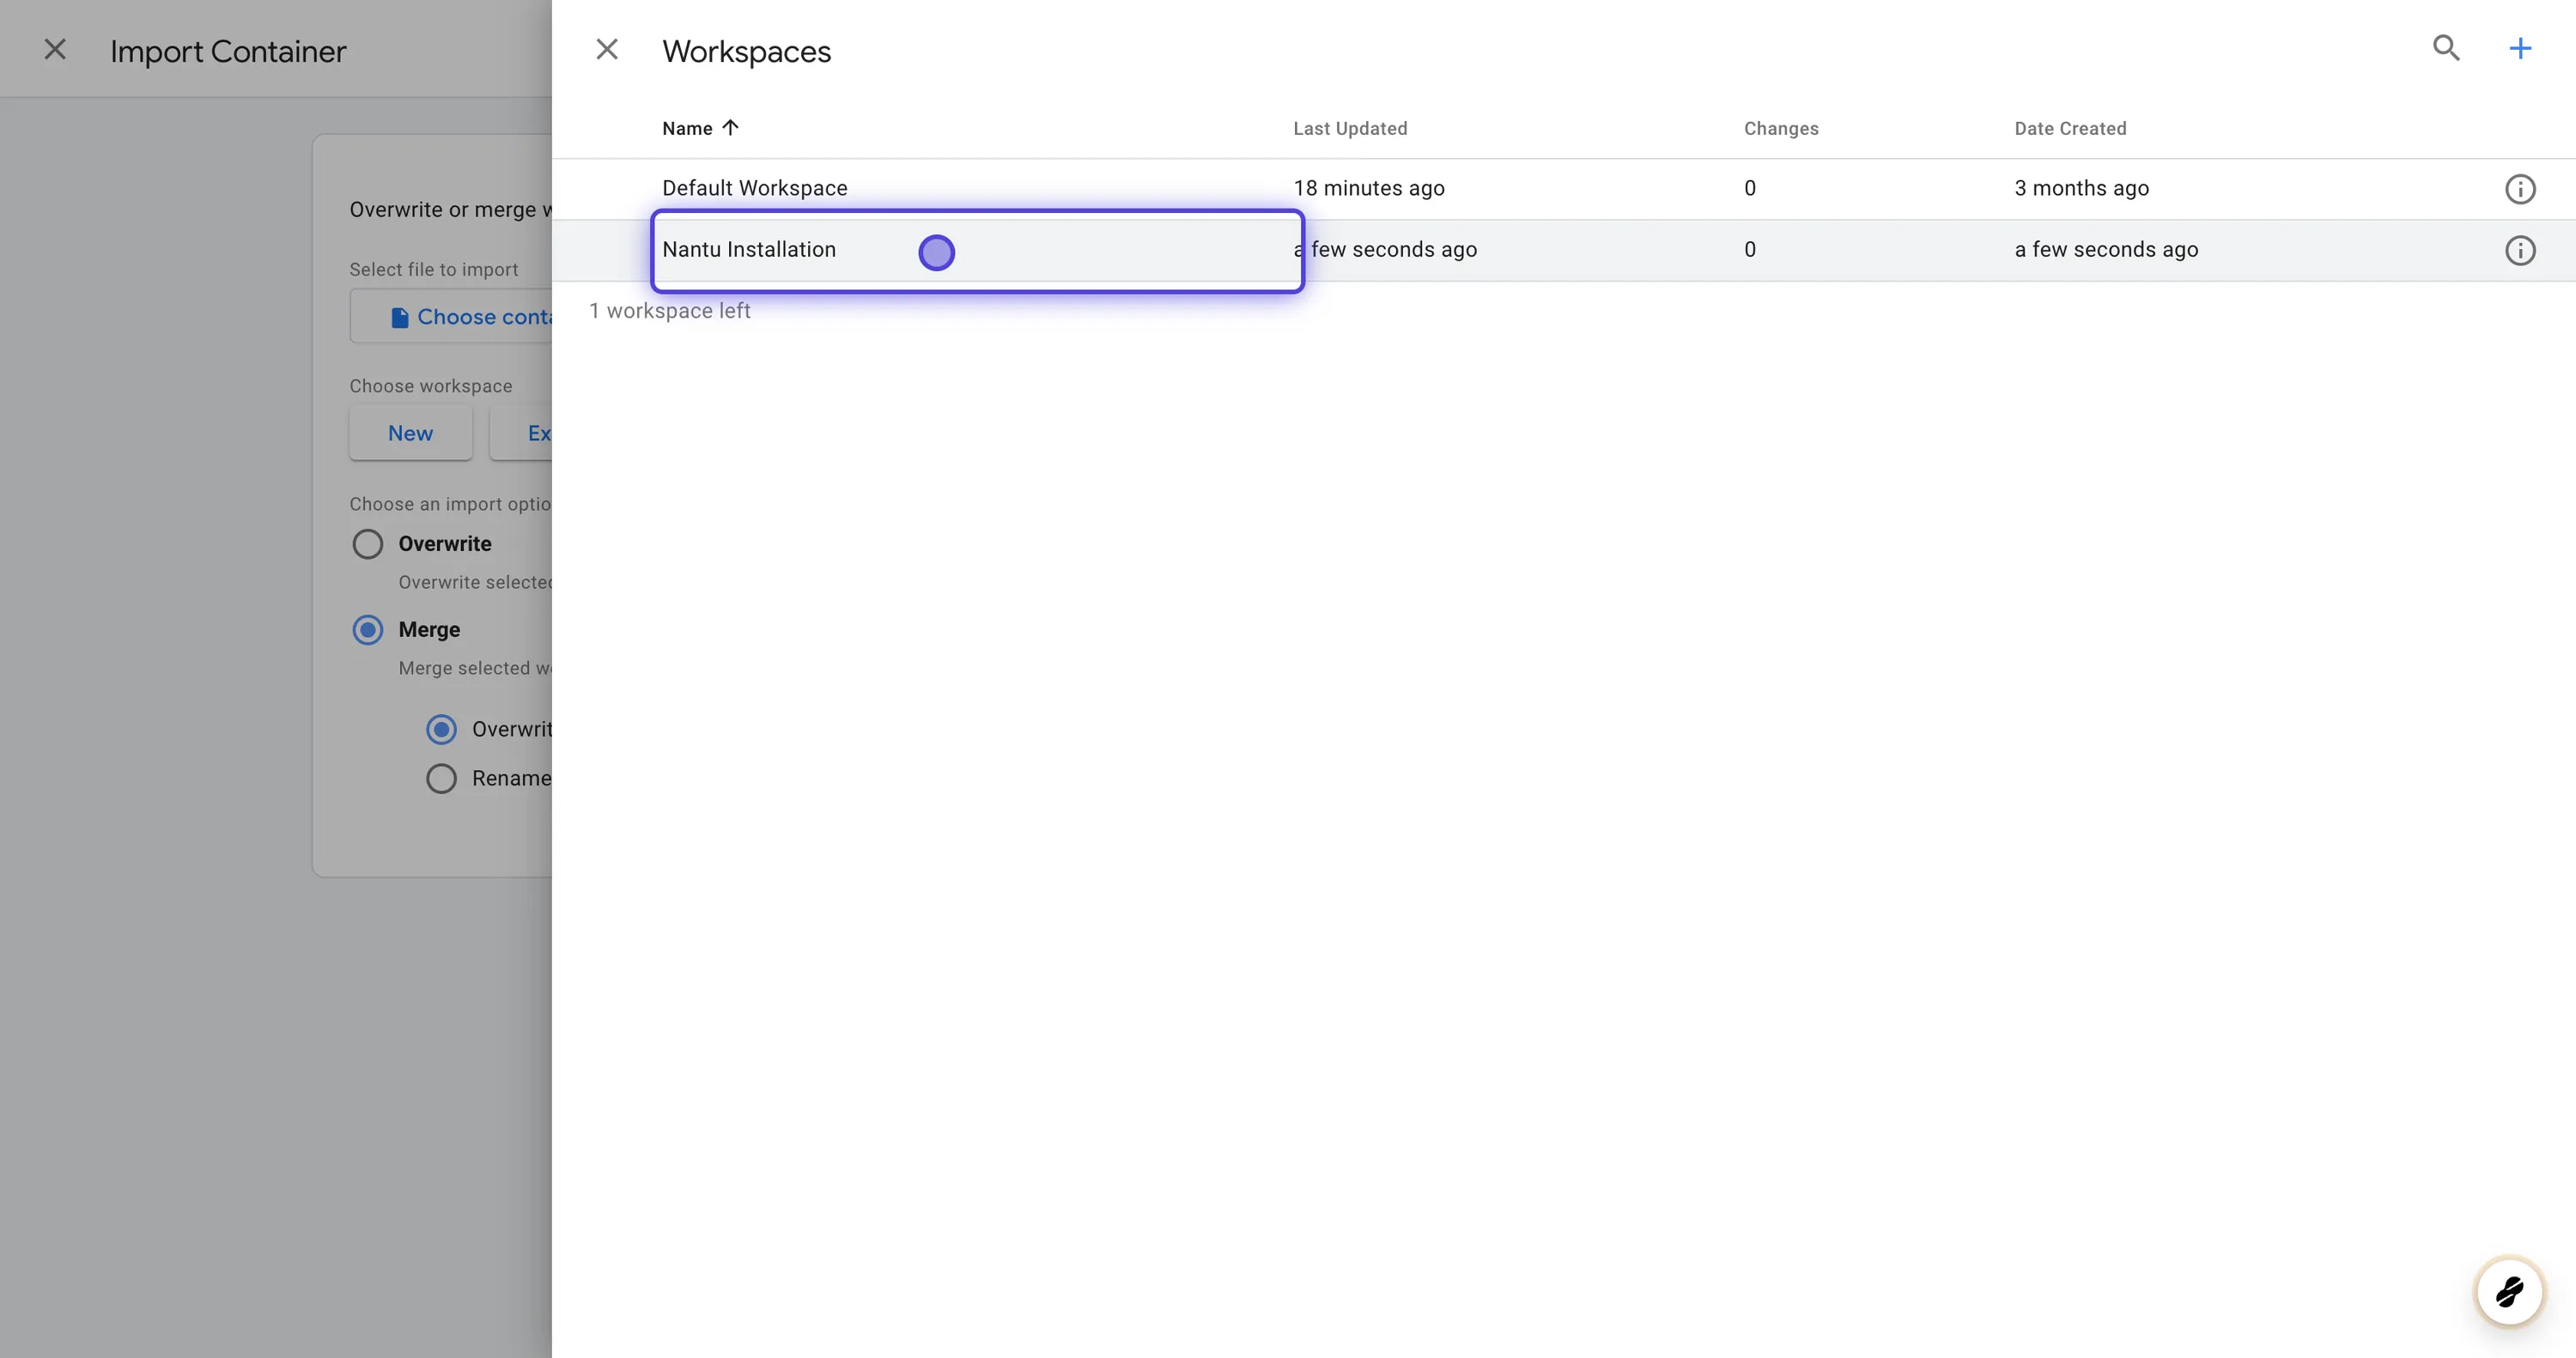
Step 2: Create New Workspace #
- Once you’re logged in to Google Tag Manager, you’ll find yourself in the GTM workspace.
- In the left-hand menu, click on “Default Workspace”
- Within the “Workspace” section, click on the “+” button located on the upper right corner of the screen.
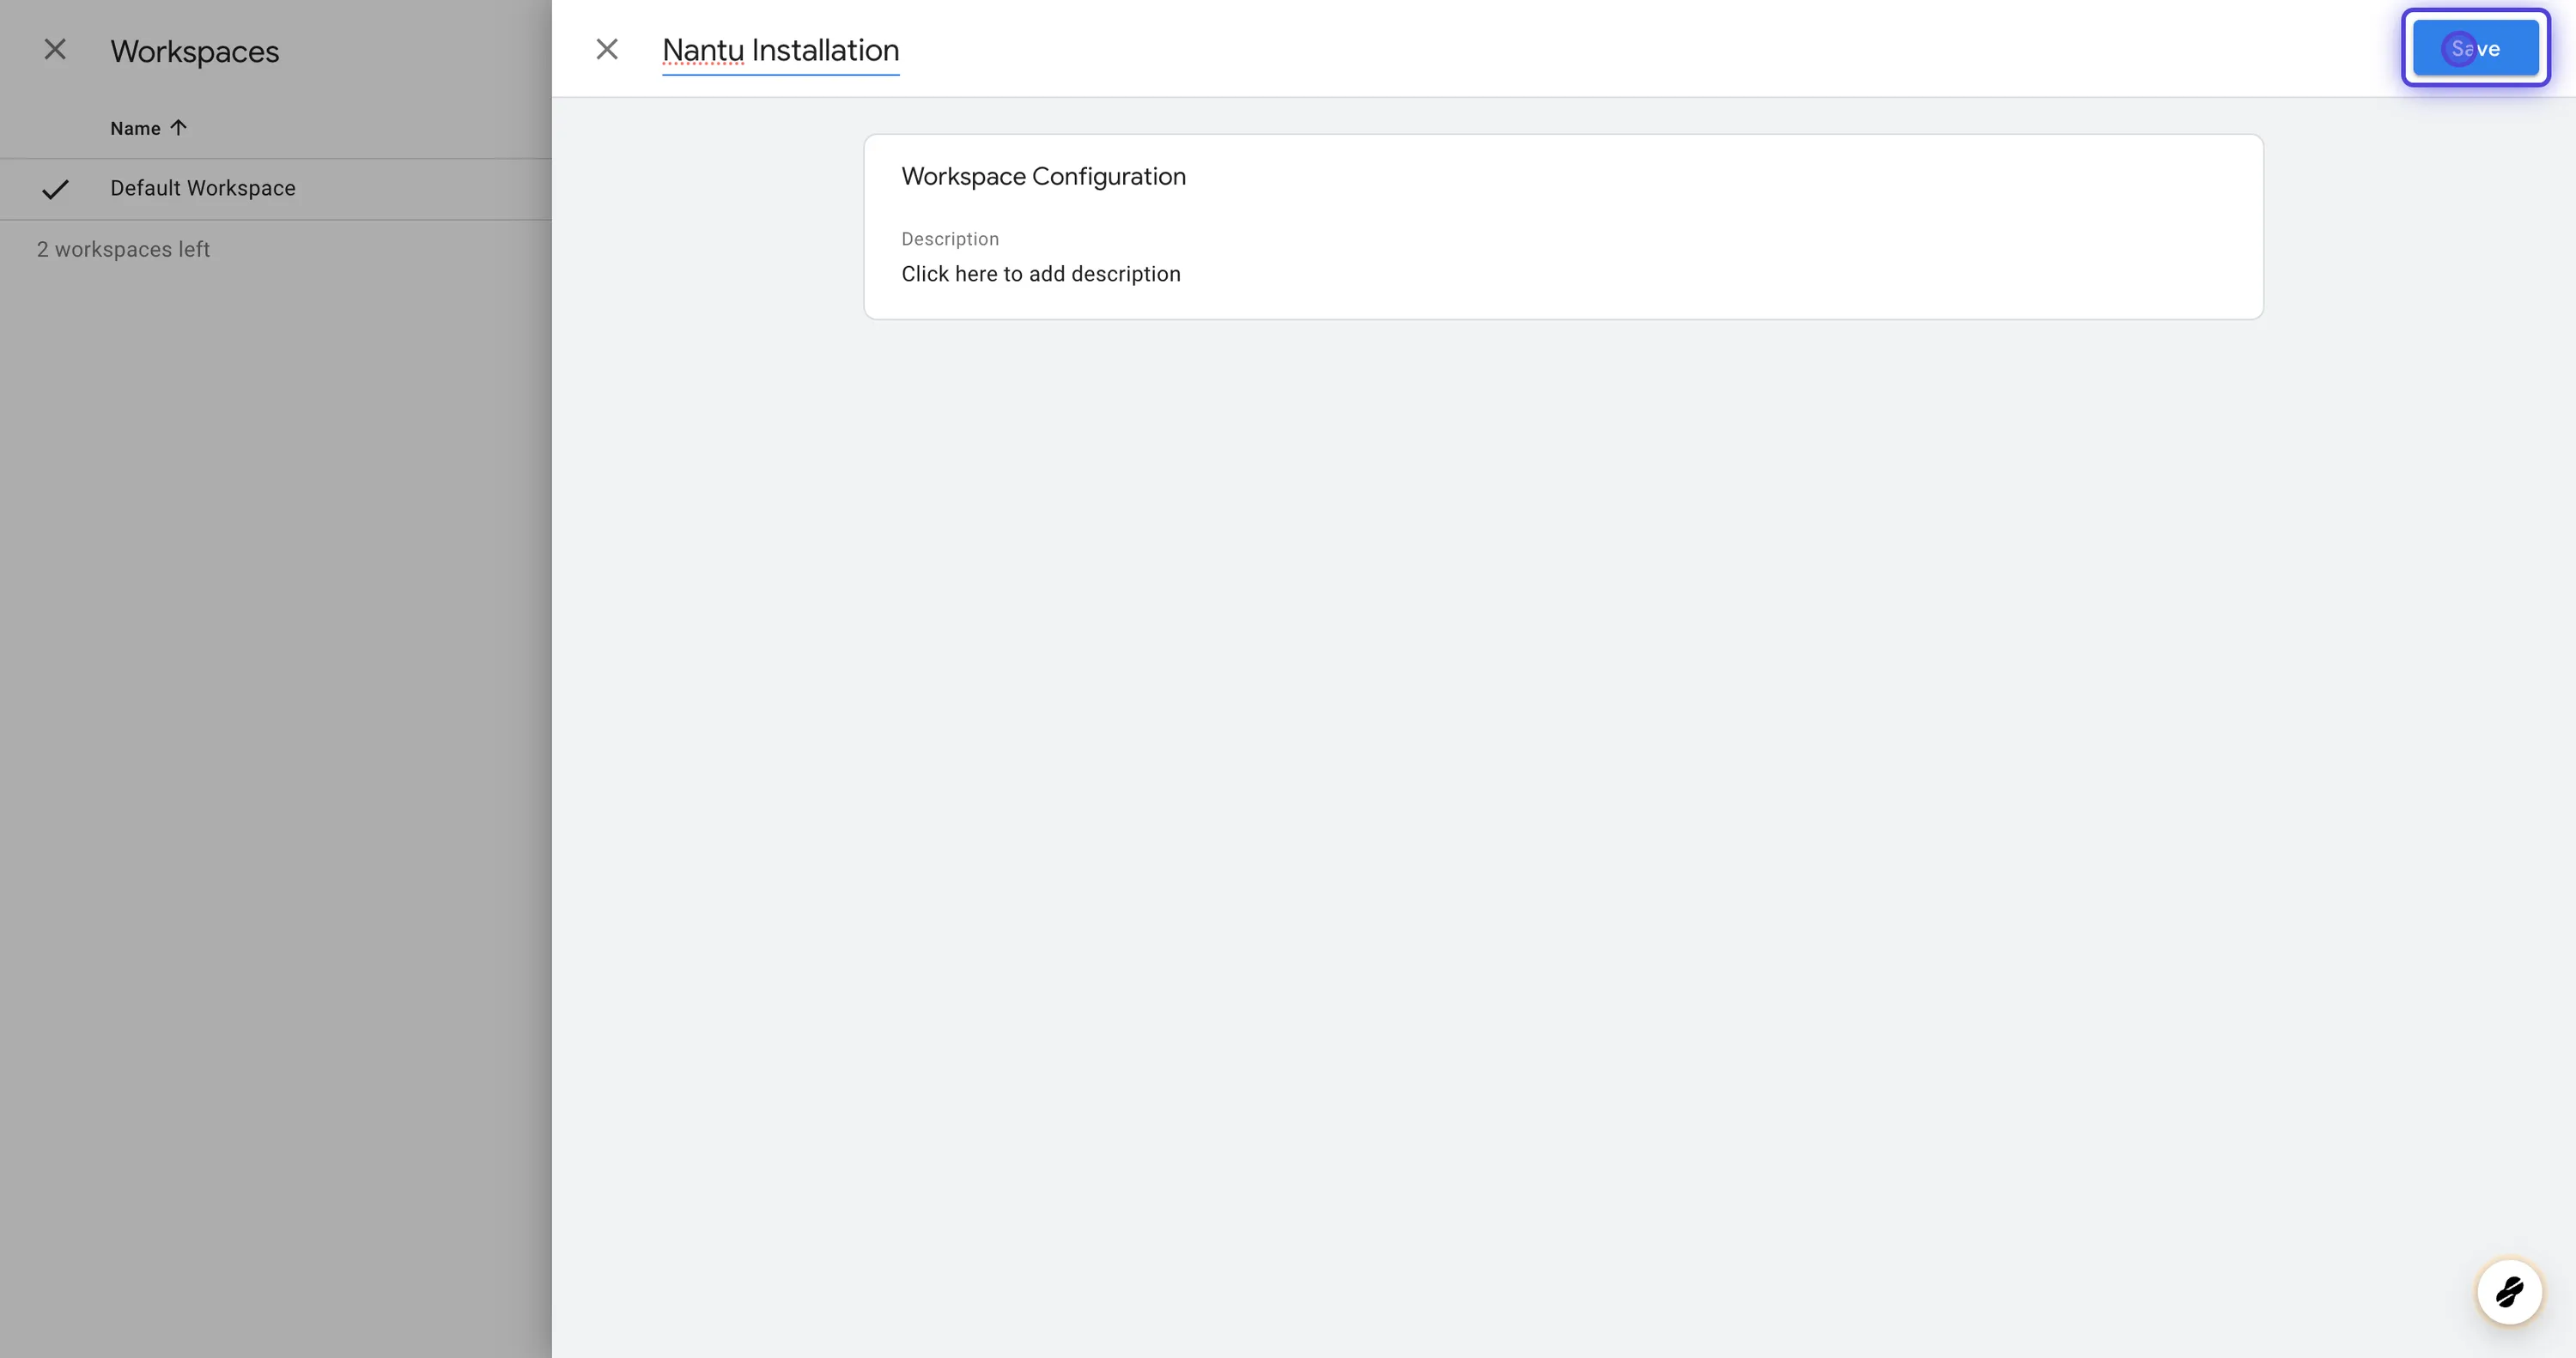
- Name the Workspace “Nantu Installation”
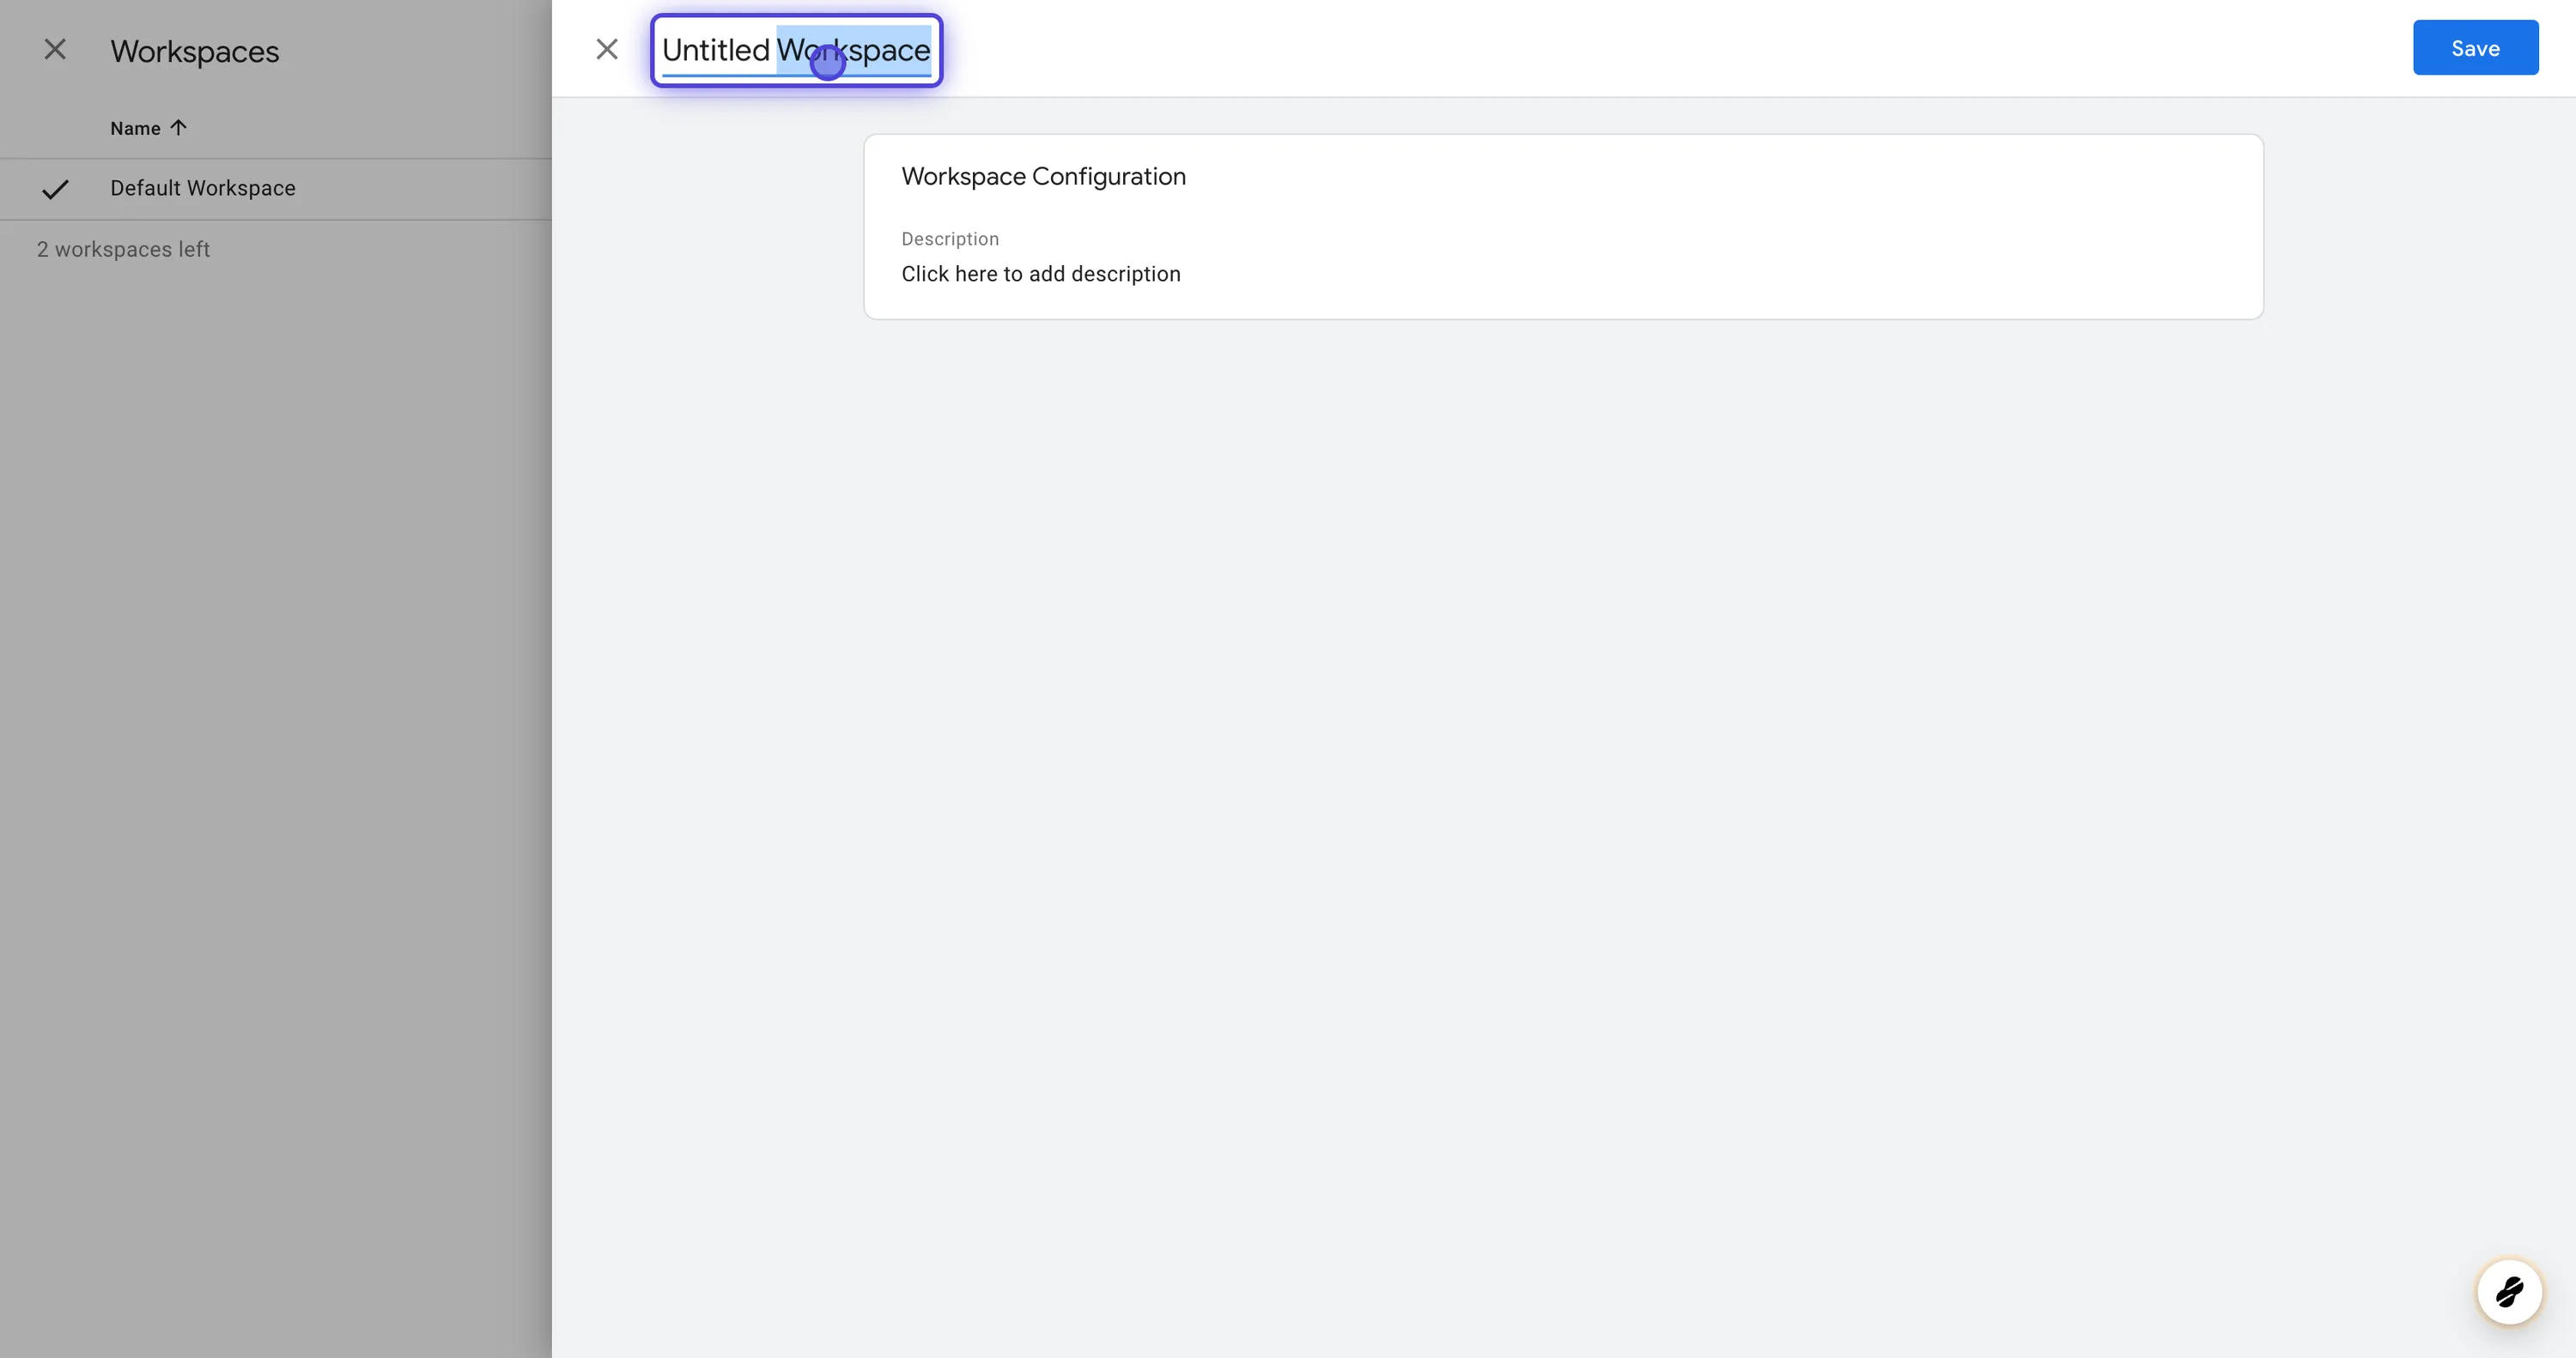
- Save the Workspace
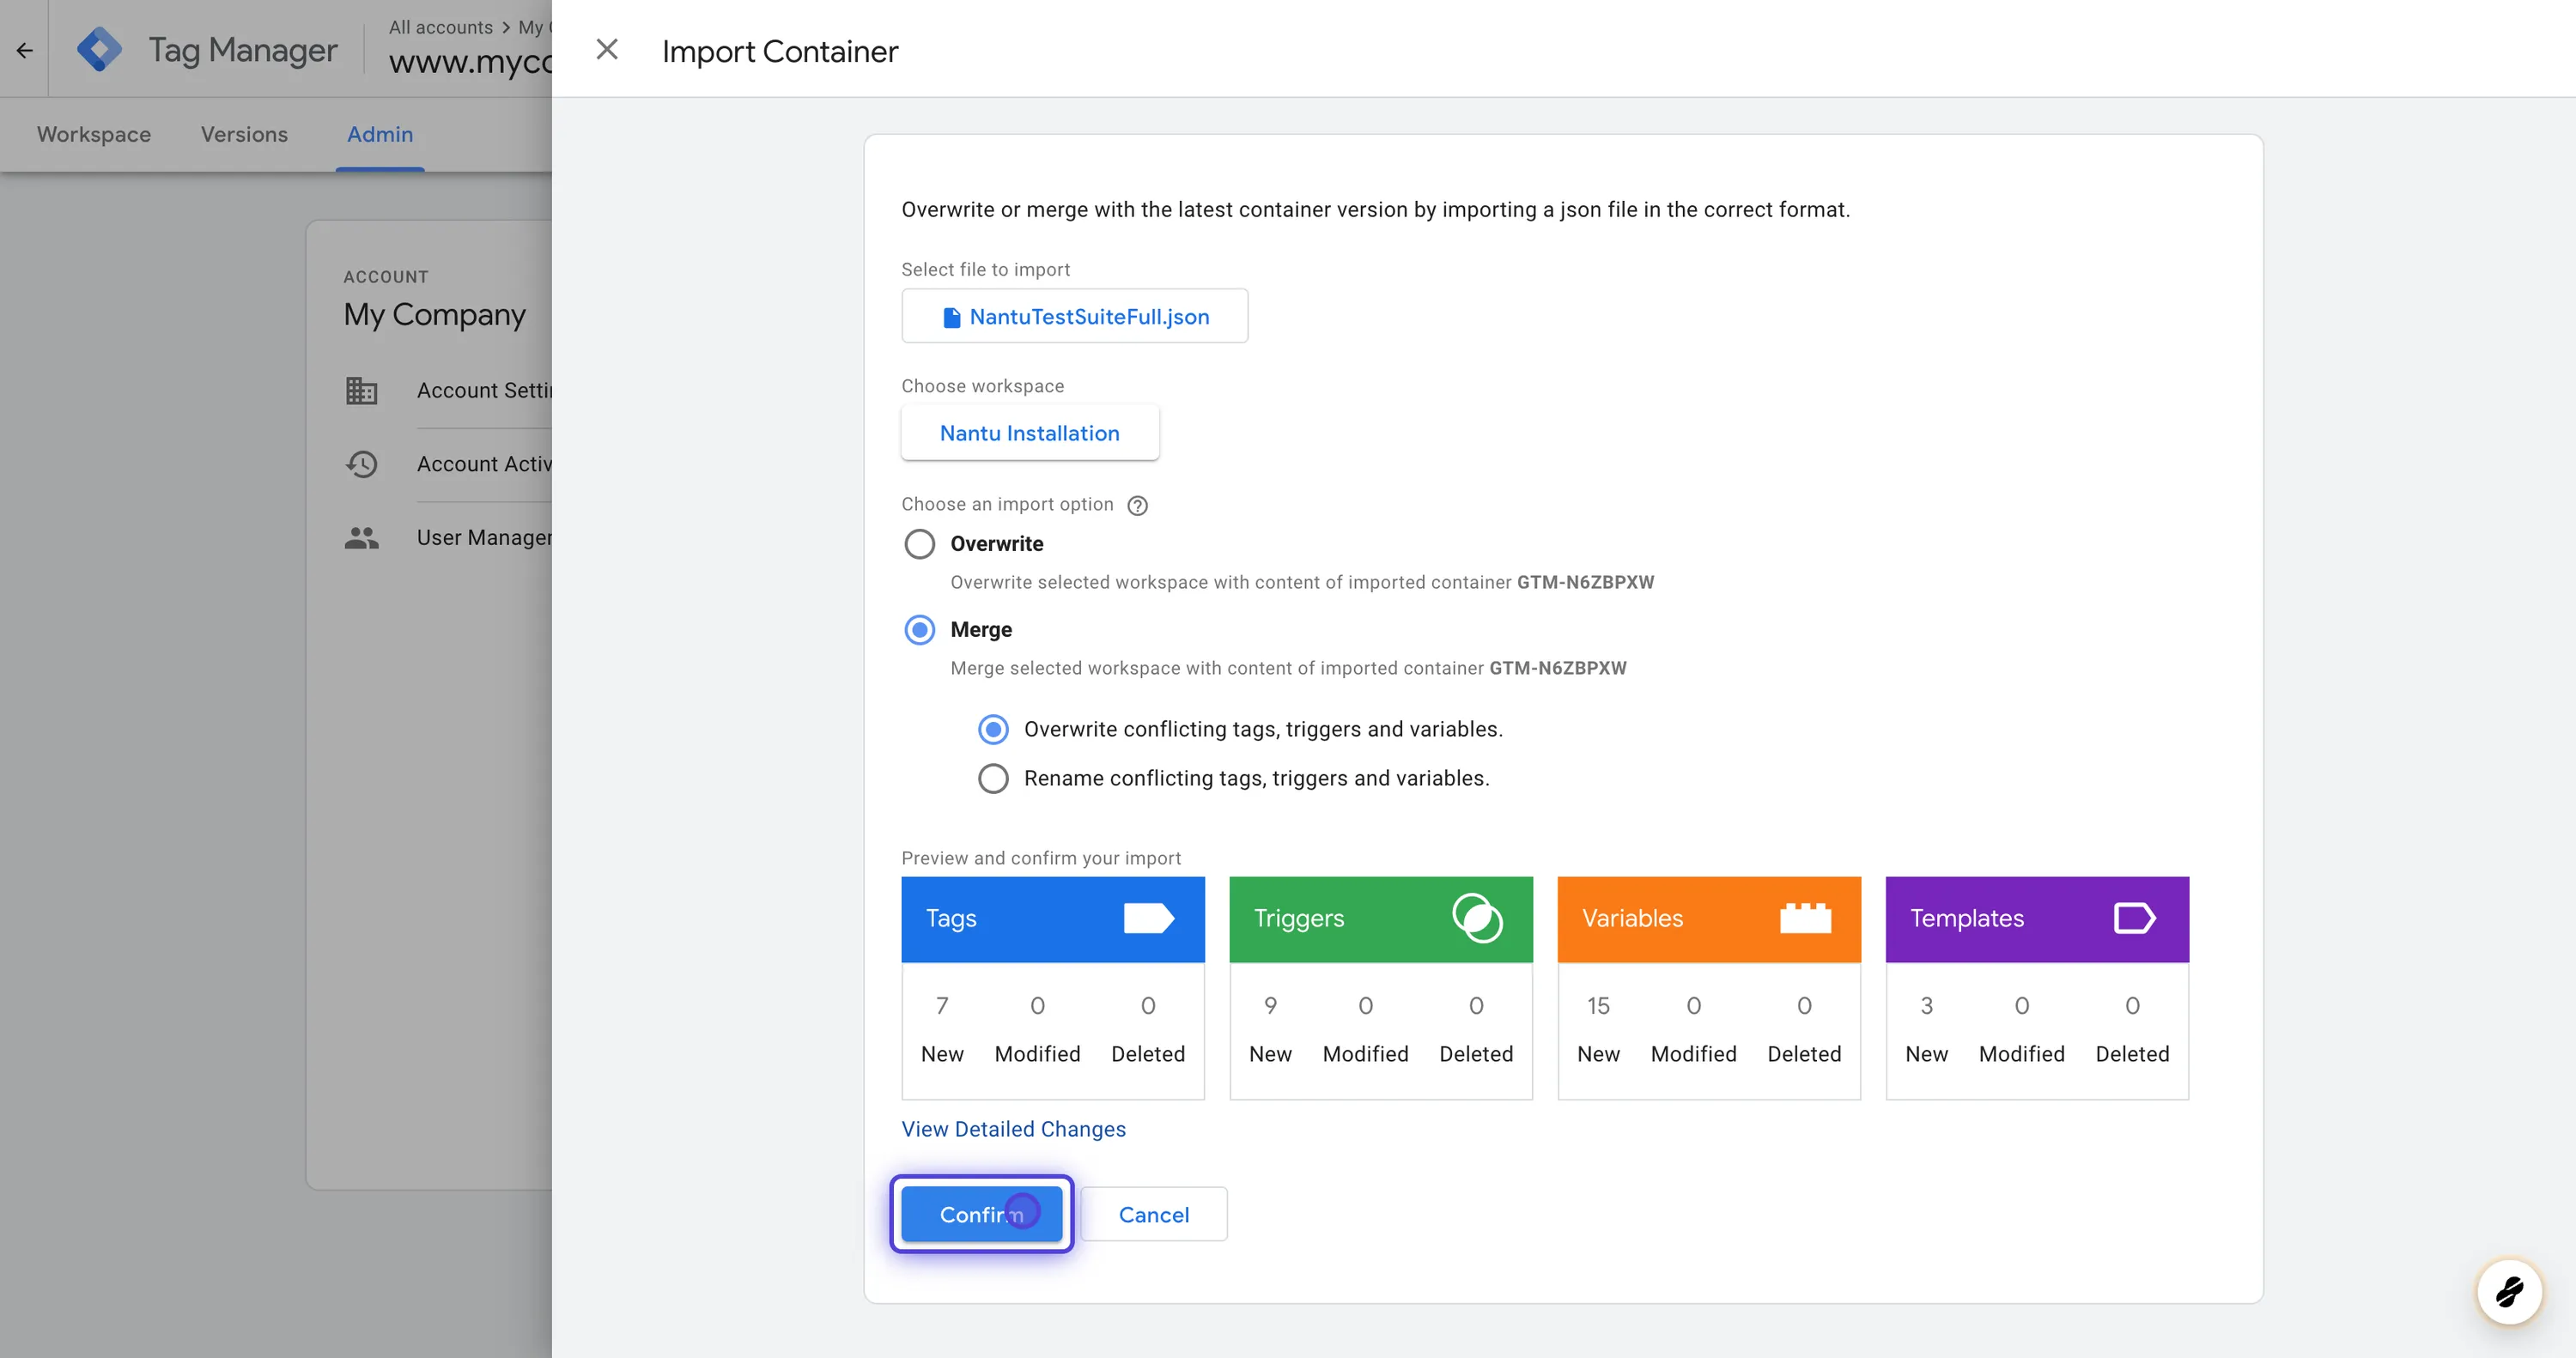
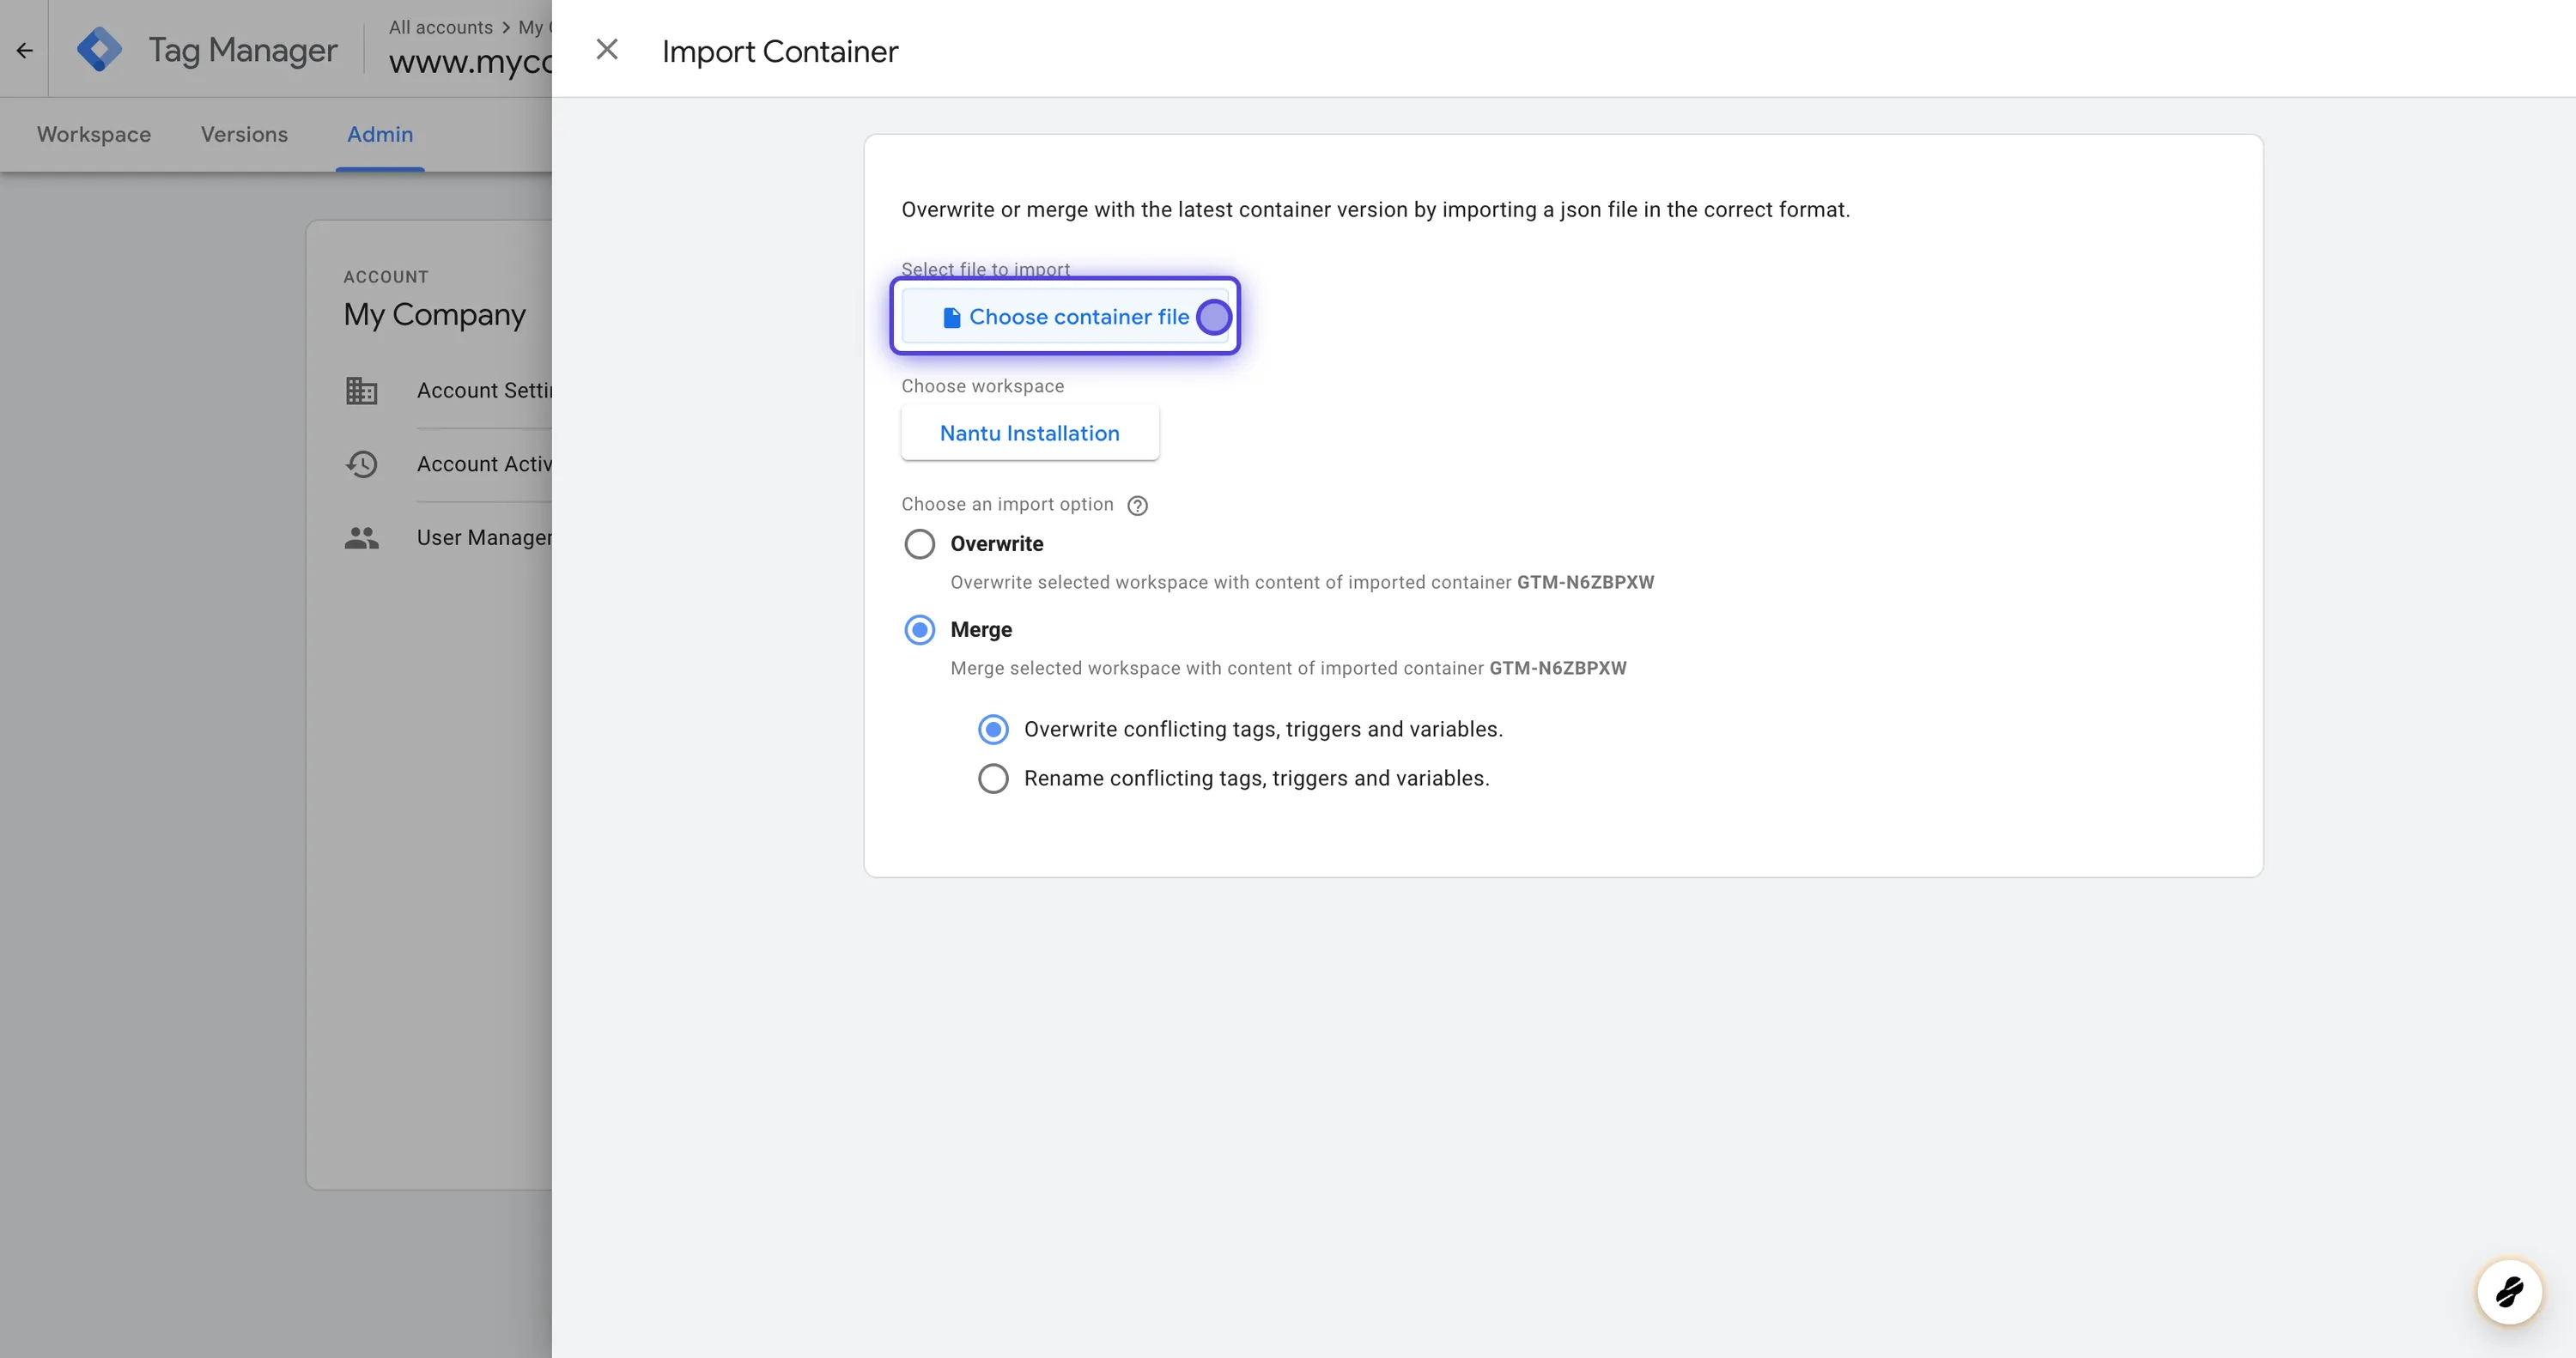
Step 3: Import the Nantu AB Test Suite Container #
- Click on the “Admin” Button

- From the list, select “Import Container”

- Click the “Merge” radio button

- Select “Existing” Workspace
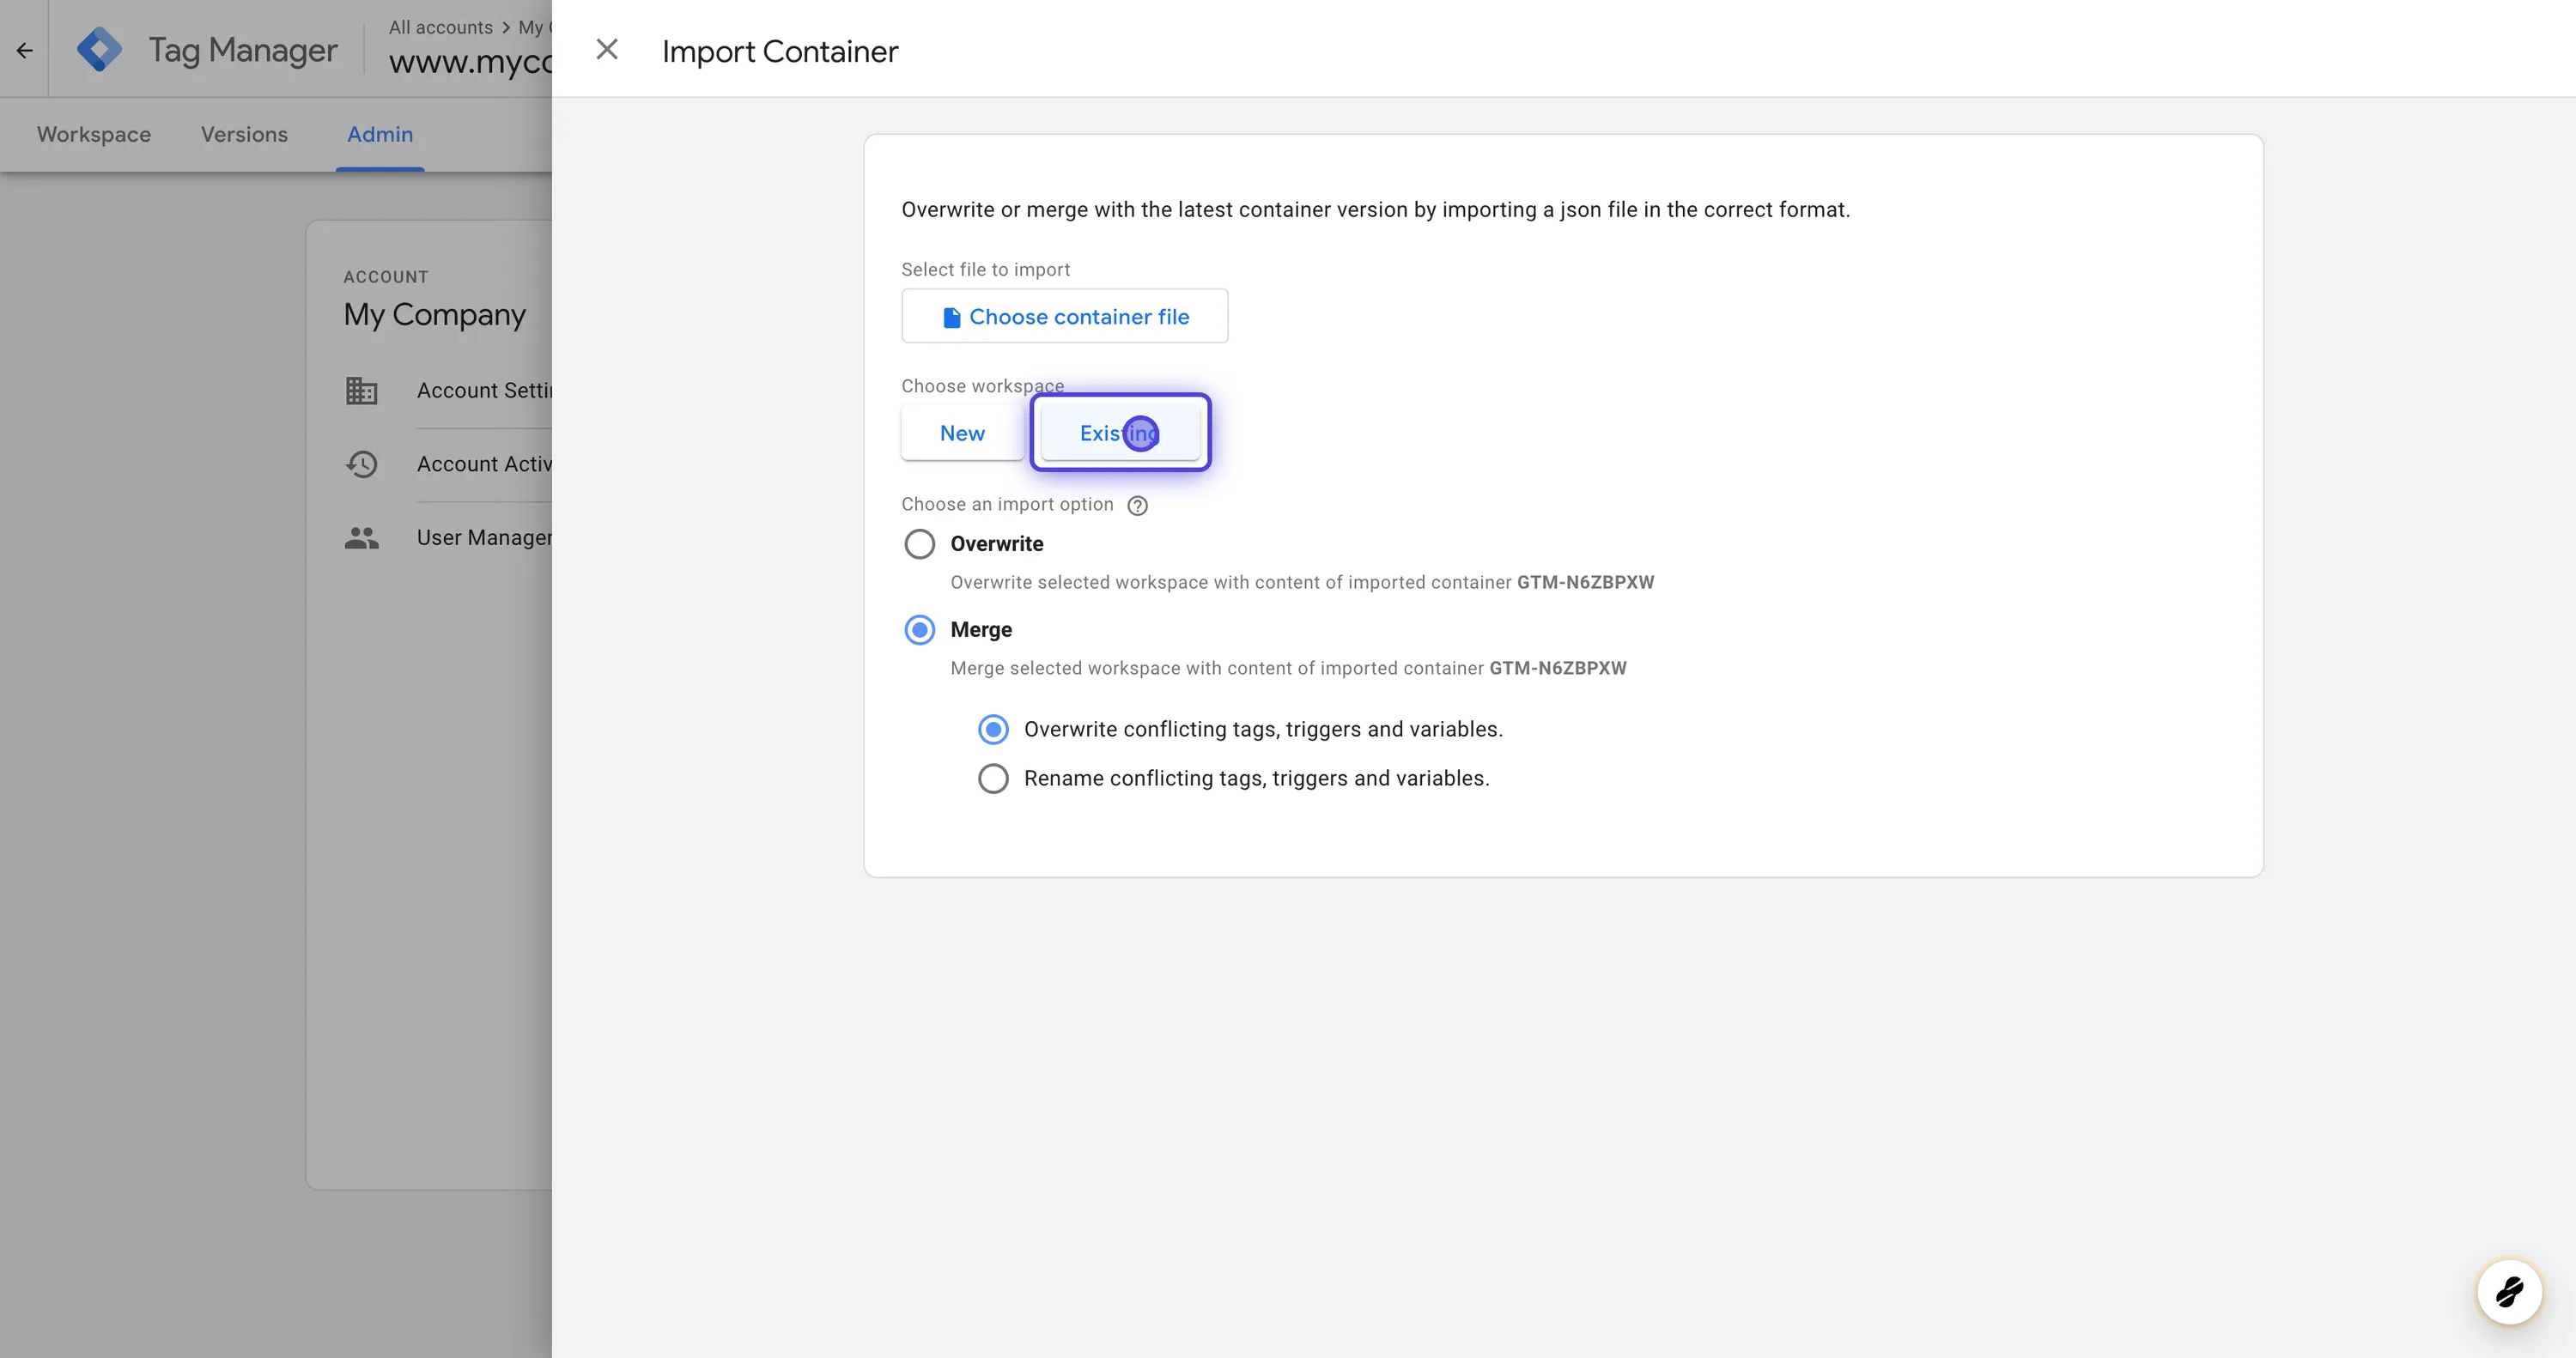
- Click “Choose container file”
- Select “Nantu Installation” Workspace
- Check the details and make sure no Tags, Triggers, Variables or Templates will be deleted, then click “Confirm”