Nantu A/B Test GTM Template is a free and open-source solution for A/B testing that prioritizes modularity, precise user targeting, and advanced variation management. It utilizes Google Tag Manager, making it a cost-effective, fast, and reliable tool. If you want to learn more about its features, please visit this page.
Follow these step-by-step instructions to set up and launch your first A/B test using Nantu GTM Template.
Installation #
1. Open Google Tag Manager in your browser

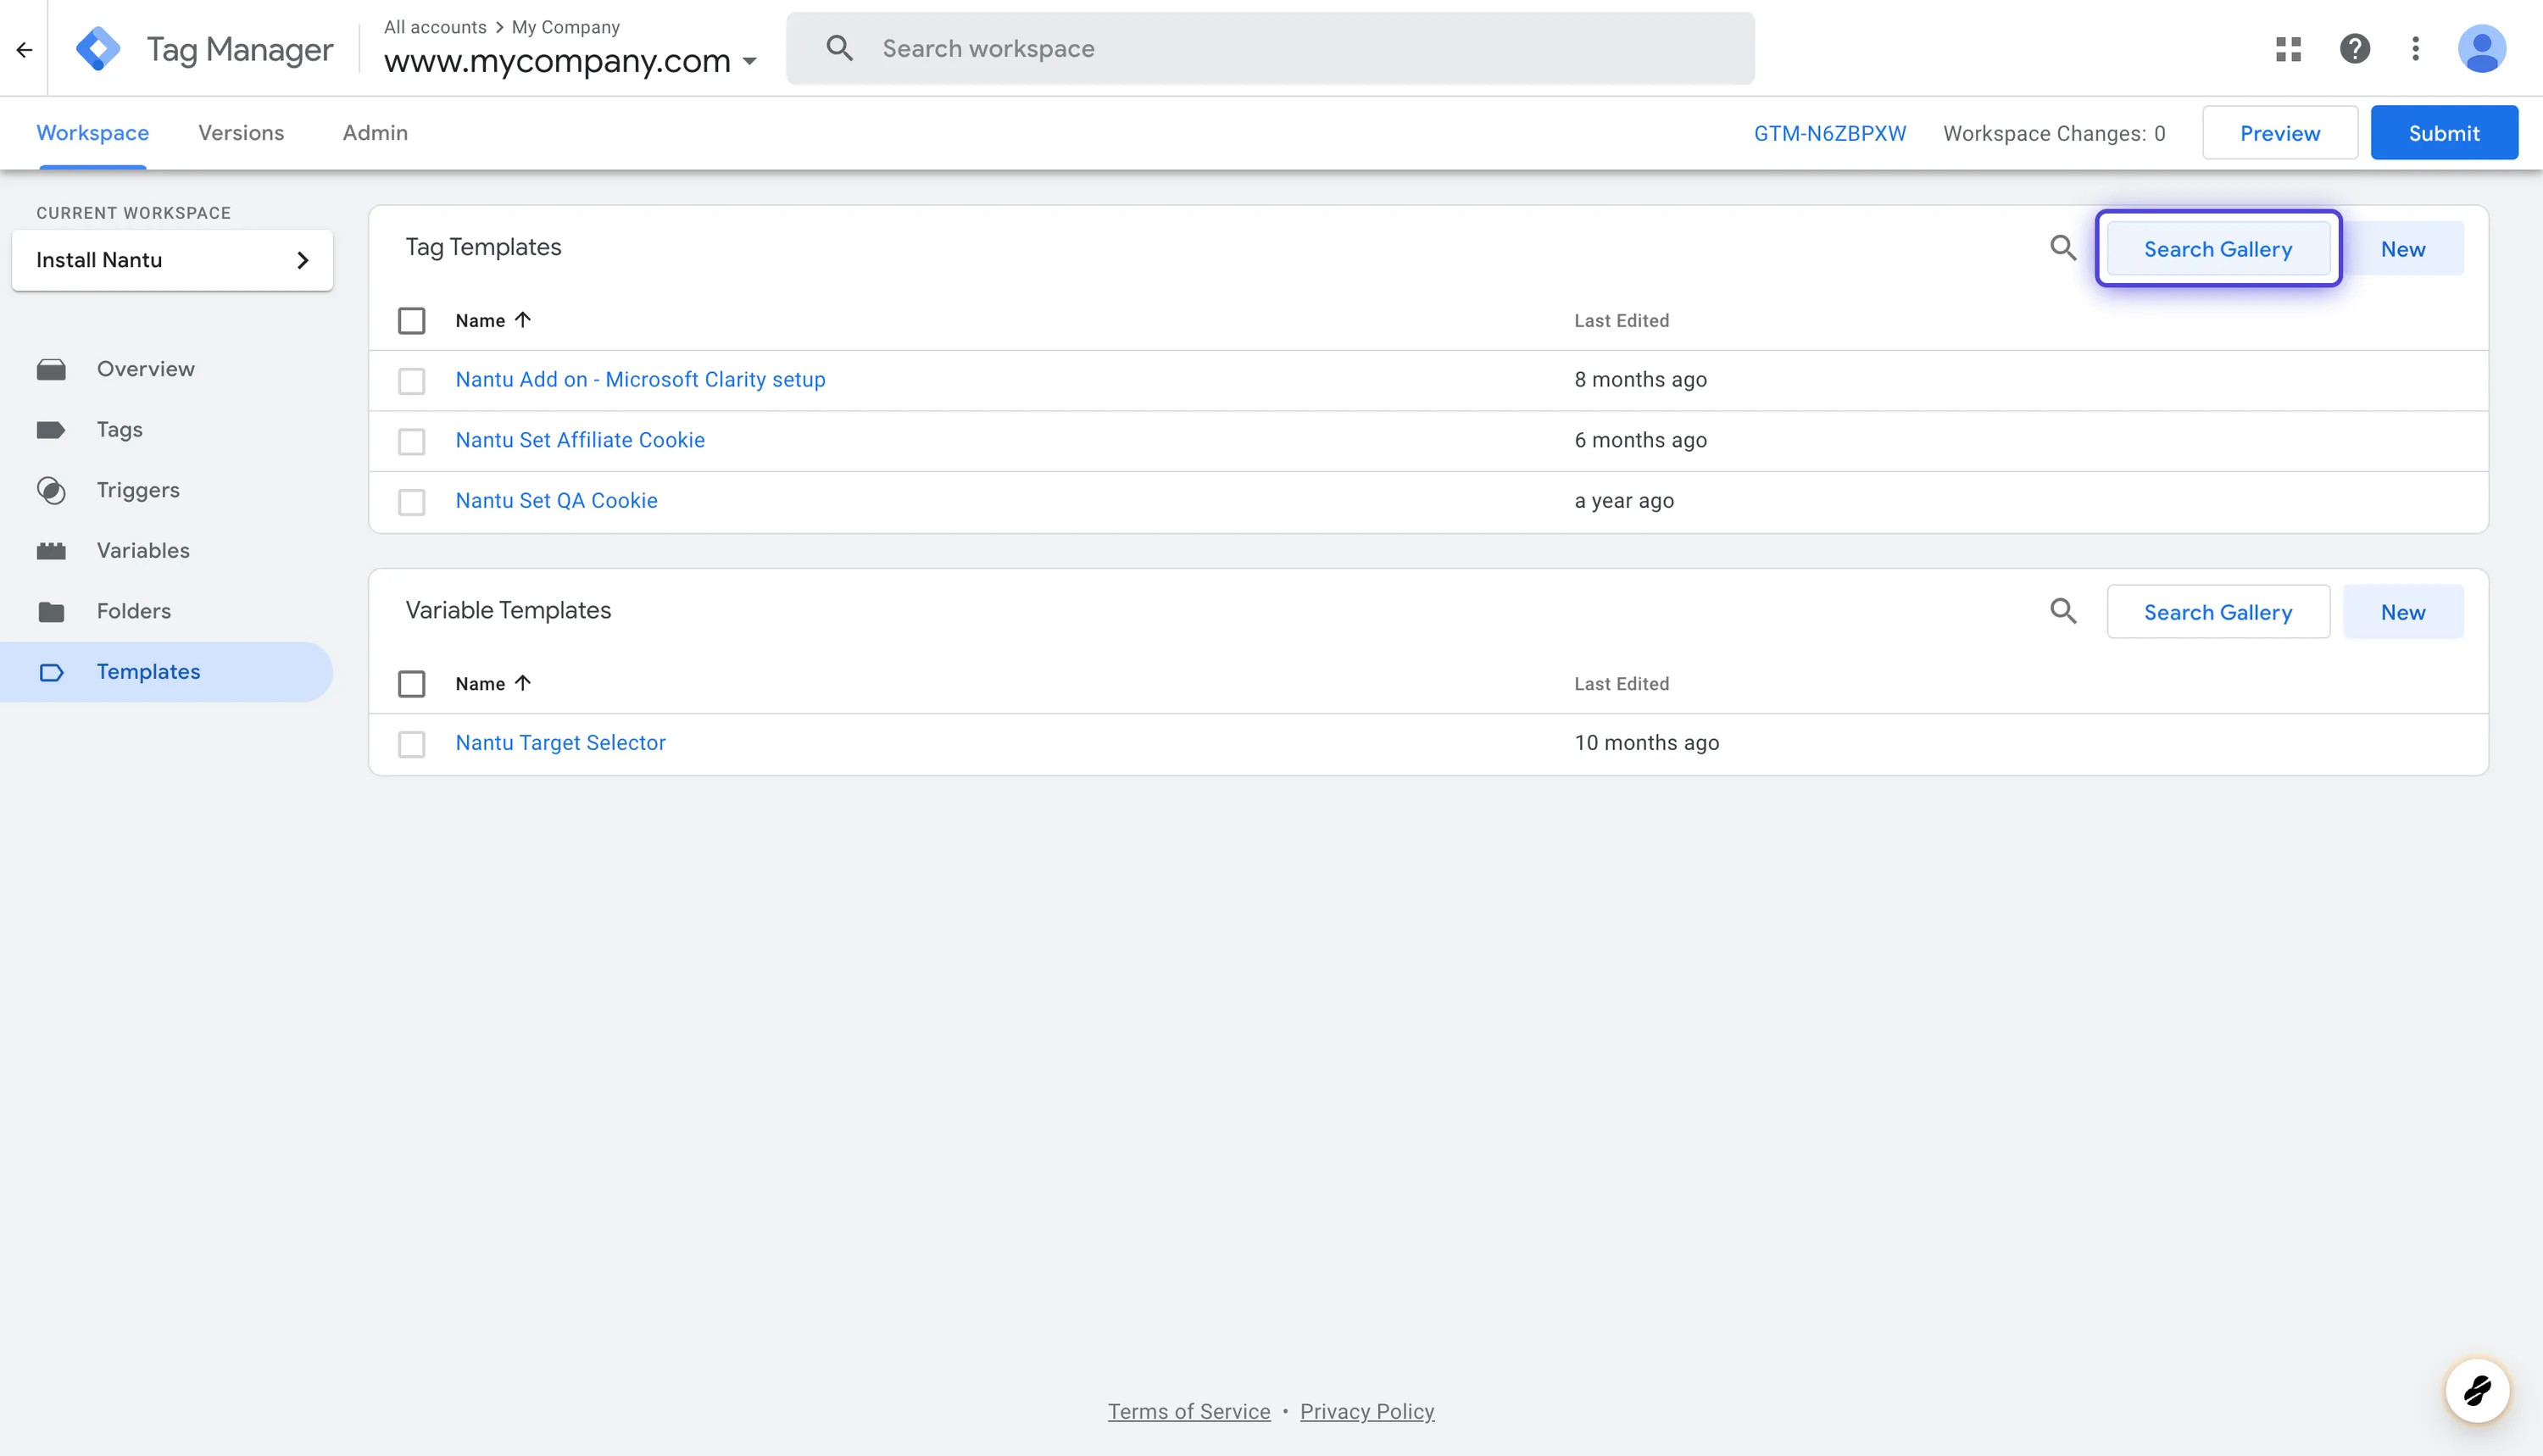
2. Click on Templates Link in the sidebar

3. Click Search Gallery Button below the Preview button
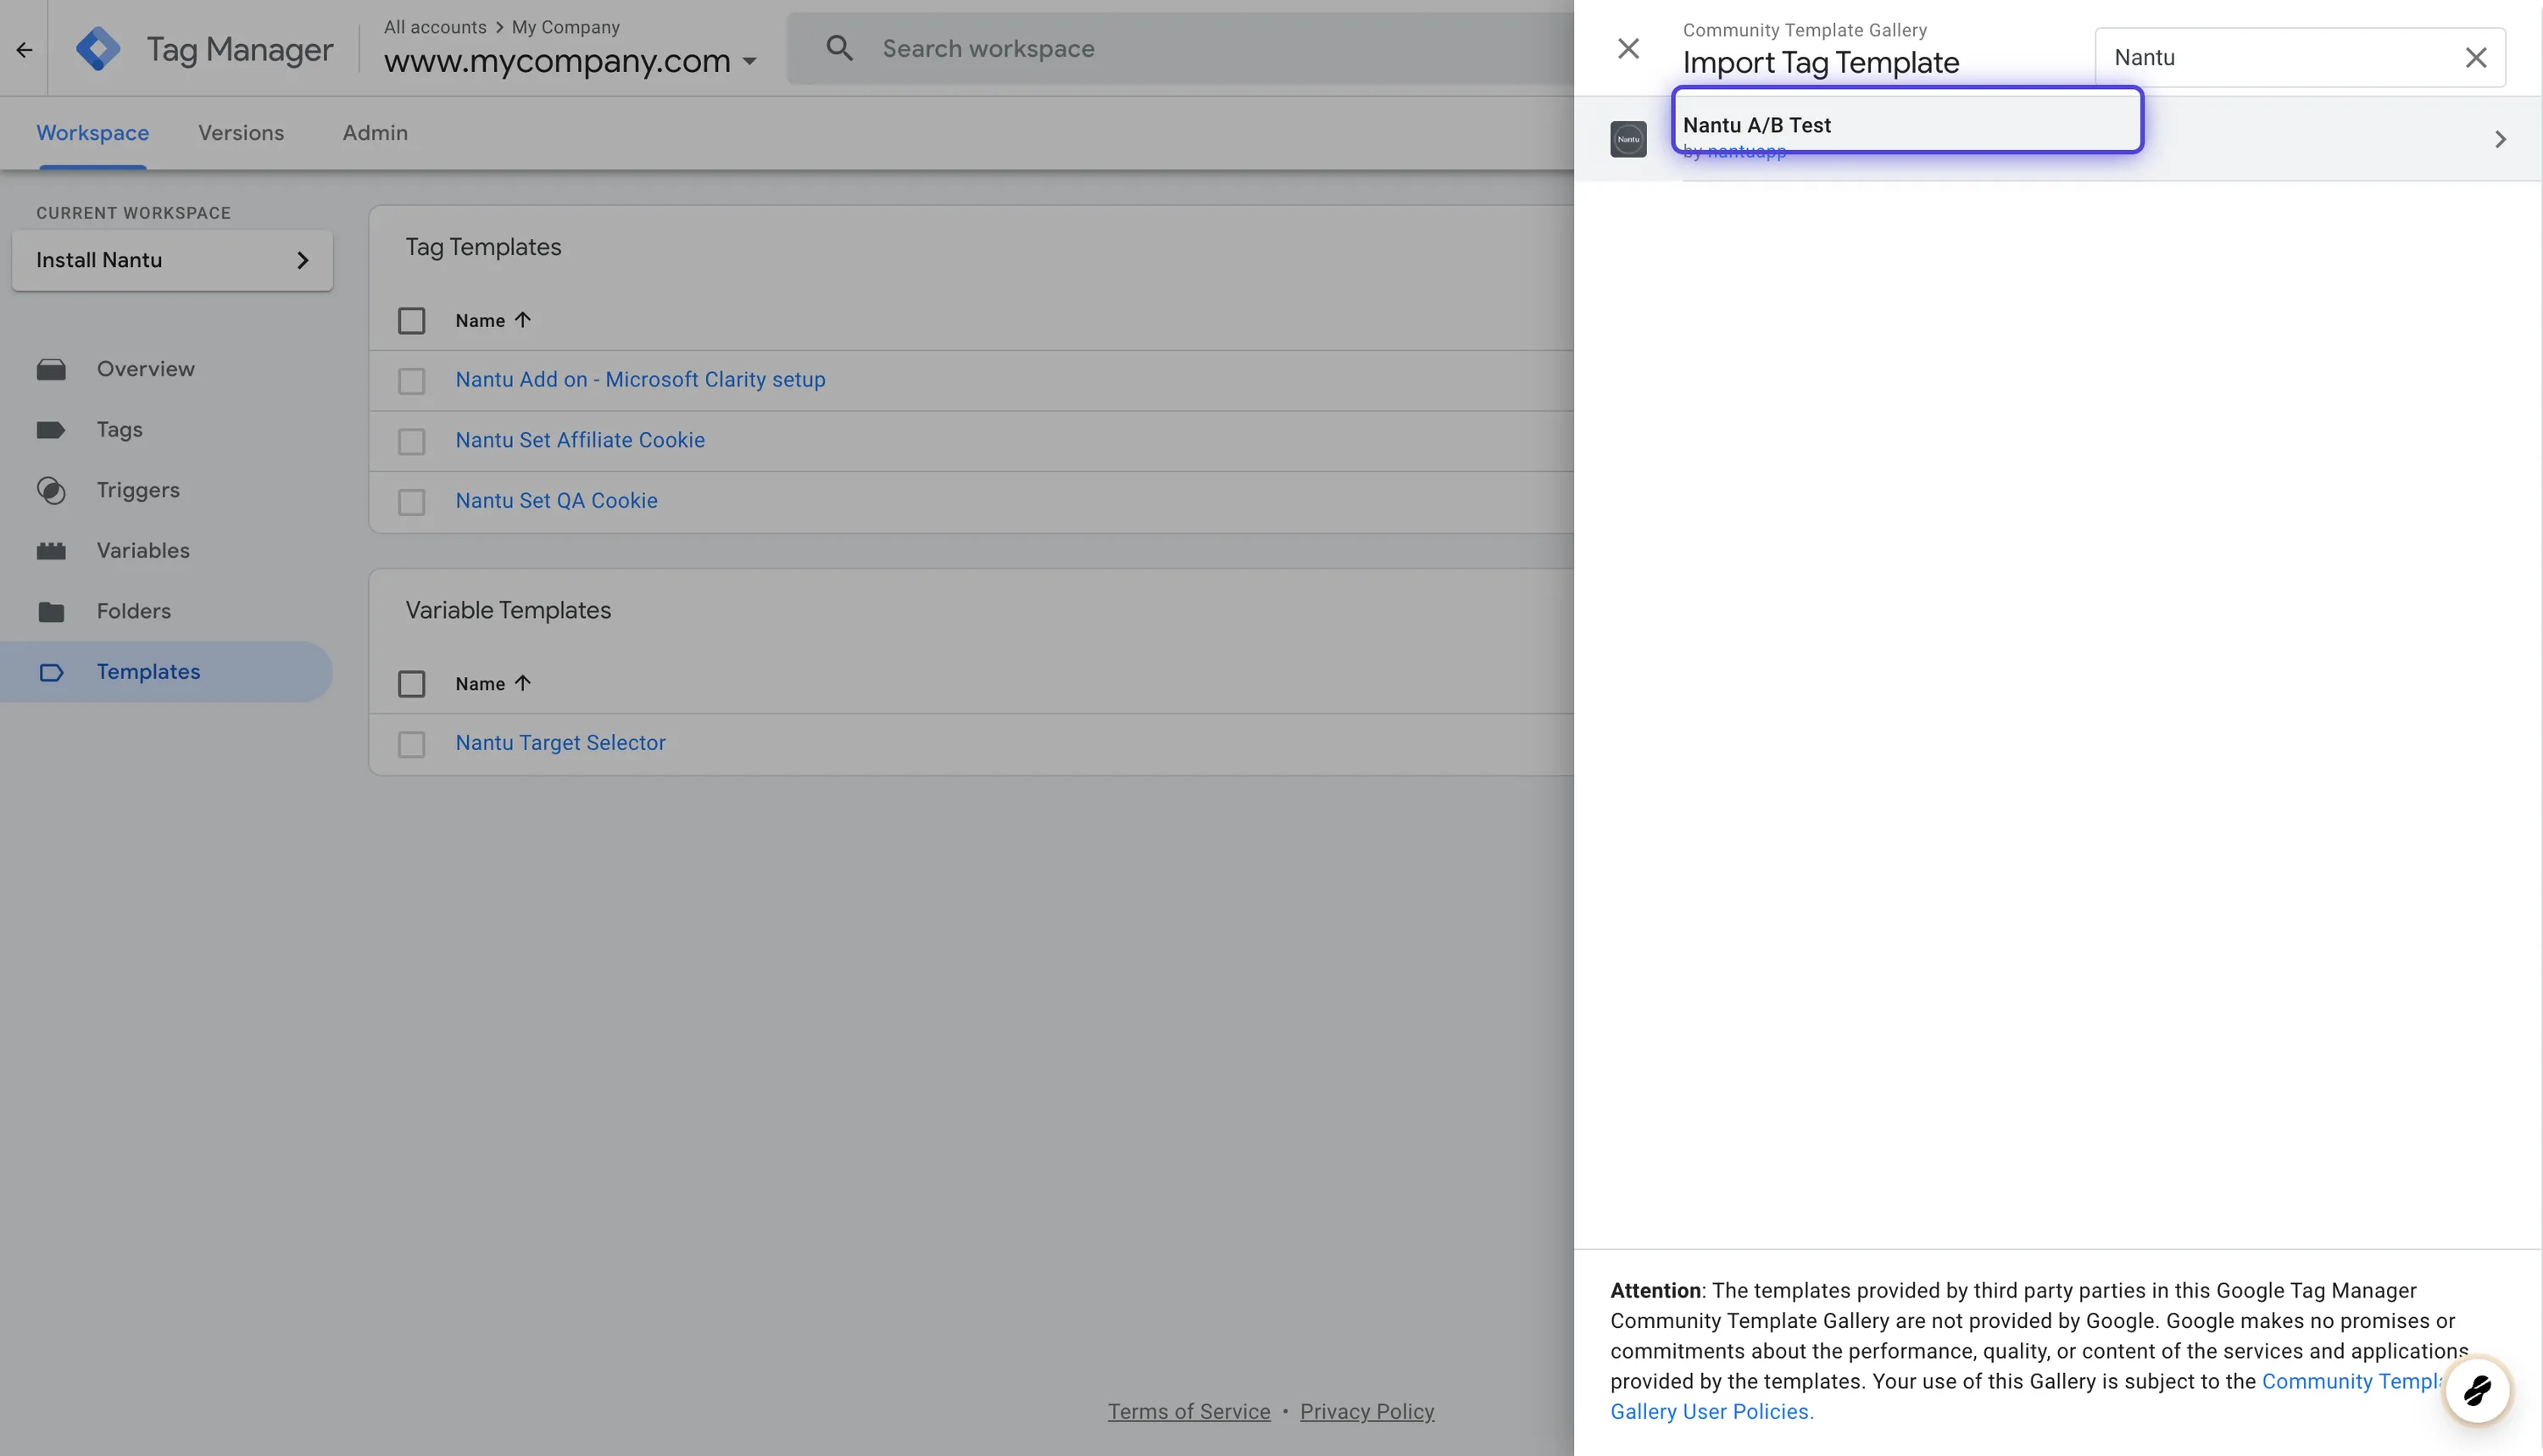
4. Search The Gallery for the Nantu Template
5. Enter Nantu in the Search Field

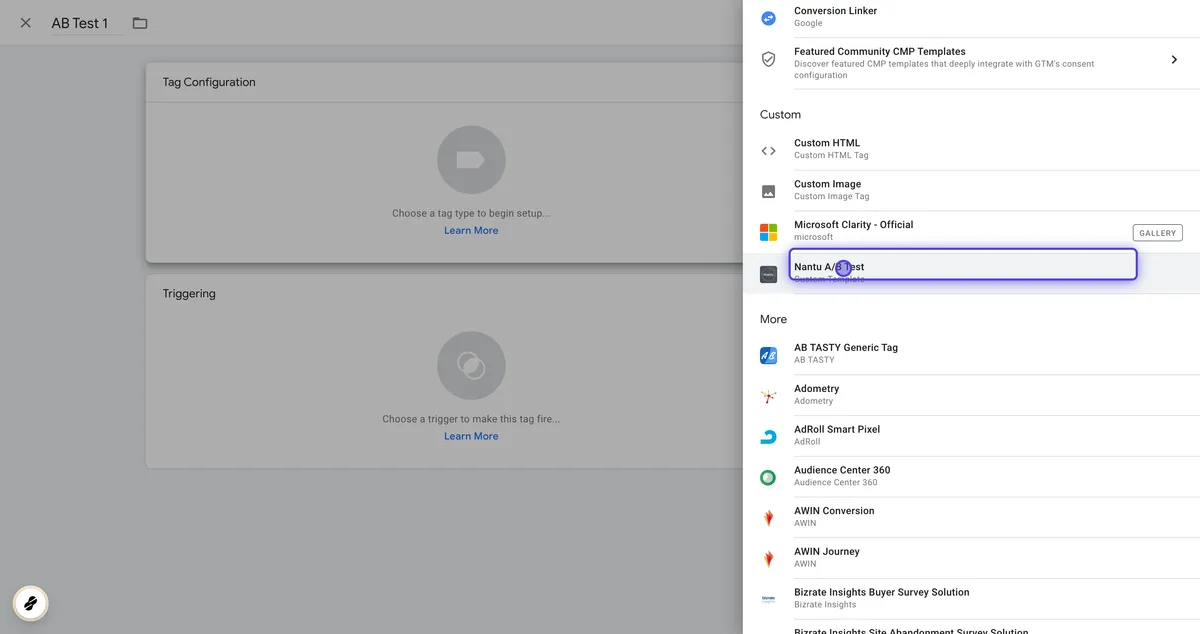
6. Select Nantu Template from the list of results
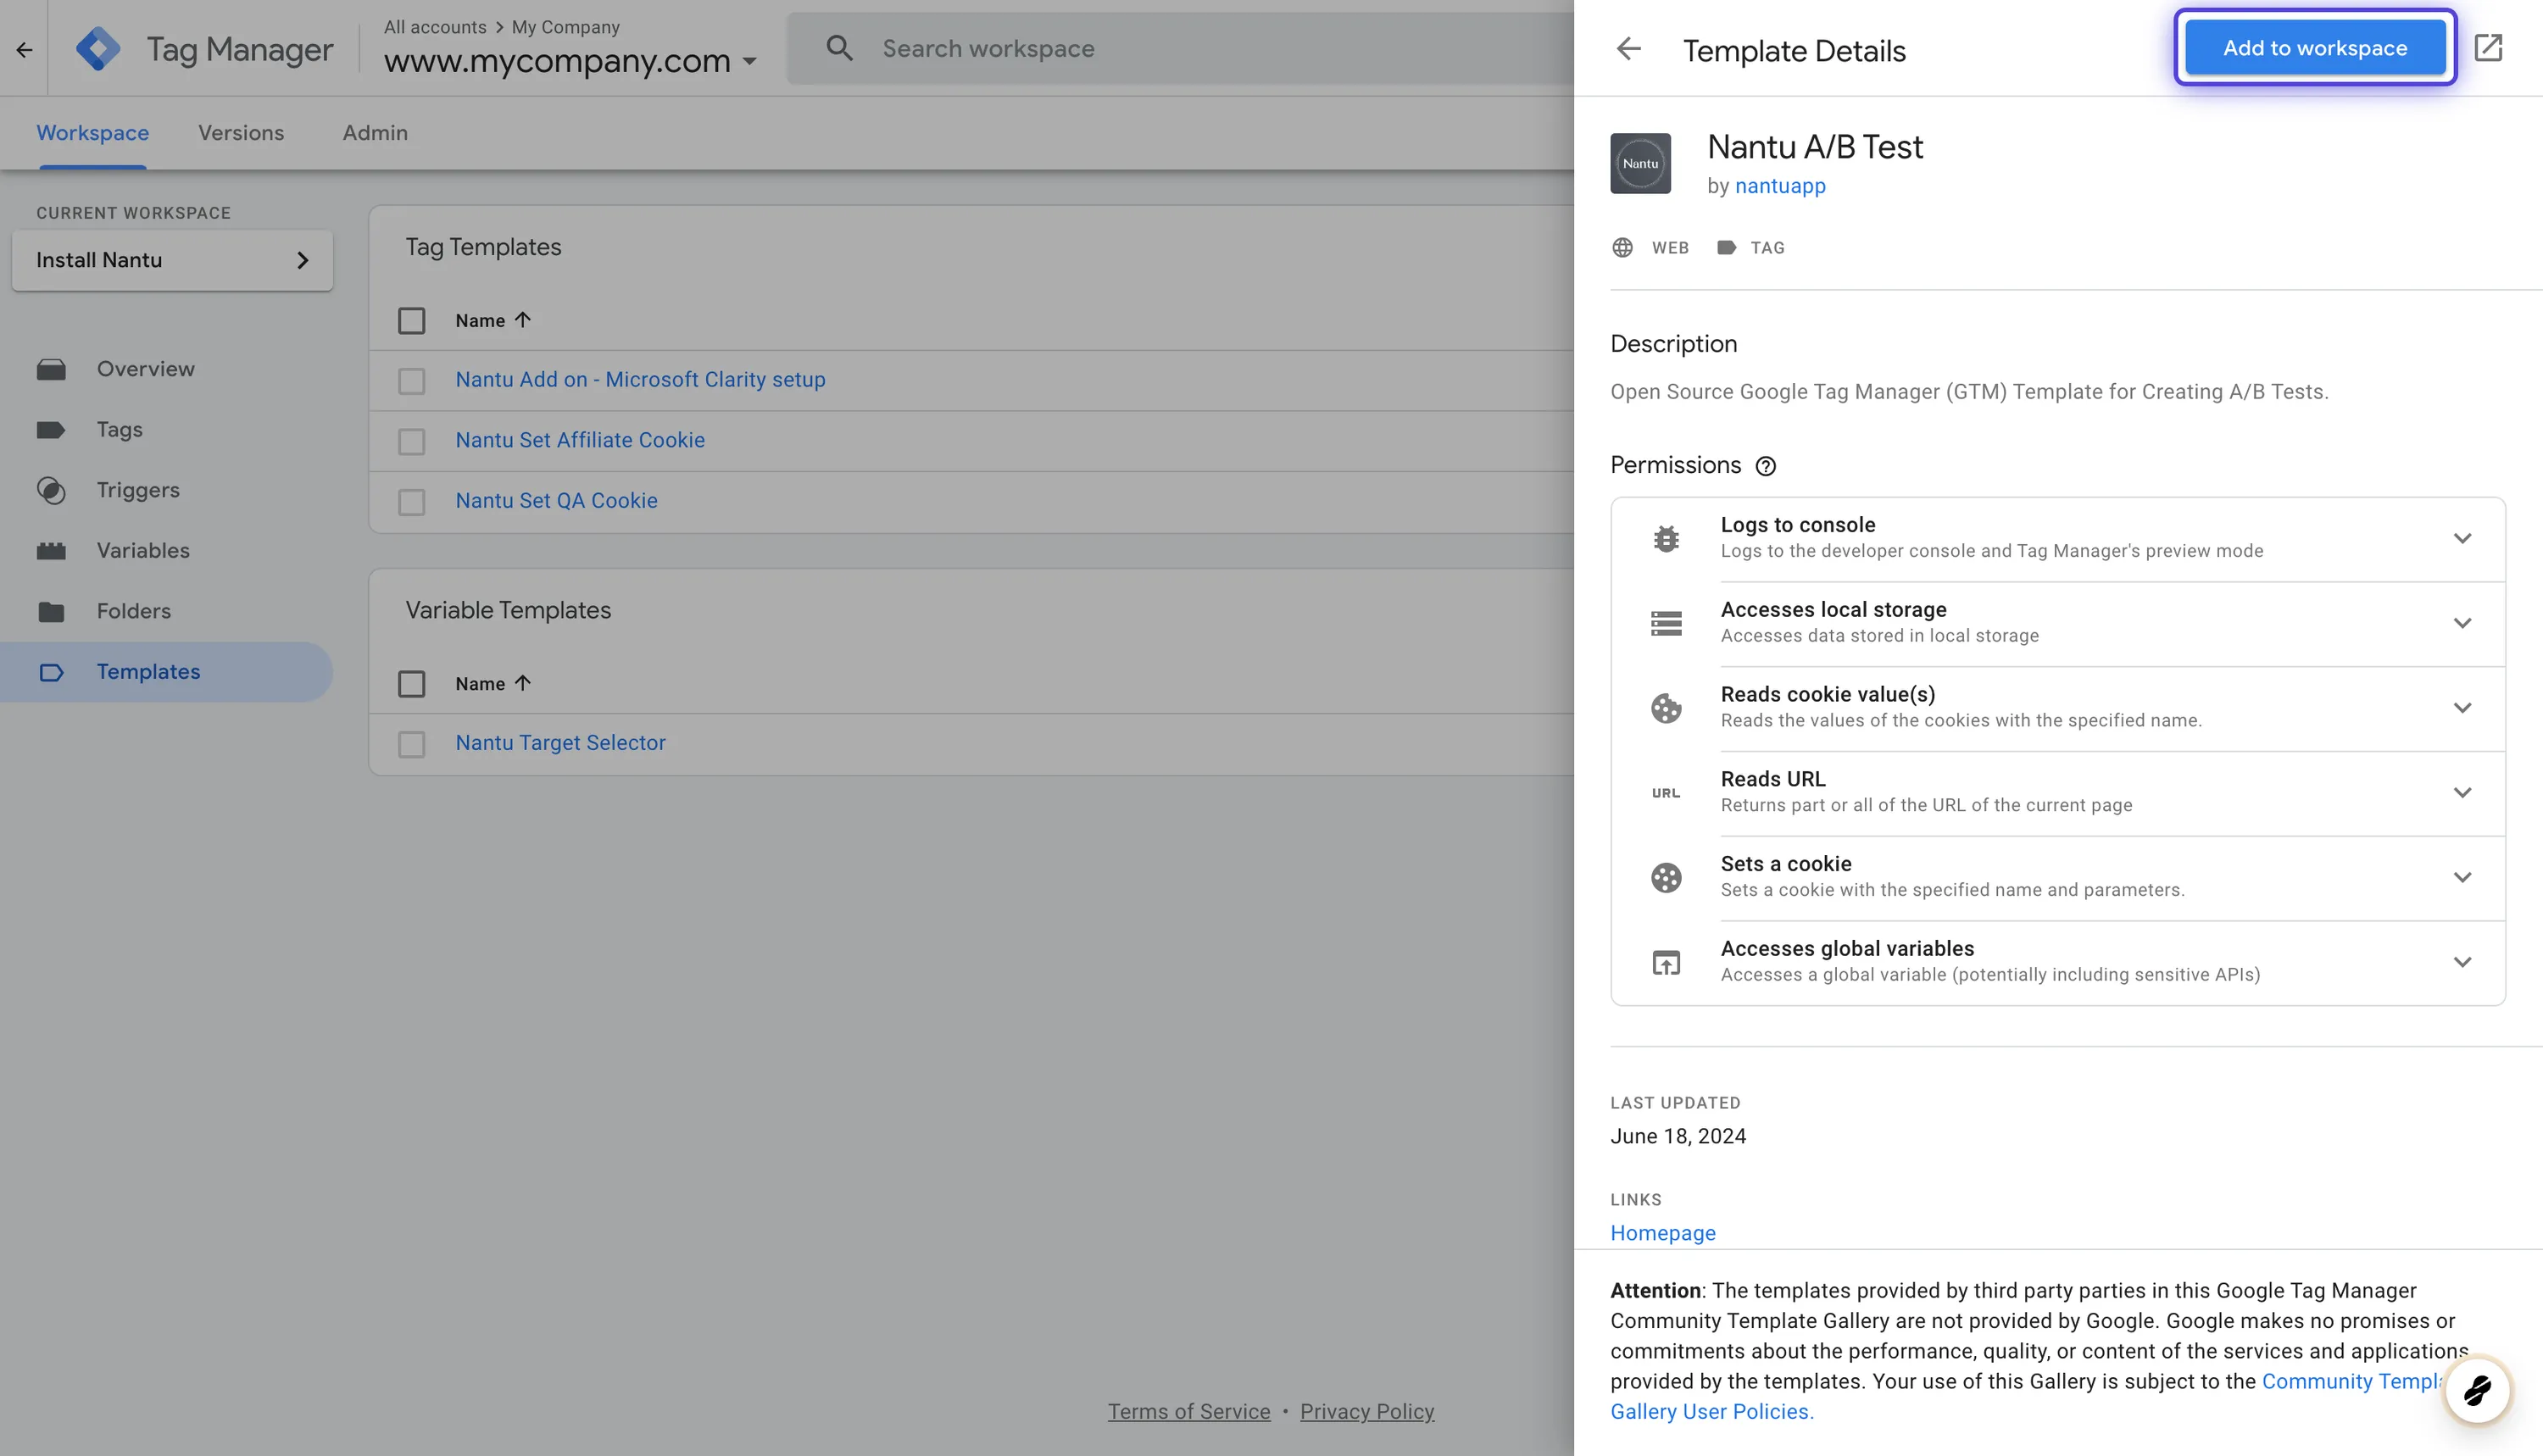
7. Add it to your workspace
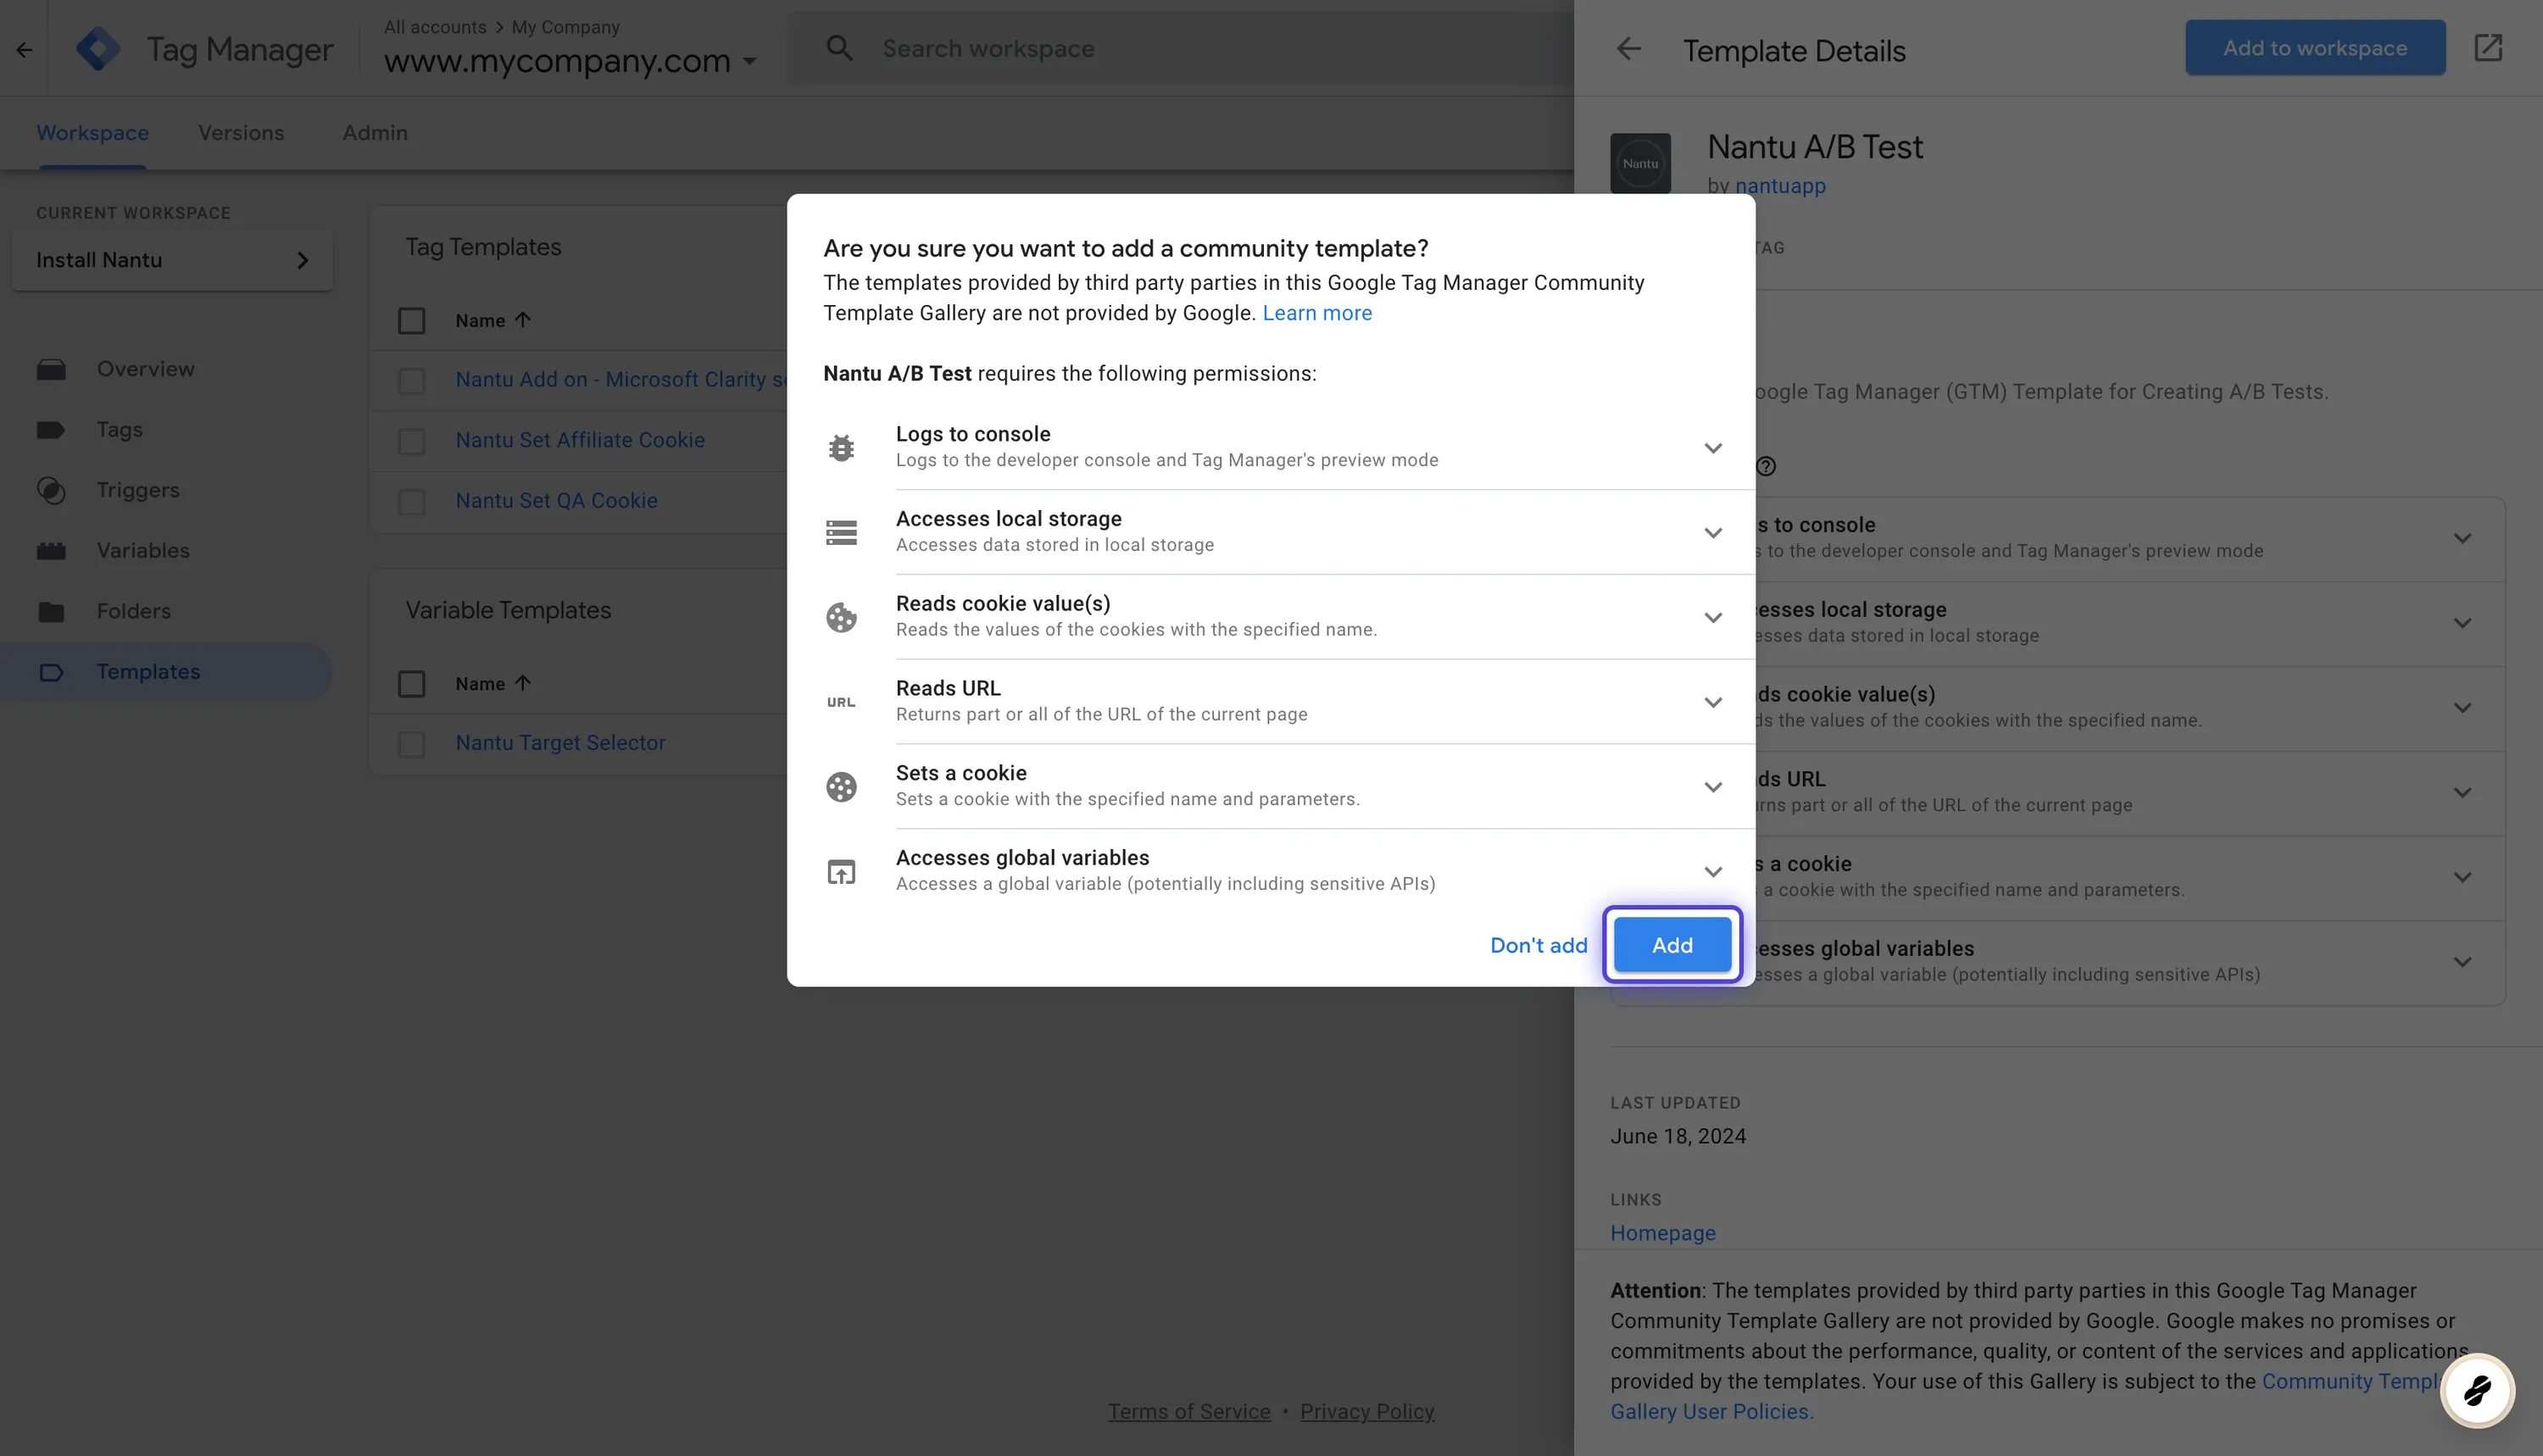
8. Review the Permissions and confirm
If you want to install it manually, please follow the installation instructions here.
Step 1: Setup Nantu Tag #
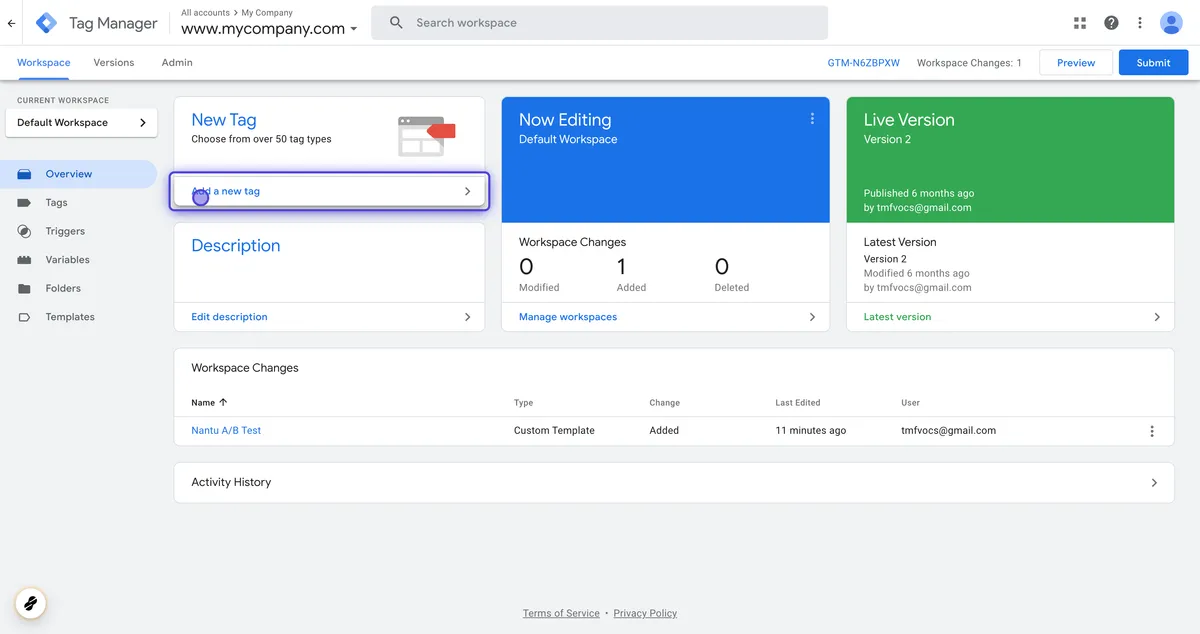
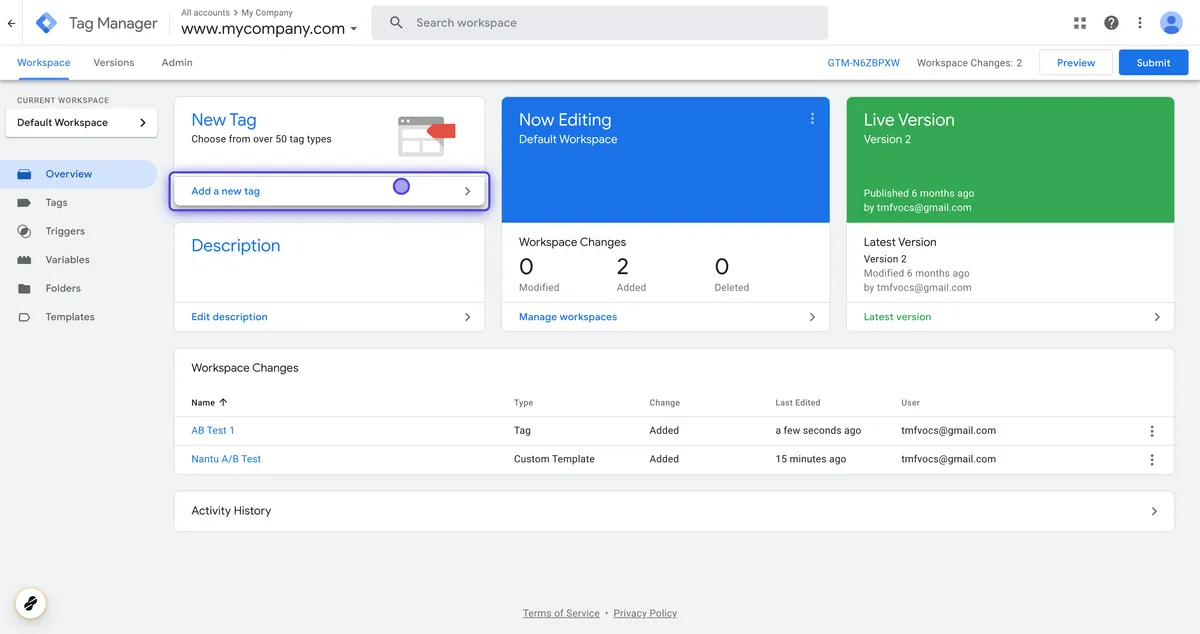
1. Go to Google Tag Manager
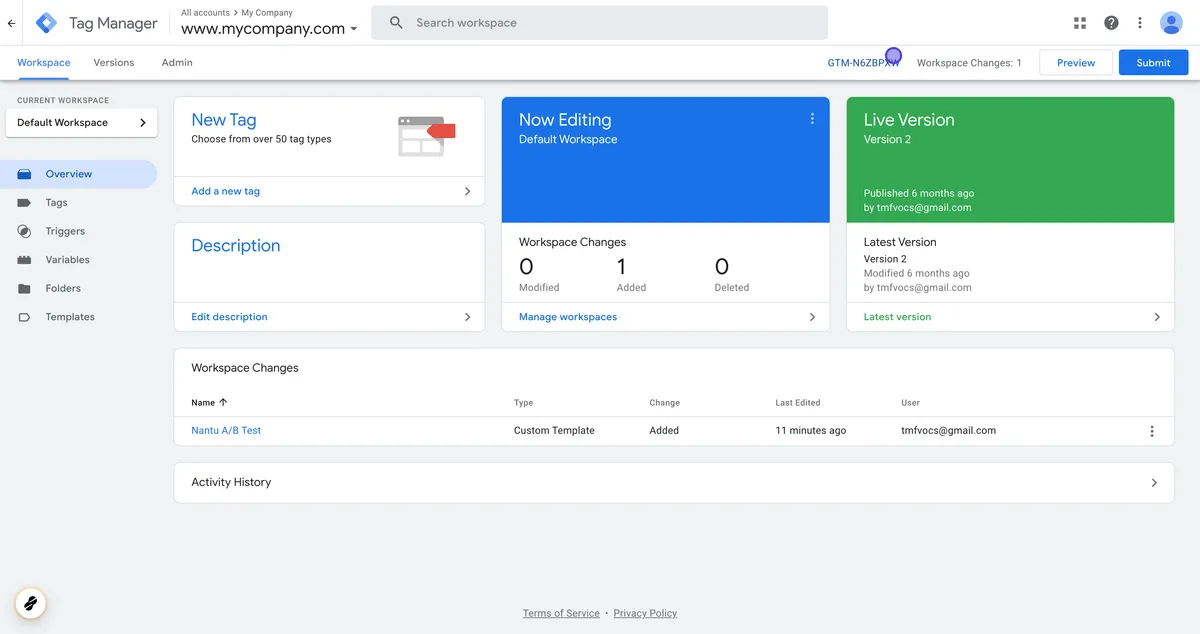
2. Click on Add a new tag
3. Name the Tag “Nantu AB Test 1“
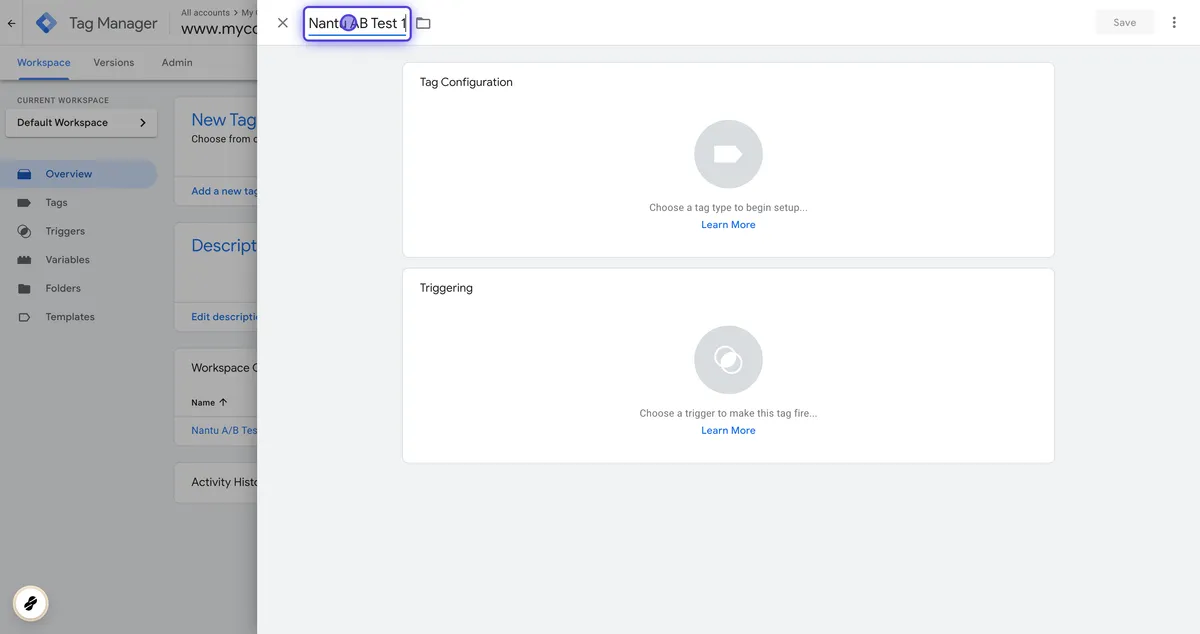
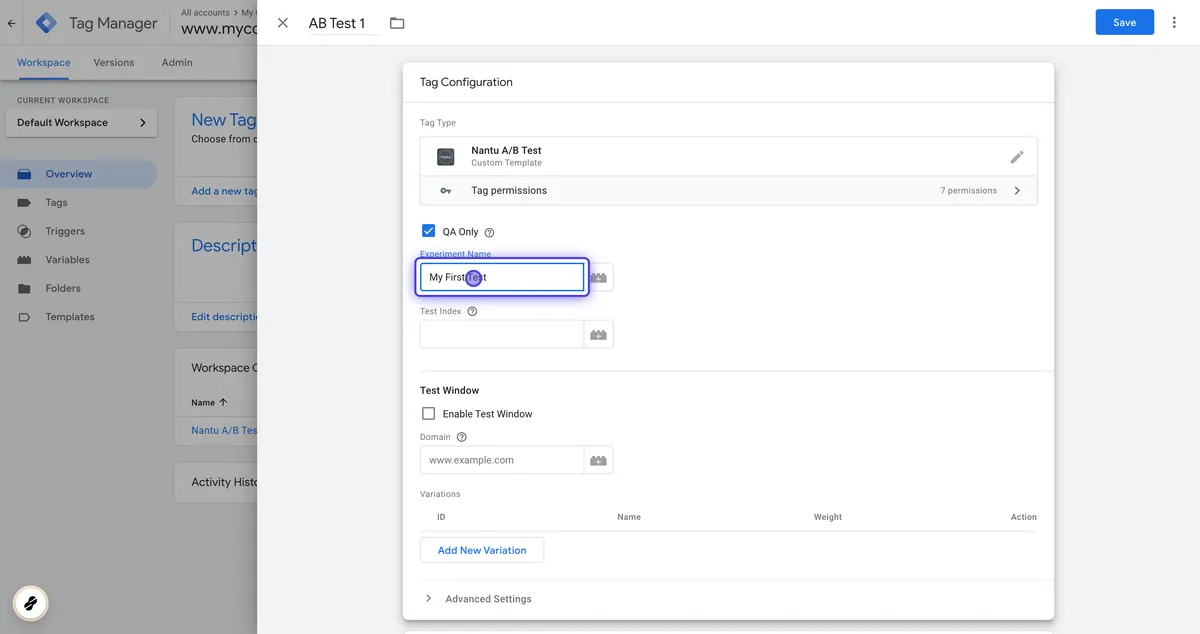
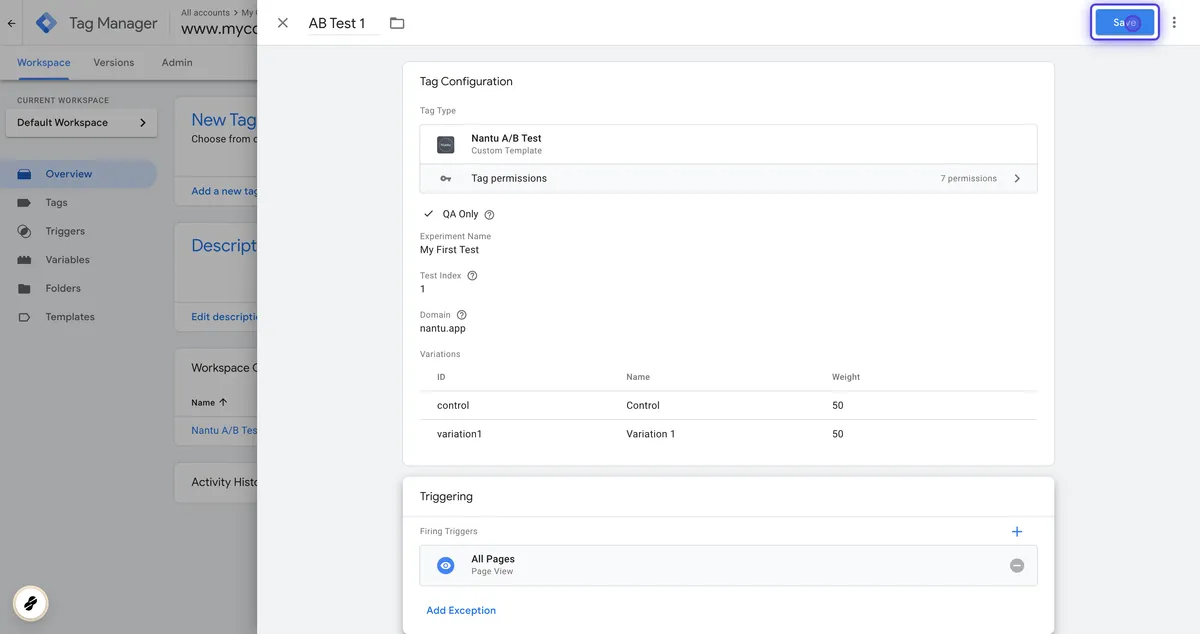
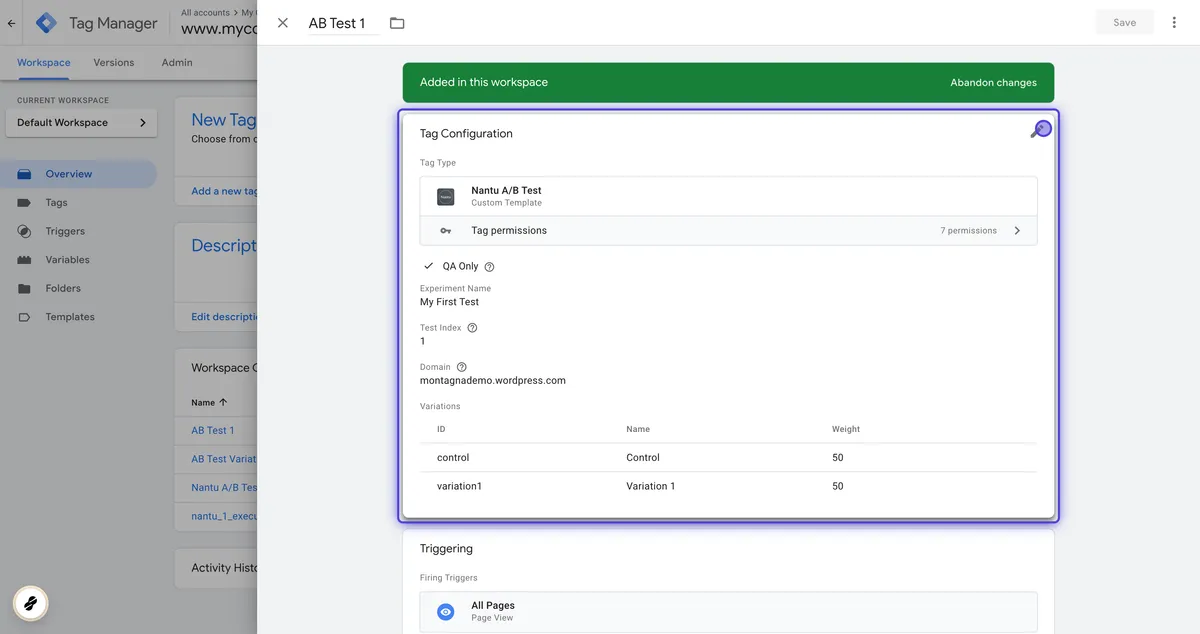
4. Edit the Tag Configuration
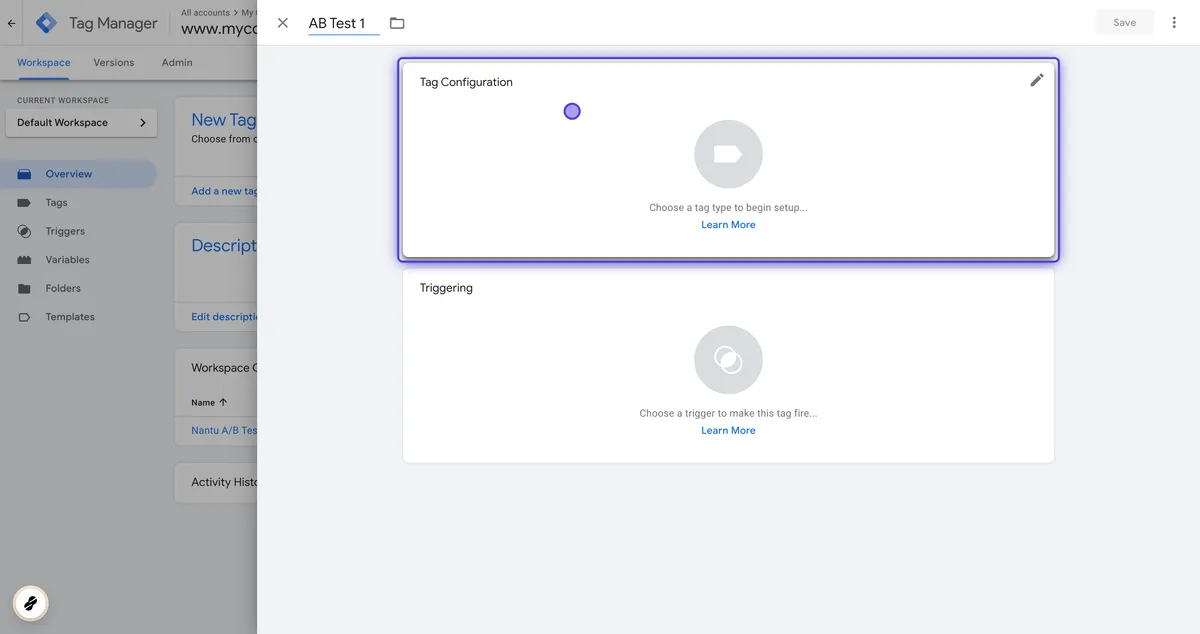
5. Select “Nantu A/B Test” from the list in the Custom section
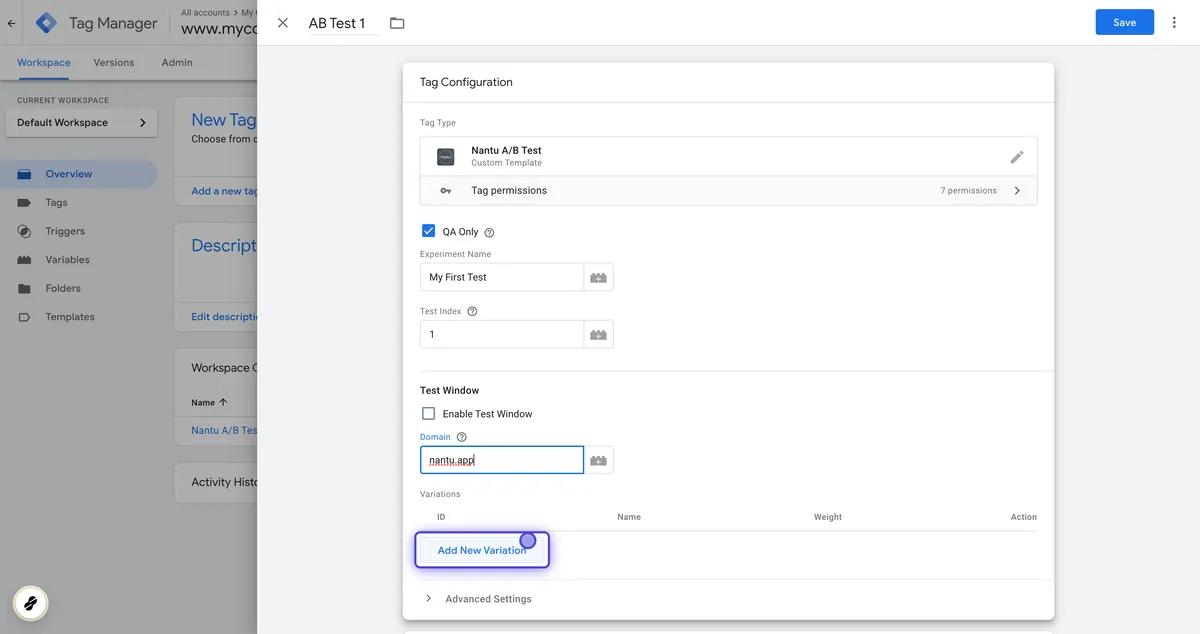
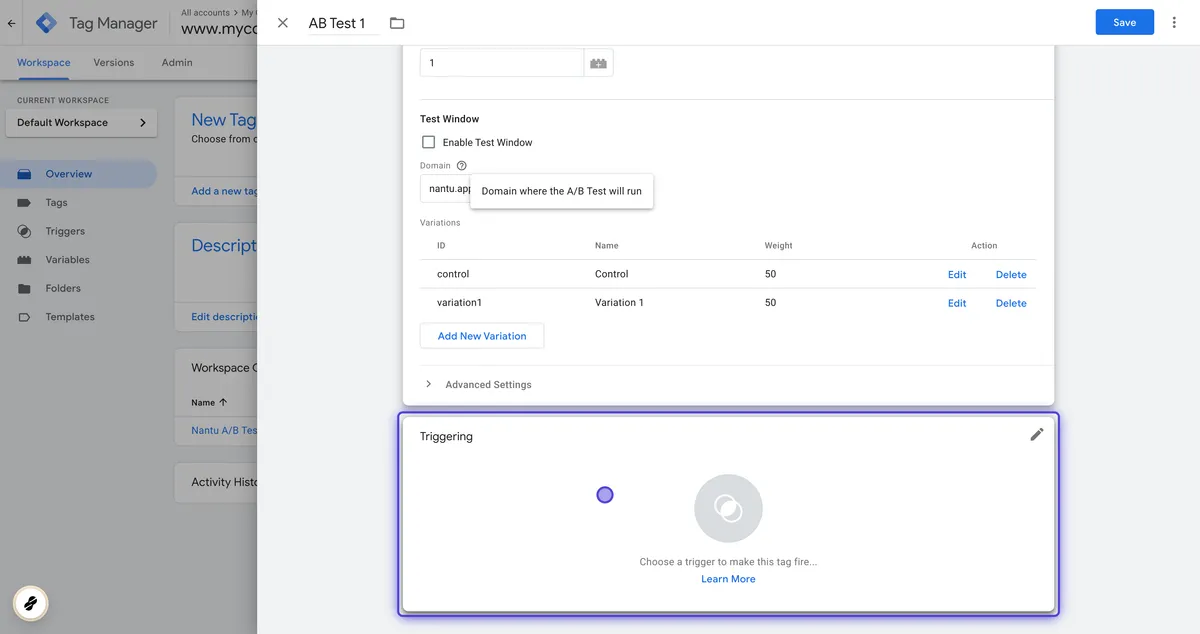
6. Enter “My First Test” in the “Experiment Name” field
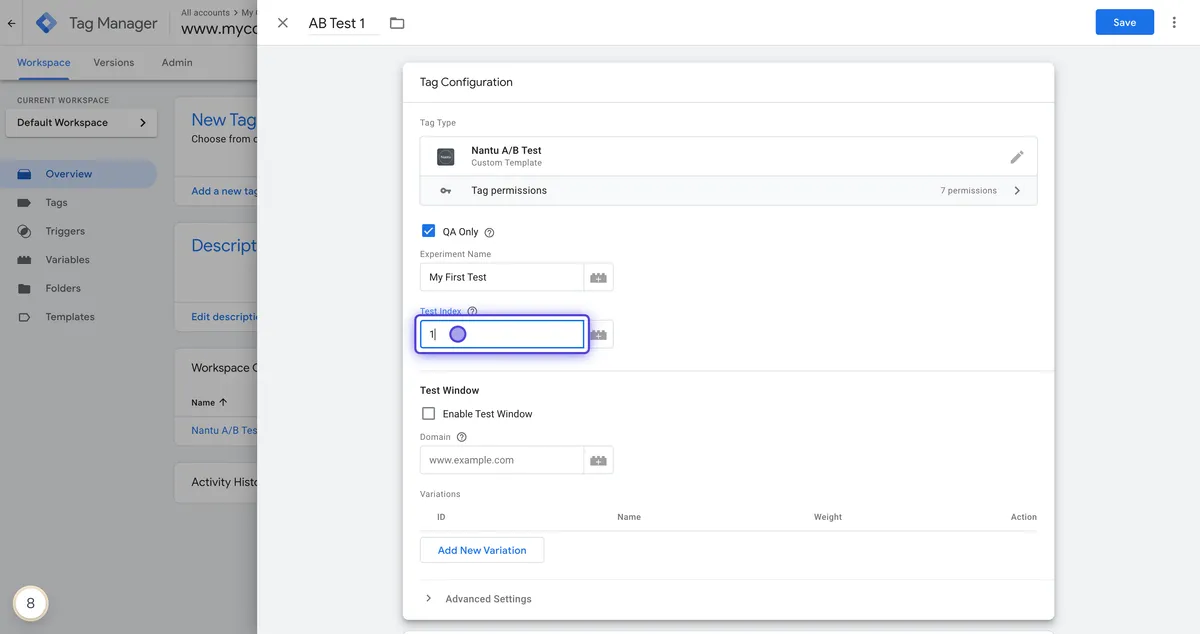
7. Enter “1” in the “Test Index” field
8. Type your domain name in the “Domain” field
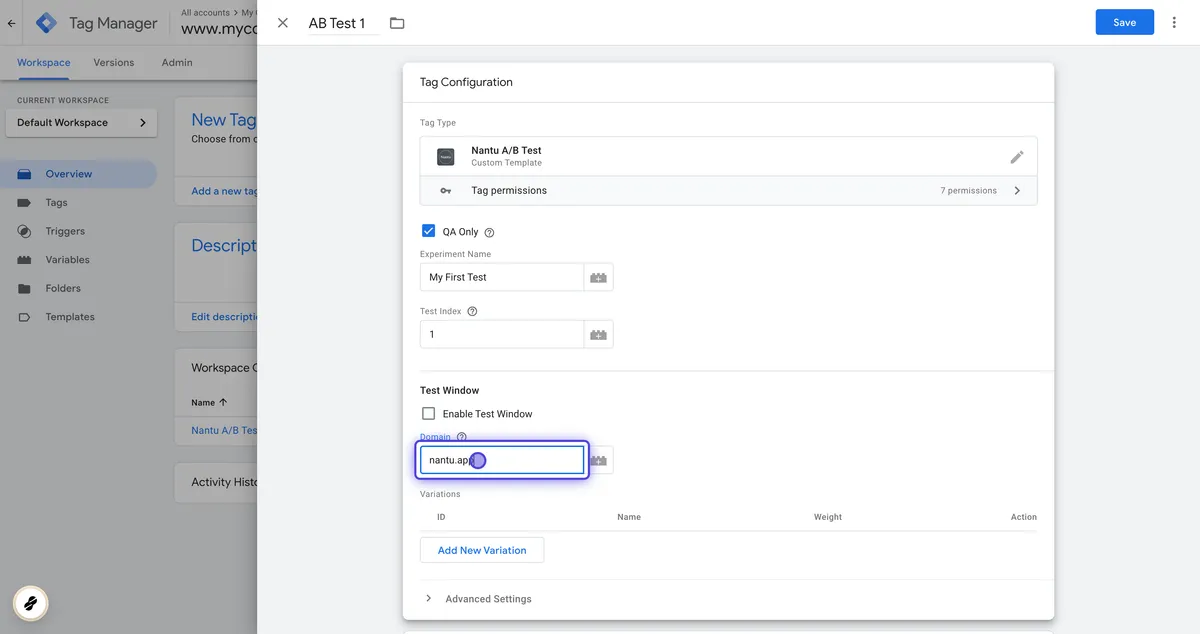
9. Click “Add New Variation” button
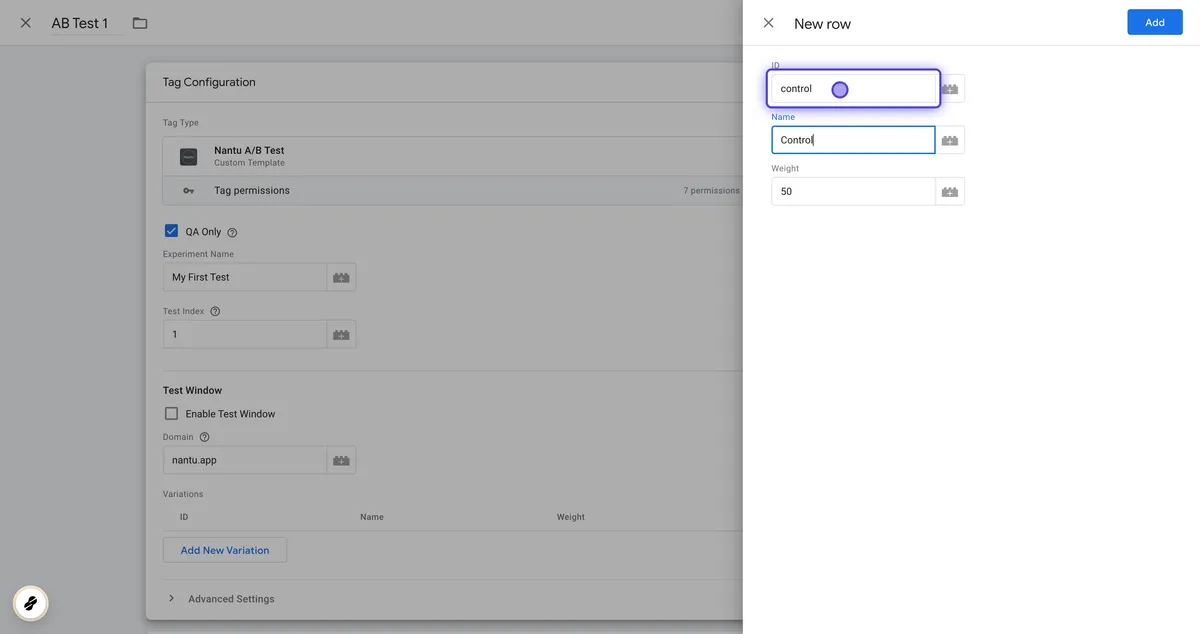
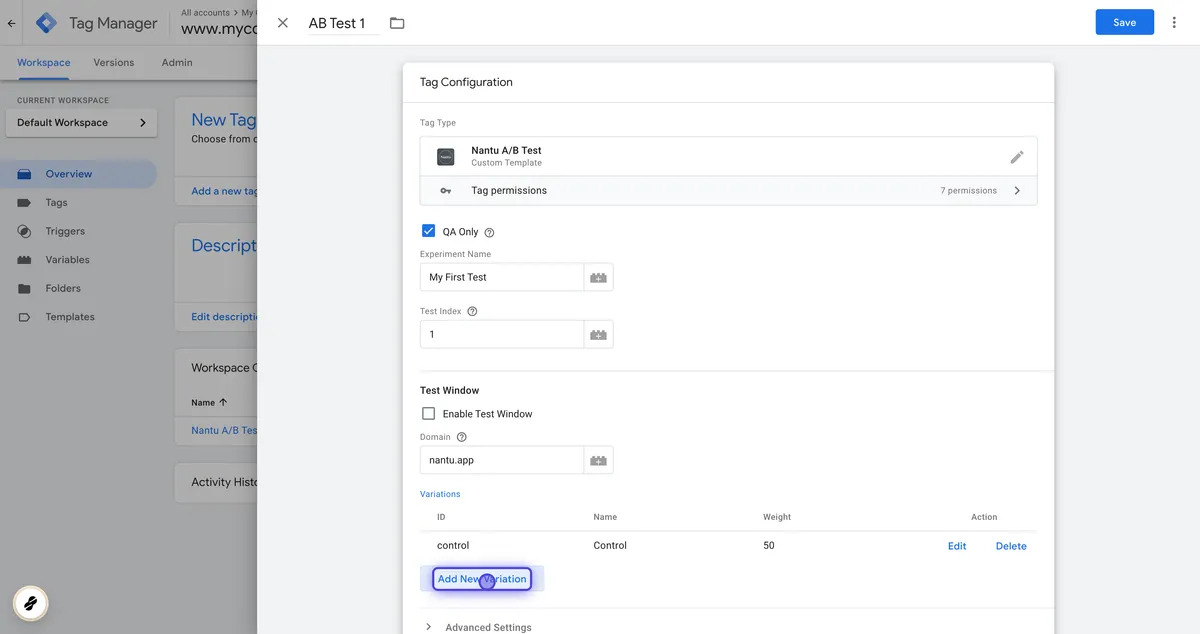
10. Enter “control” in the ID field, “Control” in the Name field, and “50” in the Weight field. Finish by clicking the “Add” button
11. Add another Variation
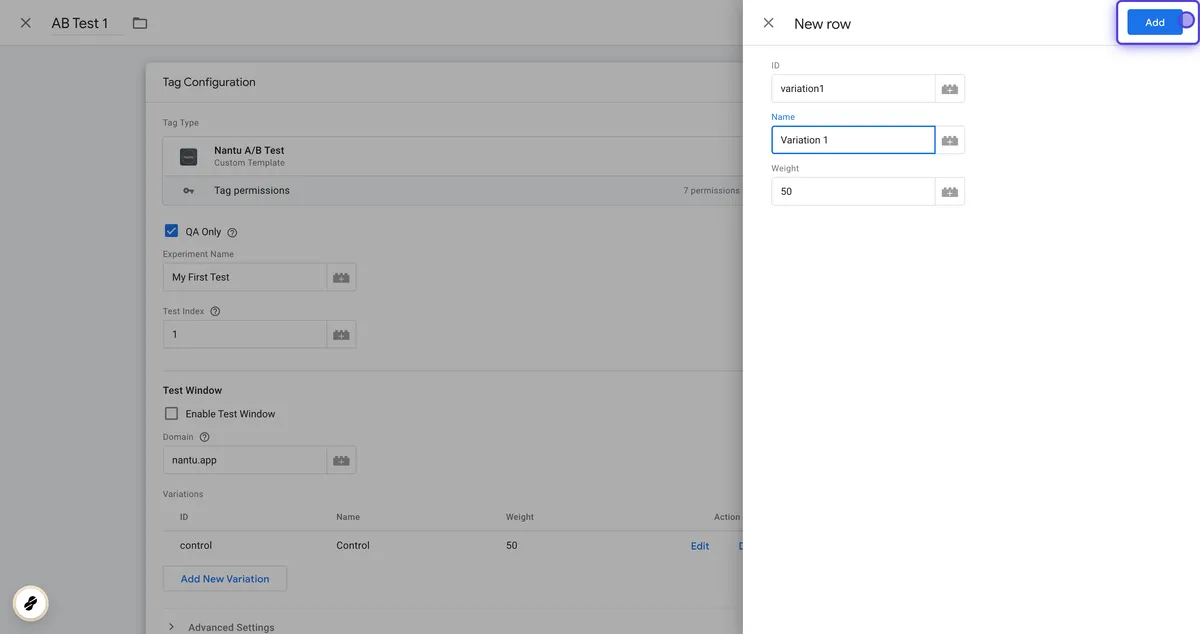
12. Enter “variation1” in the ID field, “Variation 1” in the Name field, and “50” in the Weight field. Add the new variation
13. Click on Triggering
14. Select “All Pages” from the trigger list
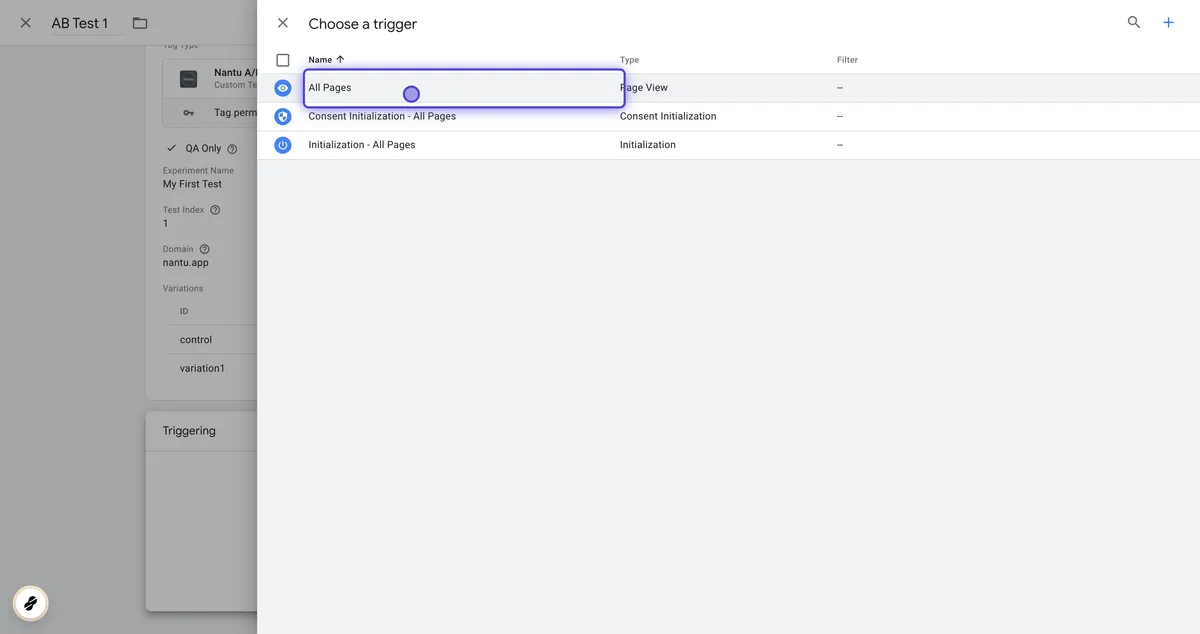
15. Save the trigger
Step 2: Setup Variation Tag #
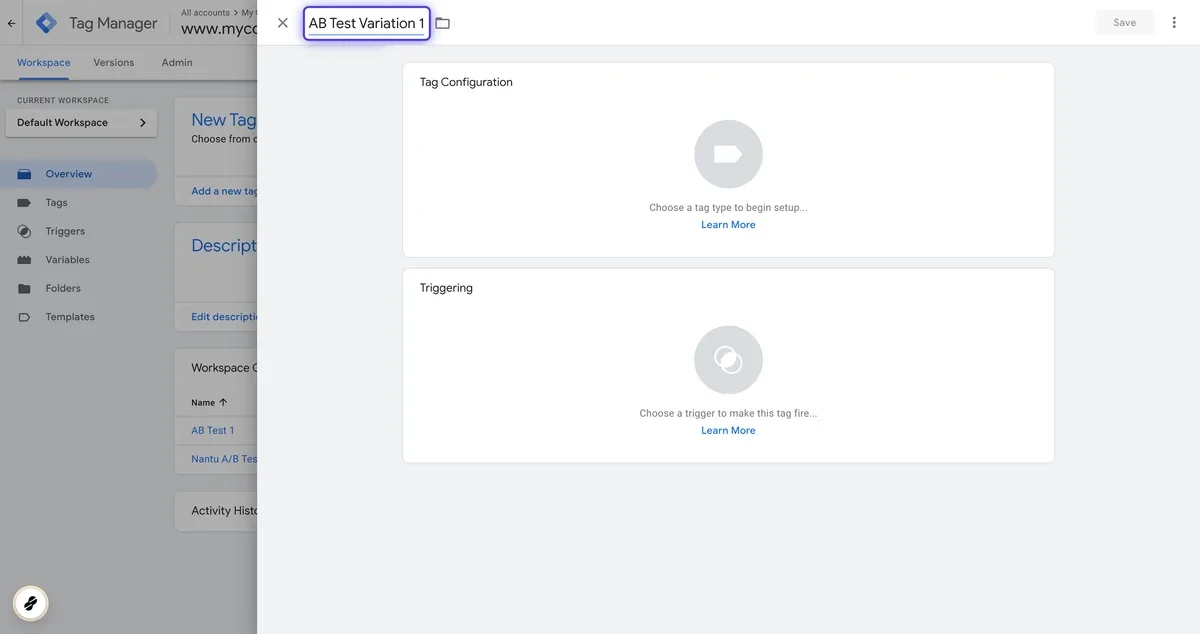
1. Add a new Tag
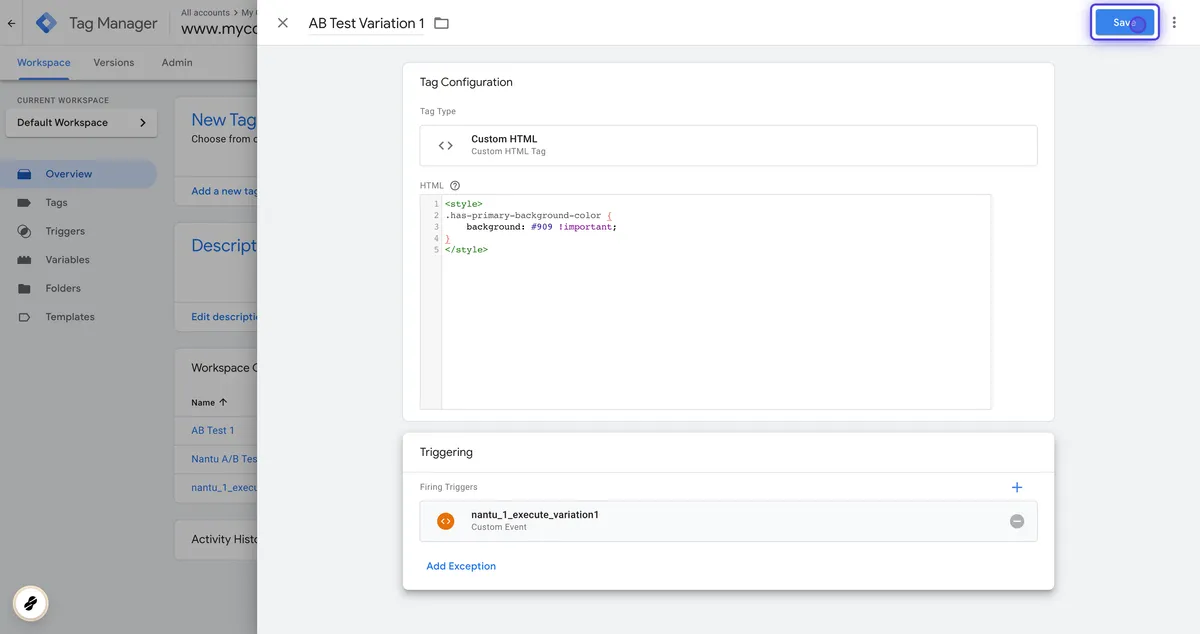
2. Name it “AB Test Variation 1“
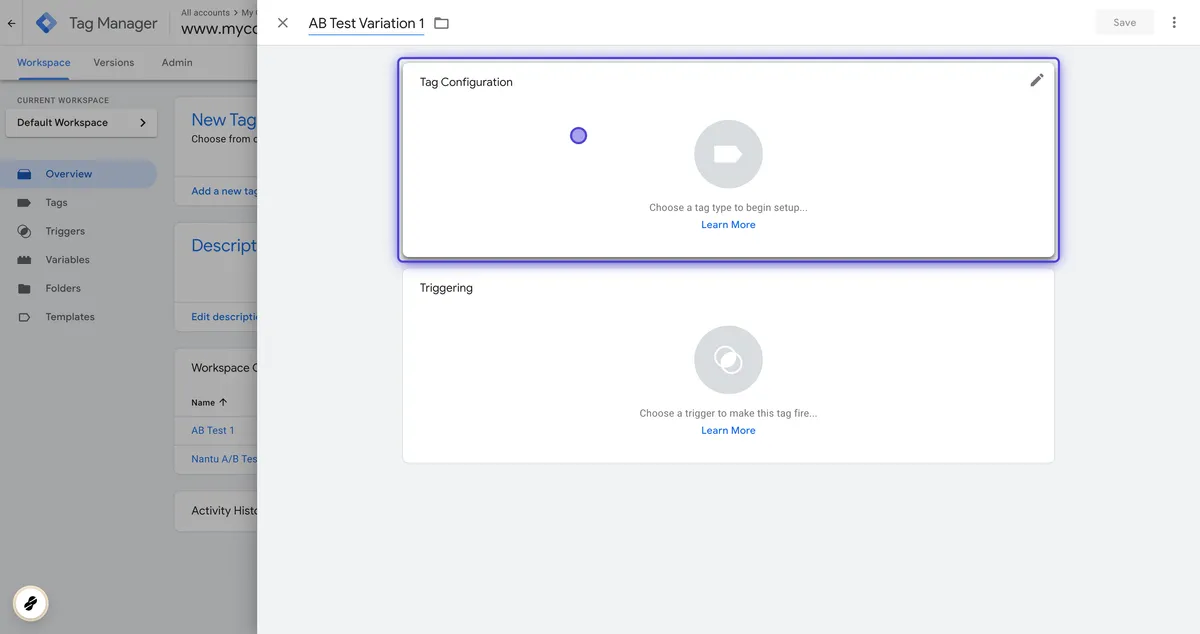
3. Edit Tag Configuration
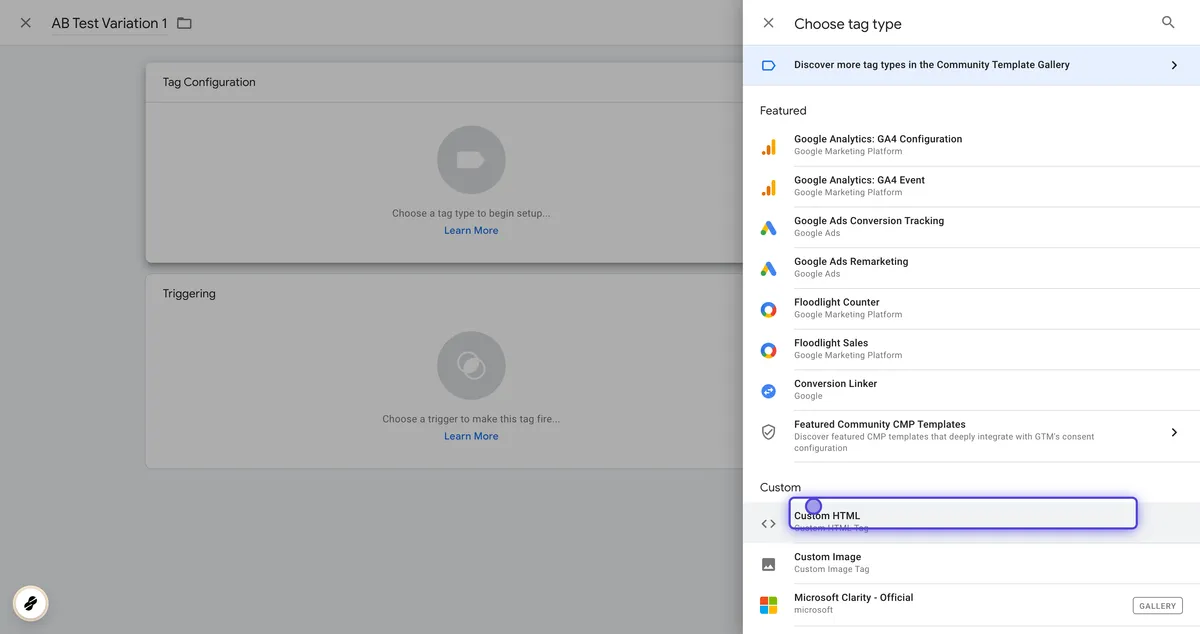
4. Select “Custom HTML” from the tag types list
5. Enter the following code in the HTML field. It will change the color of all paragraphs
<style>
p {
    color: #909 !important;
}
</style>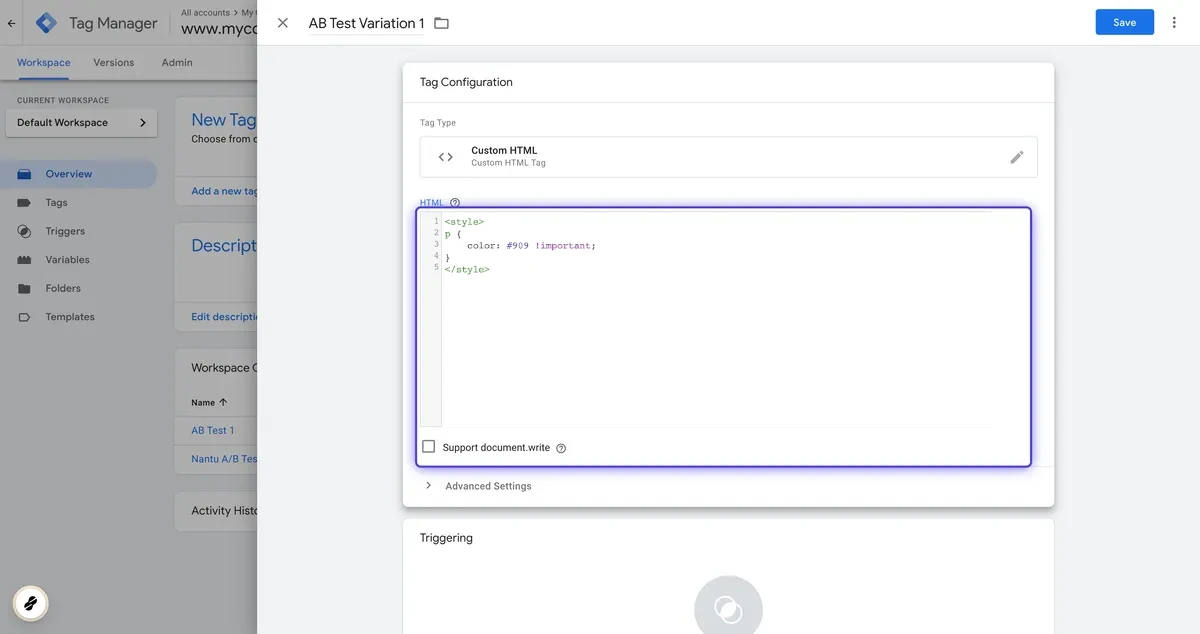
6. Edit the Triggering

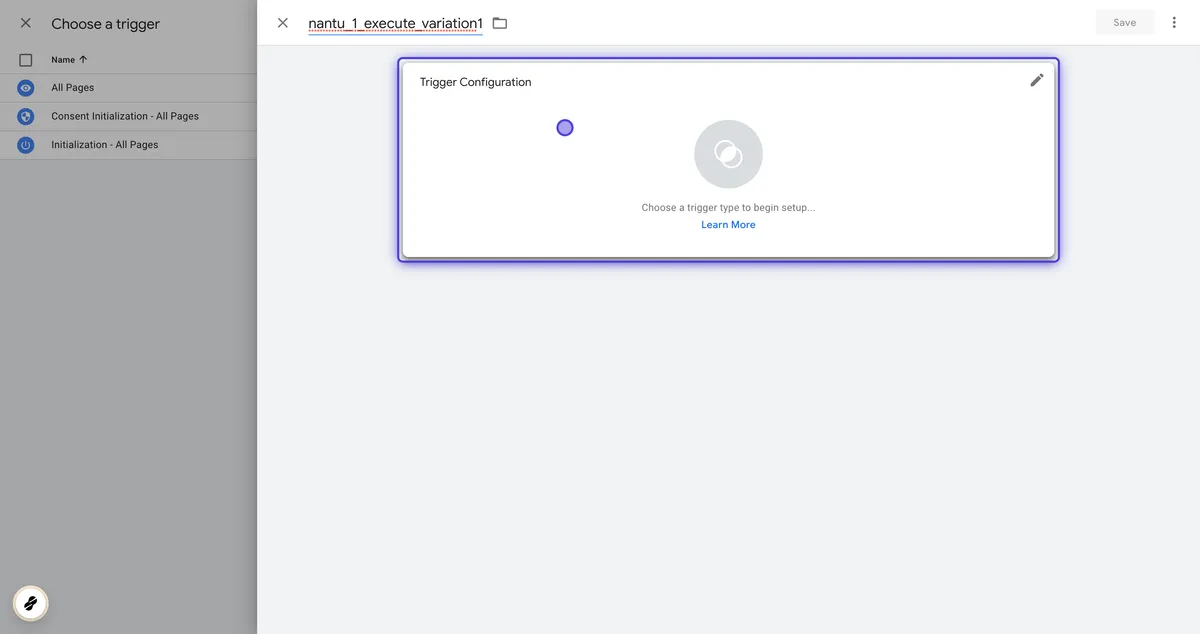
7. Name the trigger “nantu_1_execute_variation1“
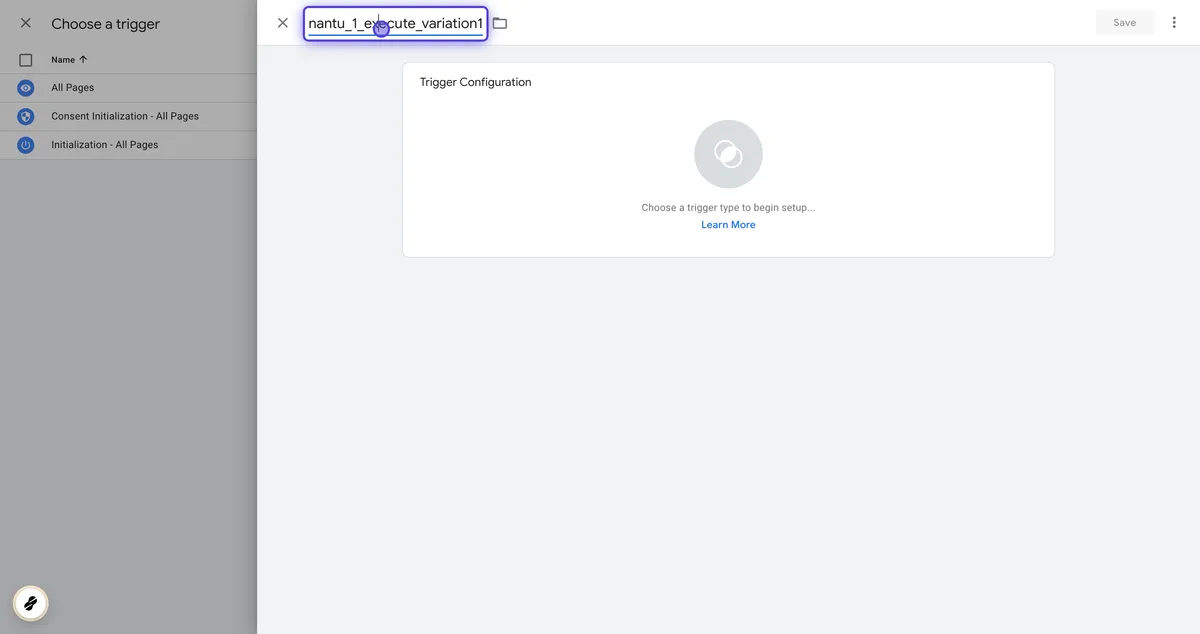
8. Edit the Trigger Configuration
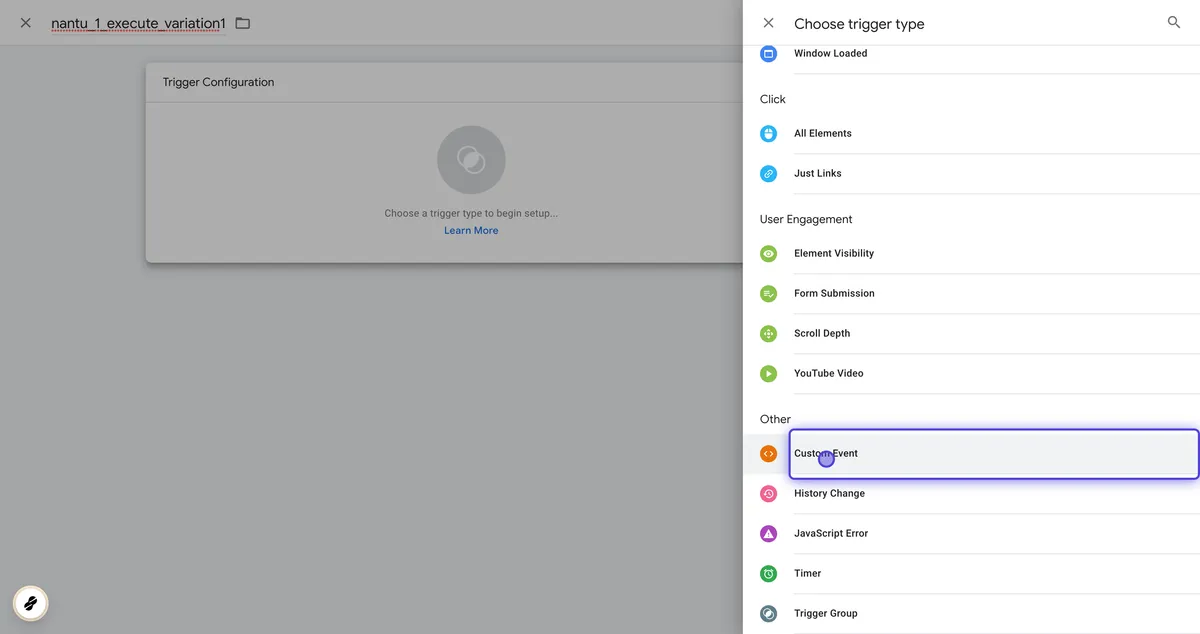
9. Select “Custom Event” from the list
10. Enter “nantu_1_execute_variation1” in the event name
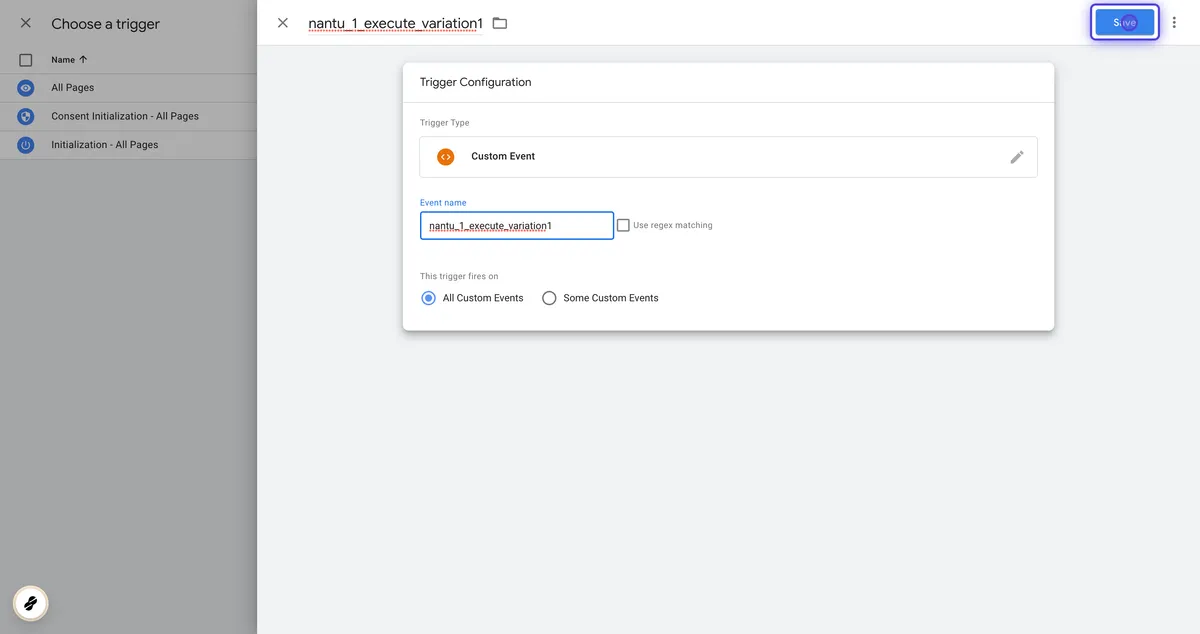
11. Save the Trigger
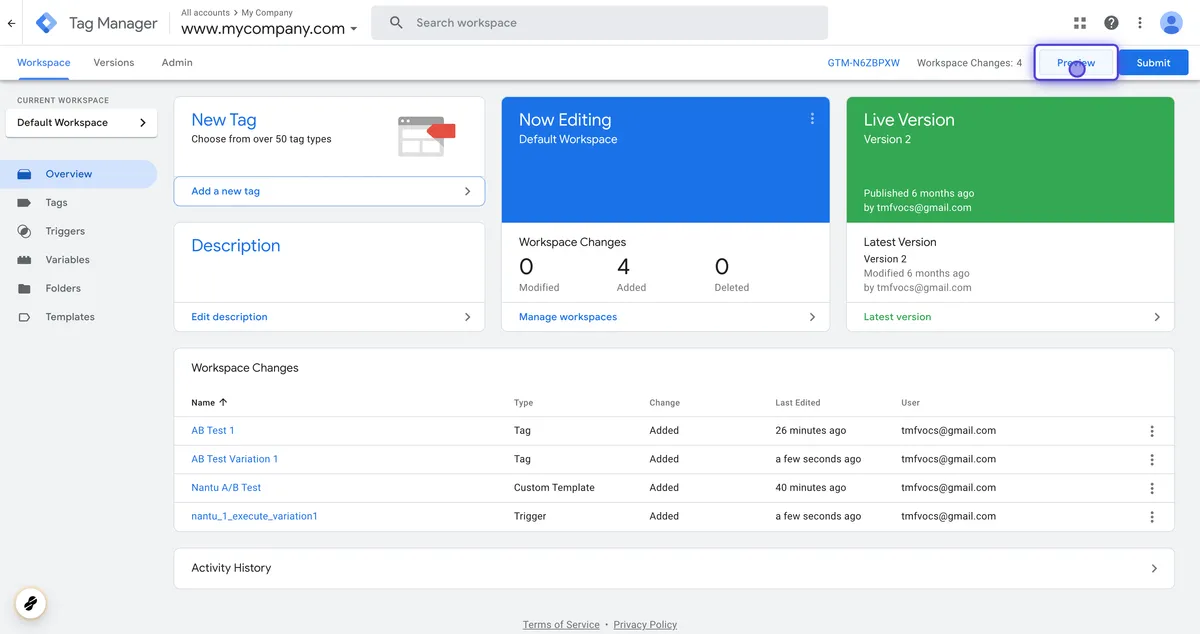
12. Click the Preview button
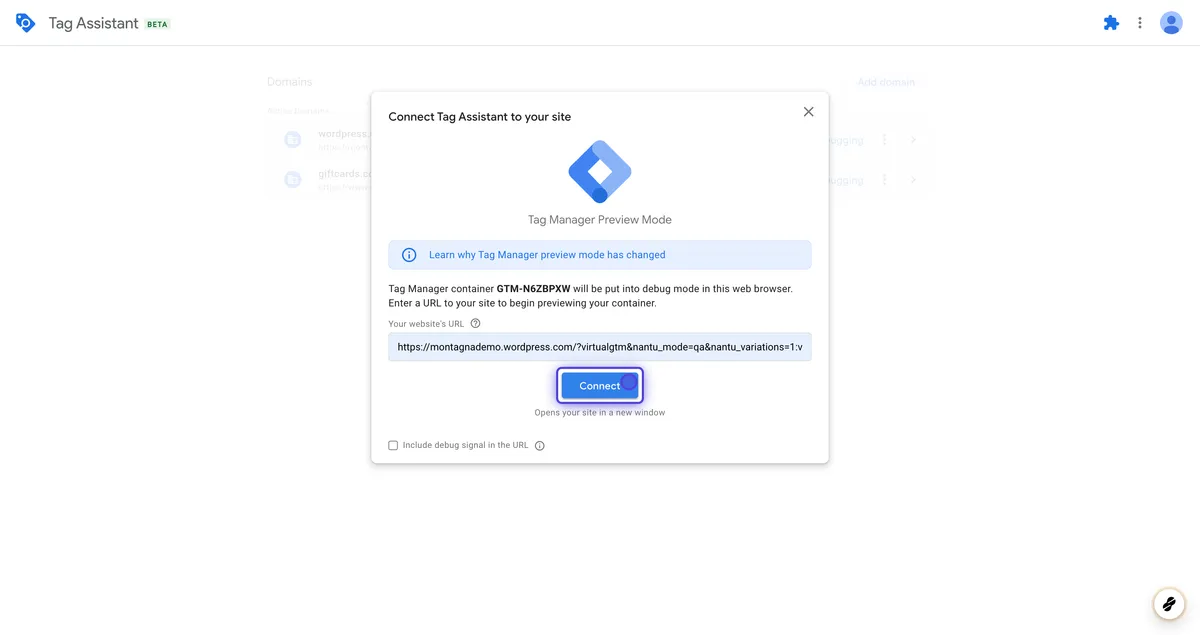
13. Enter the URL of your site and add the query variable “nantu_mode=qa&nantu_variations=1:v1“

14. Click Connect button
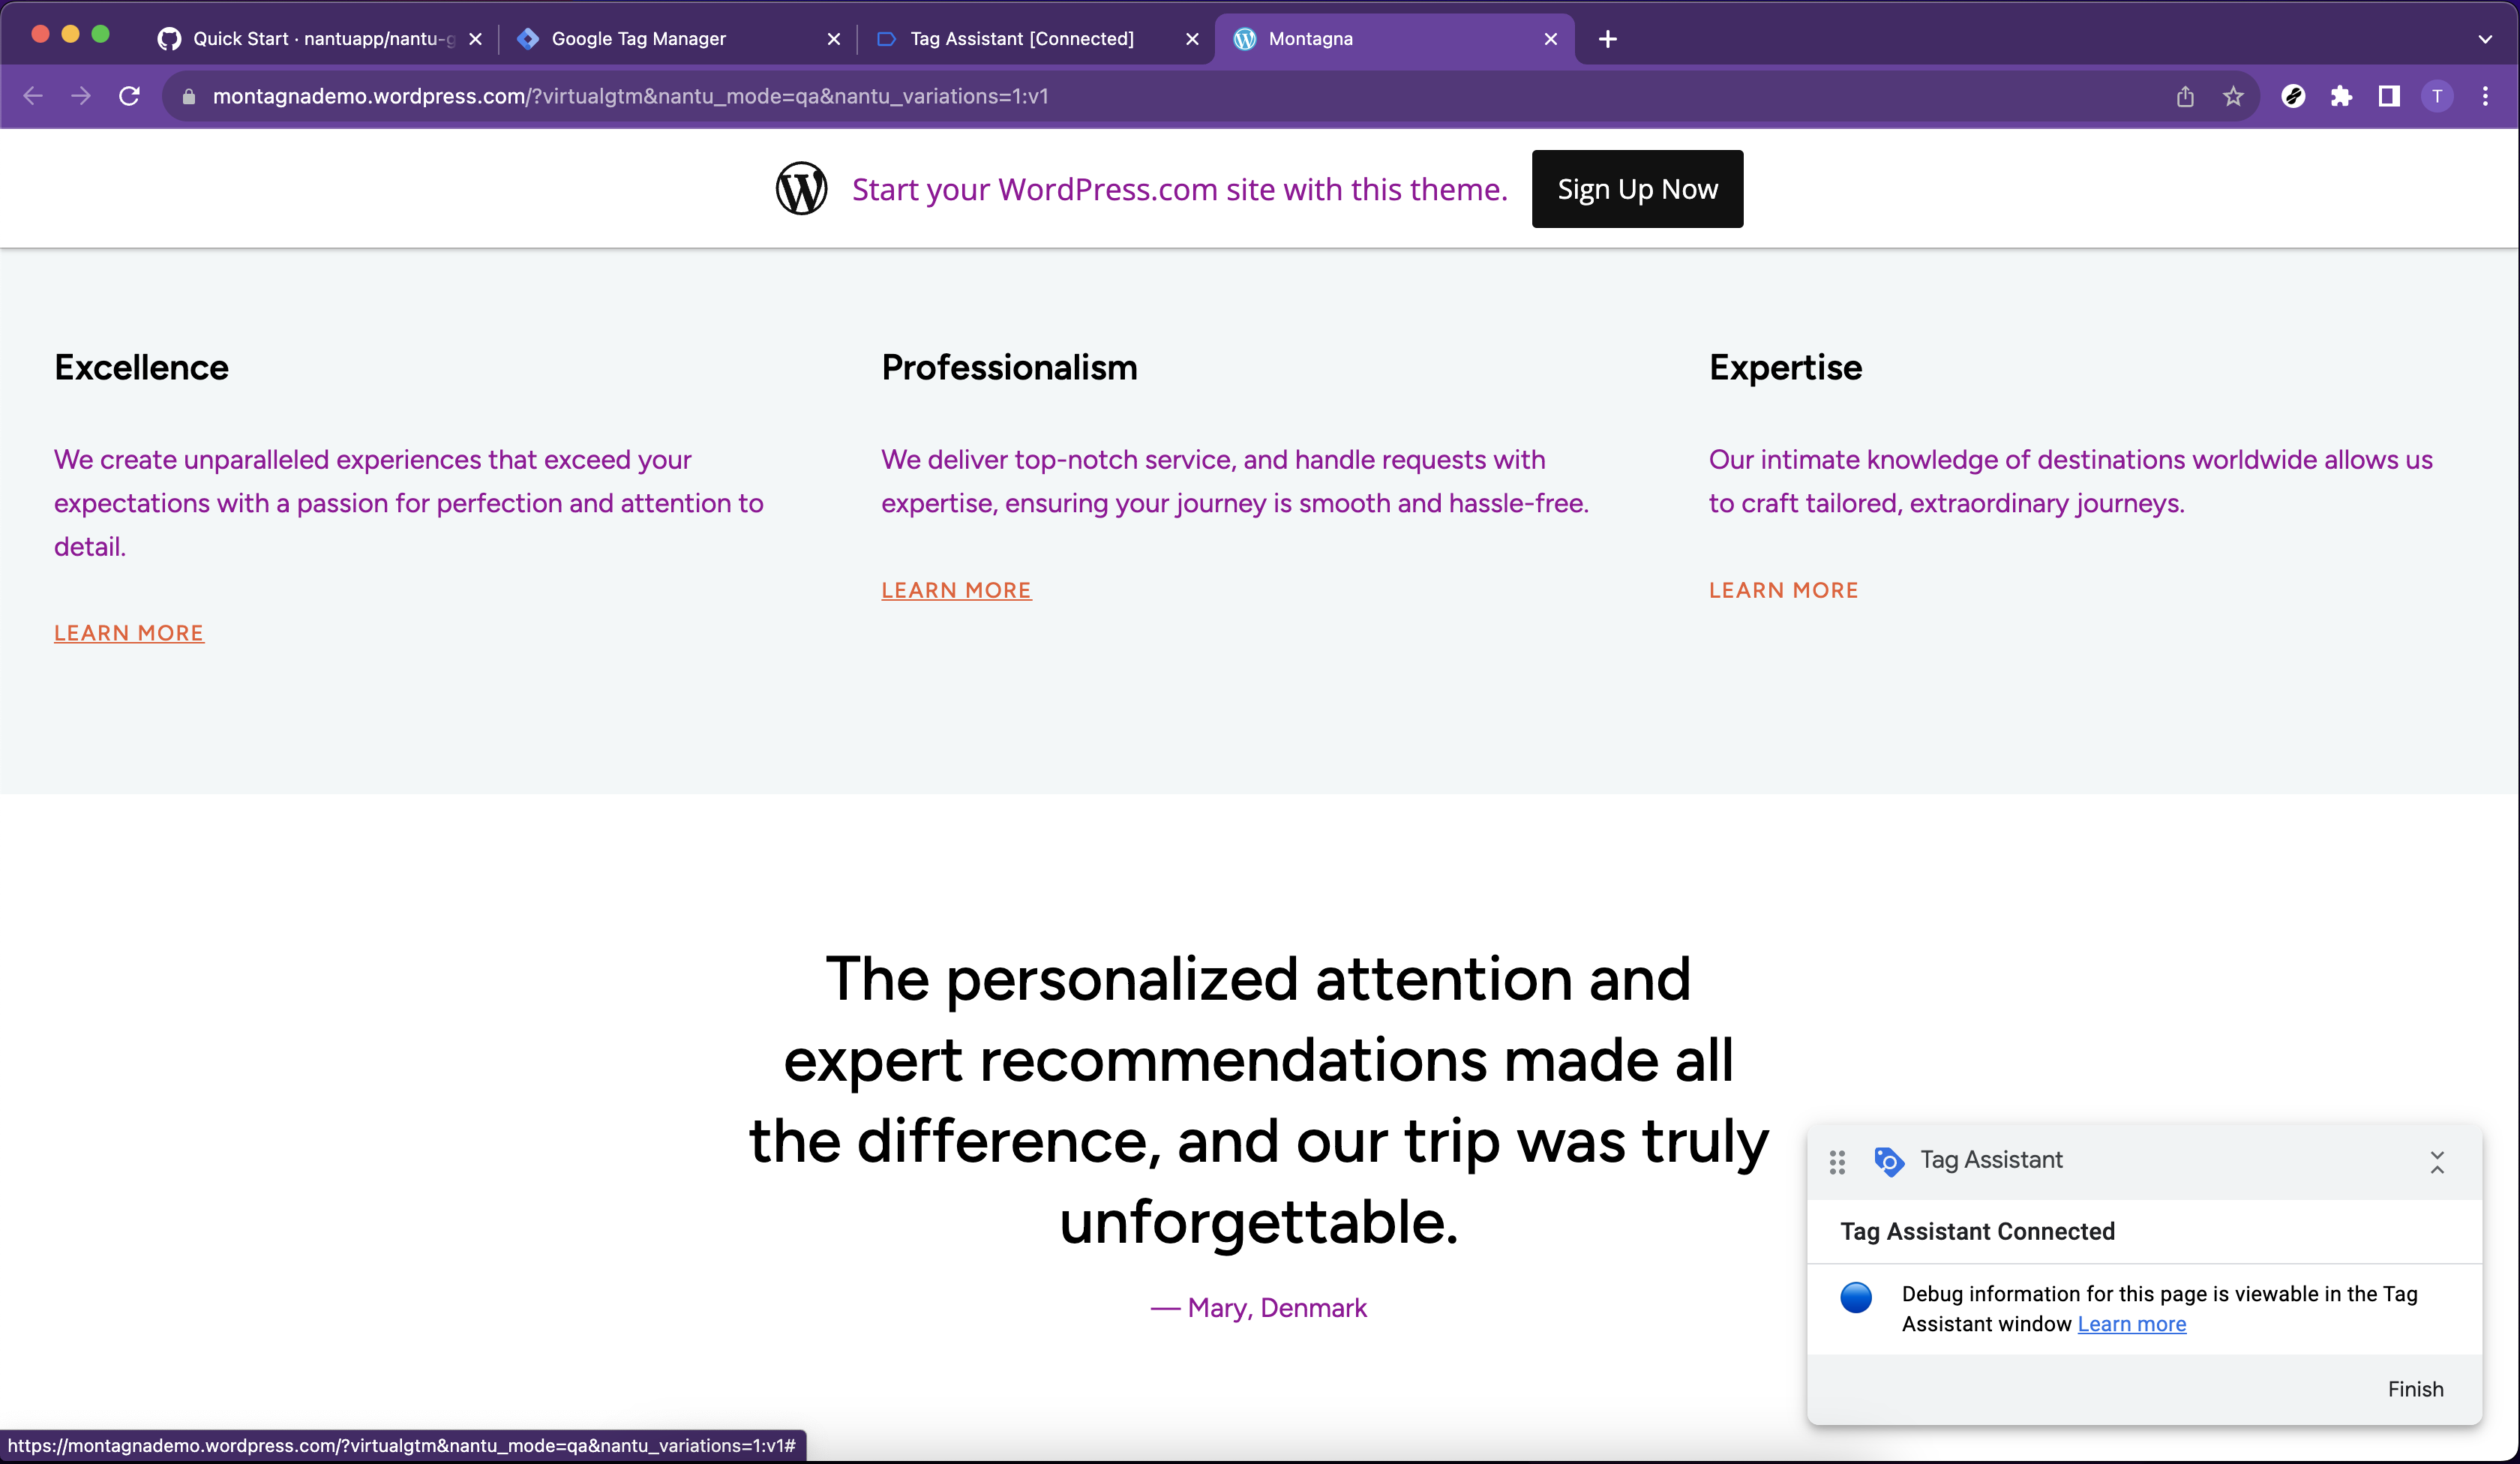
15. See the changes applied to your site
Step 3: Setup Tracking #
Ensure you collect the data of each variation in your Analytics software. If you use Google Analytics, you can follow the provided guide.
Step 4: Publish the Changes #
1. Edit the tag “AB Test 1“
2. Uncheck the “QA Only” option
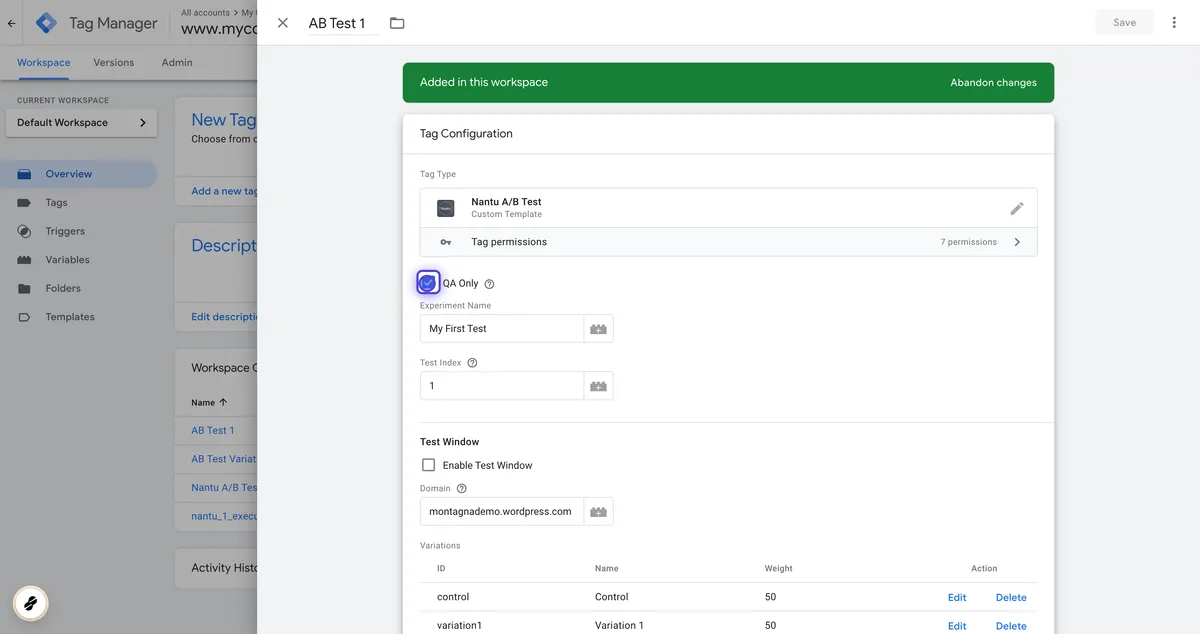
3. Save the tag
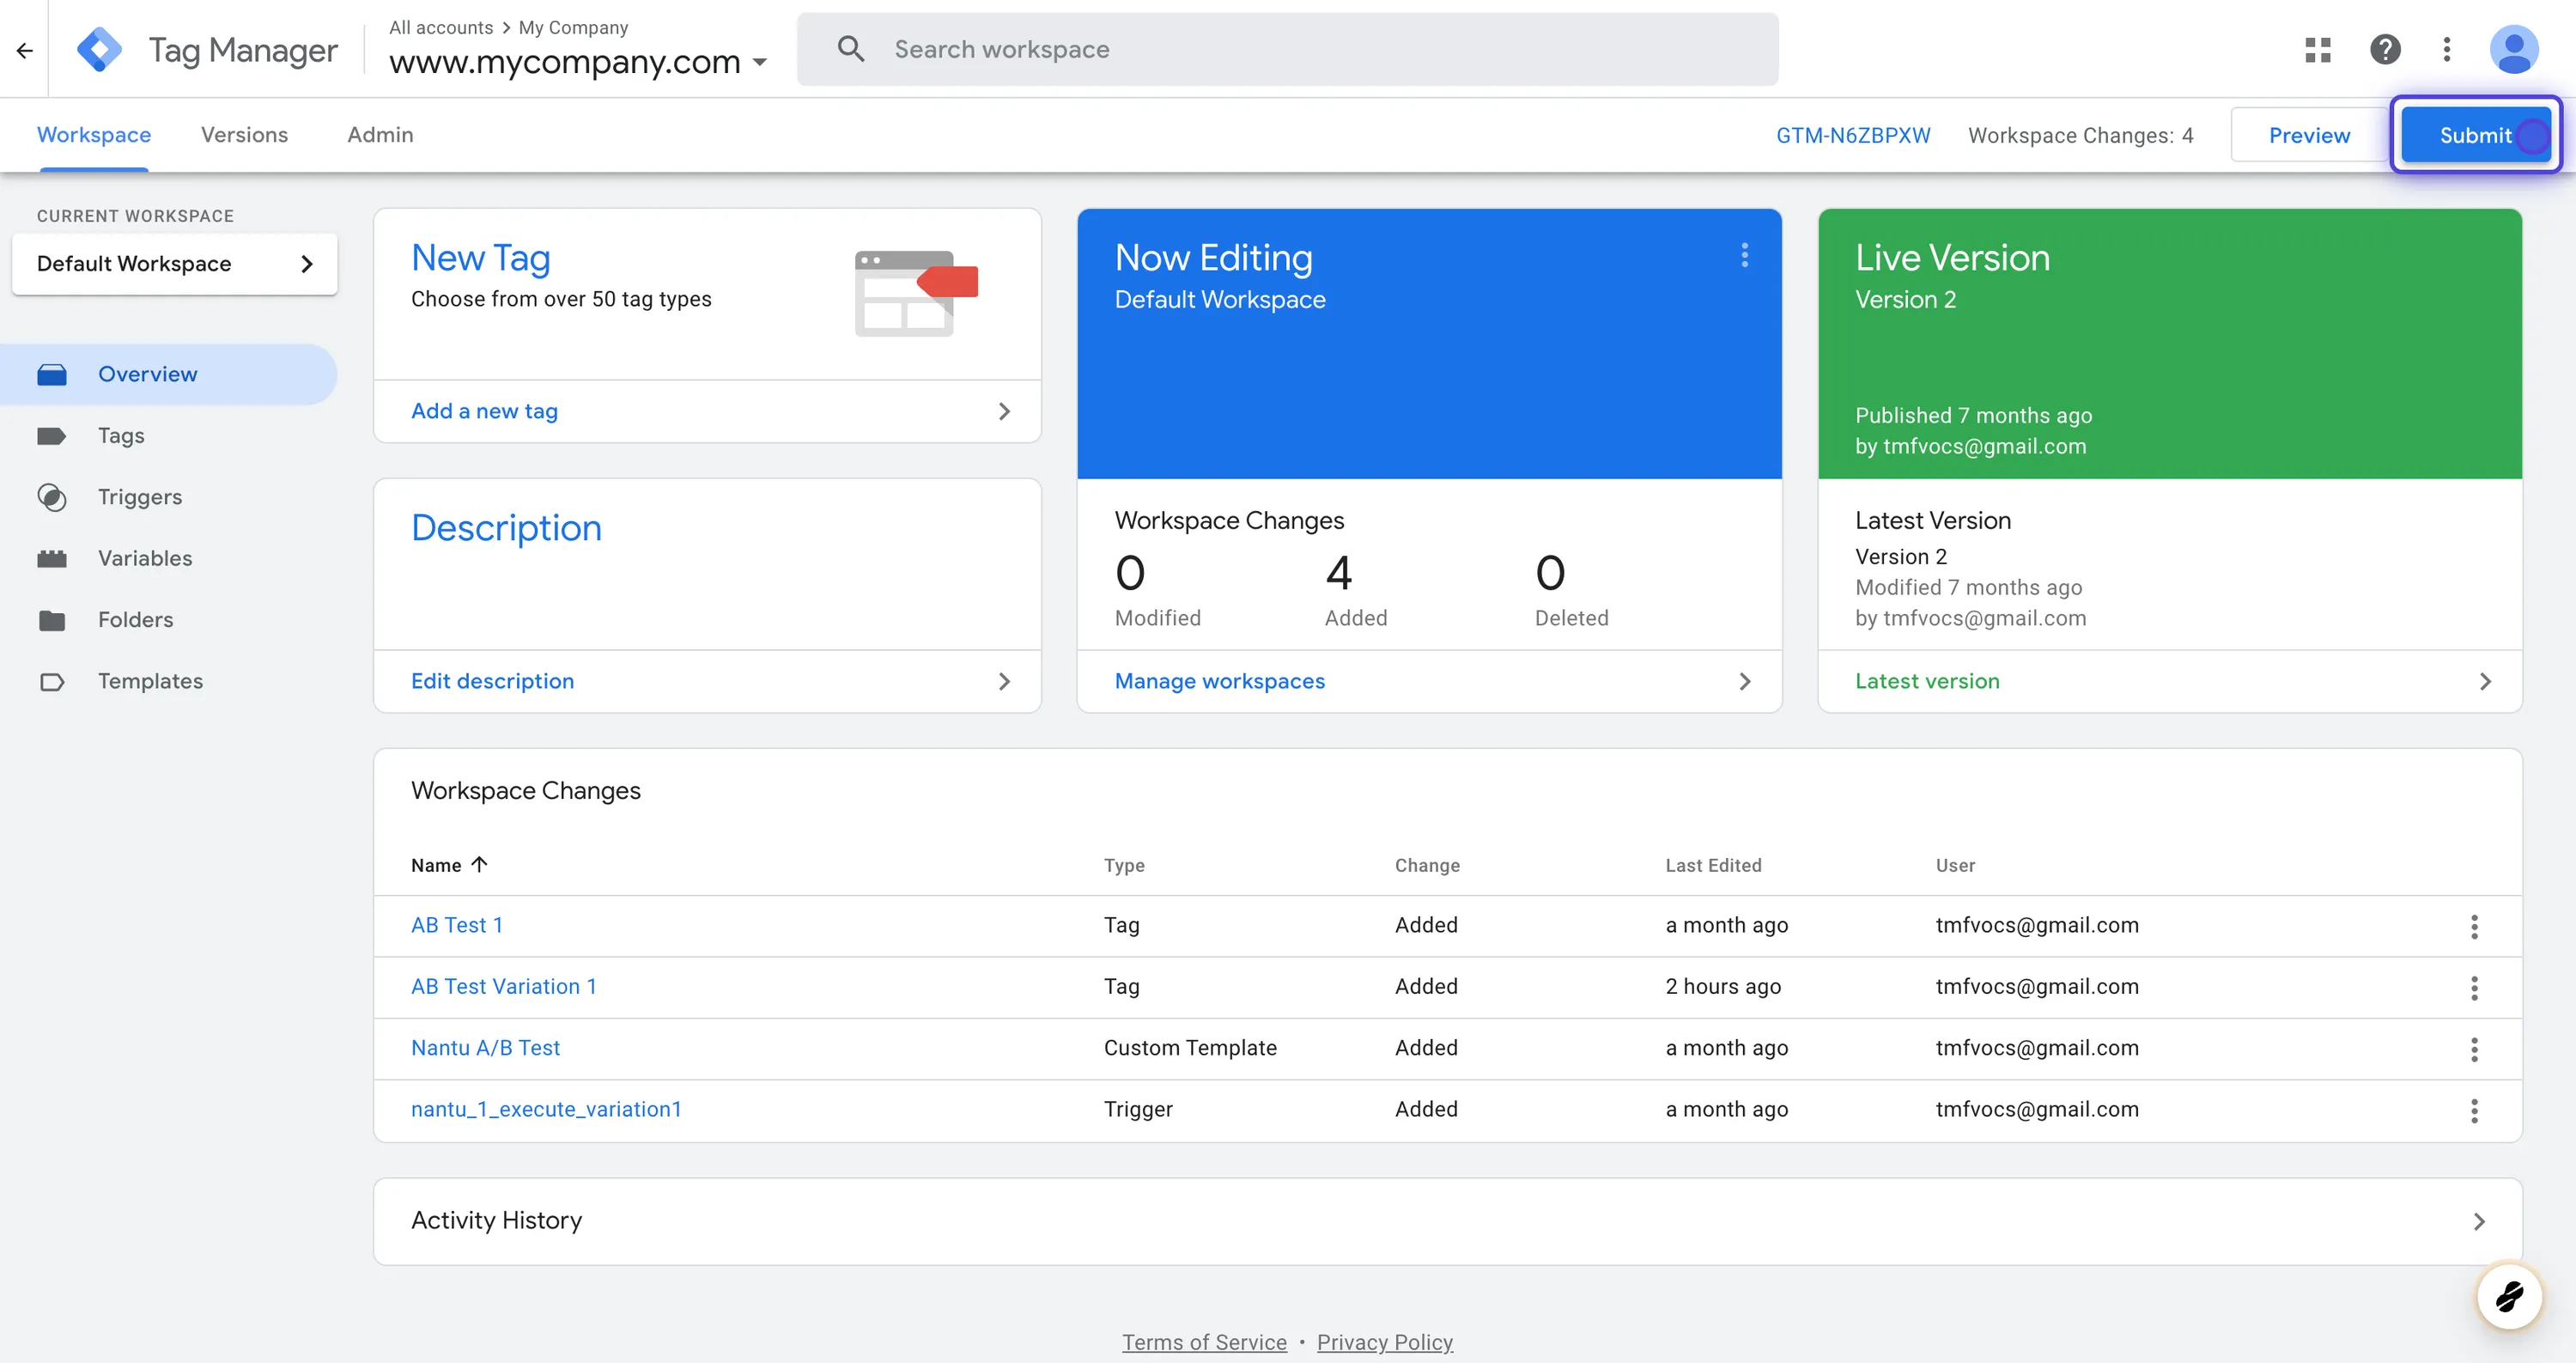
4. Click the Submit Button
5. Enter “Launch Nantu Test 1” in the “Version Name” and click Publish
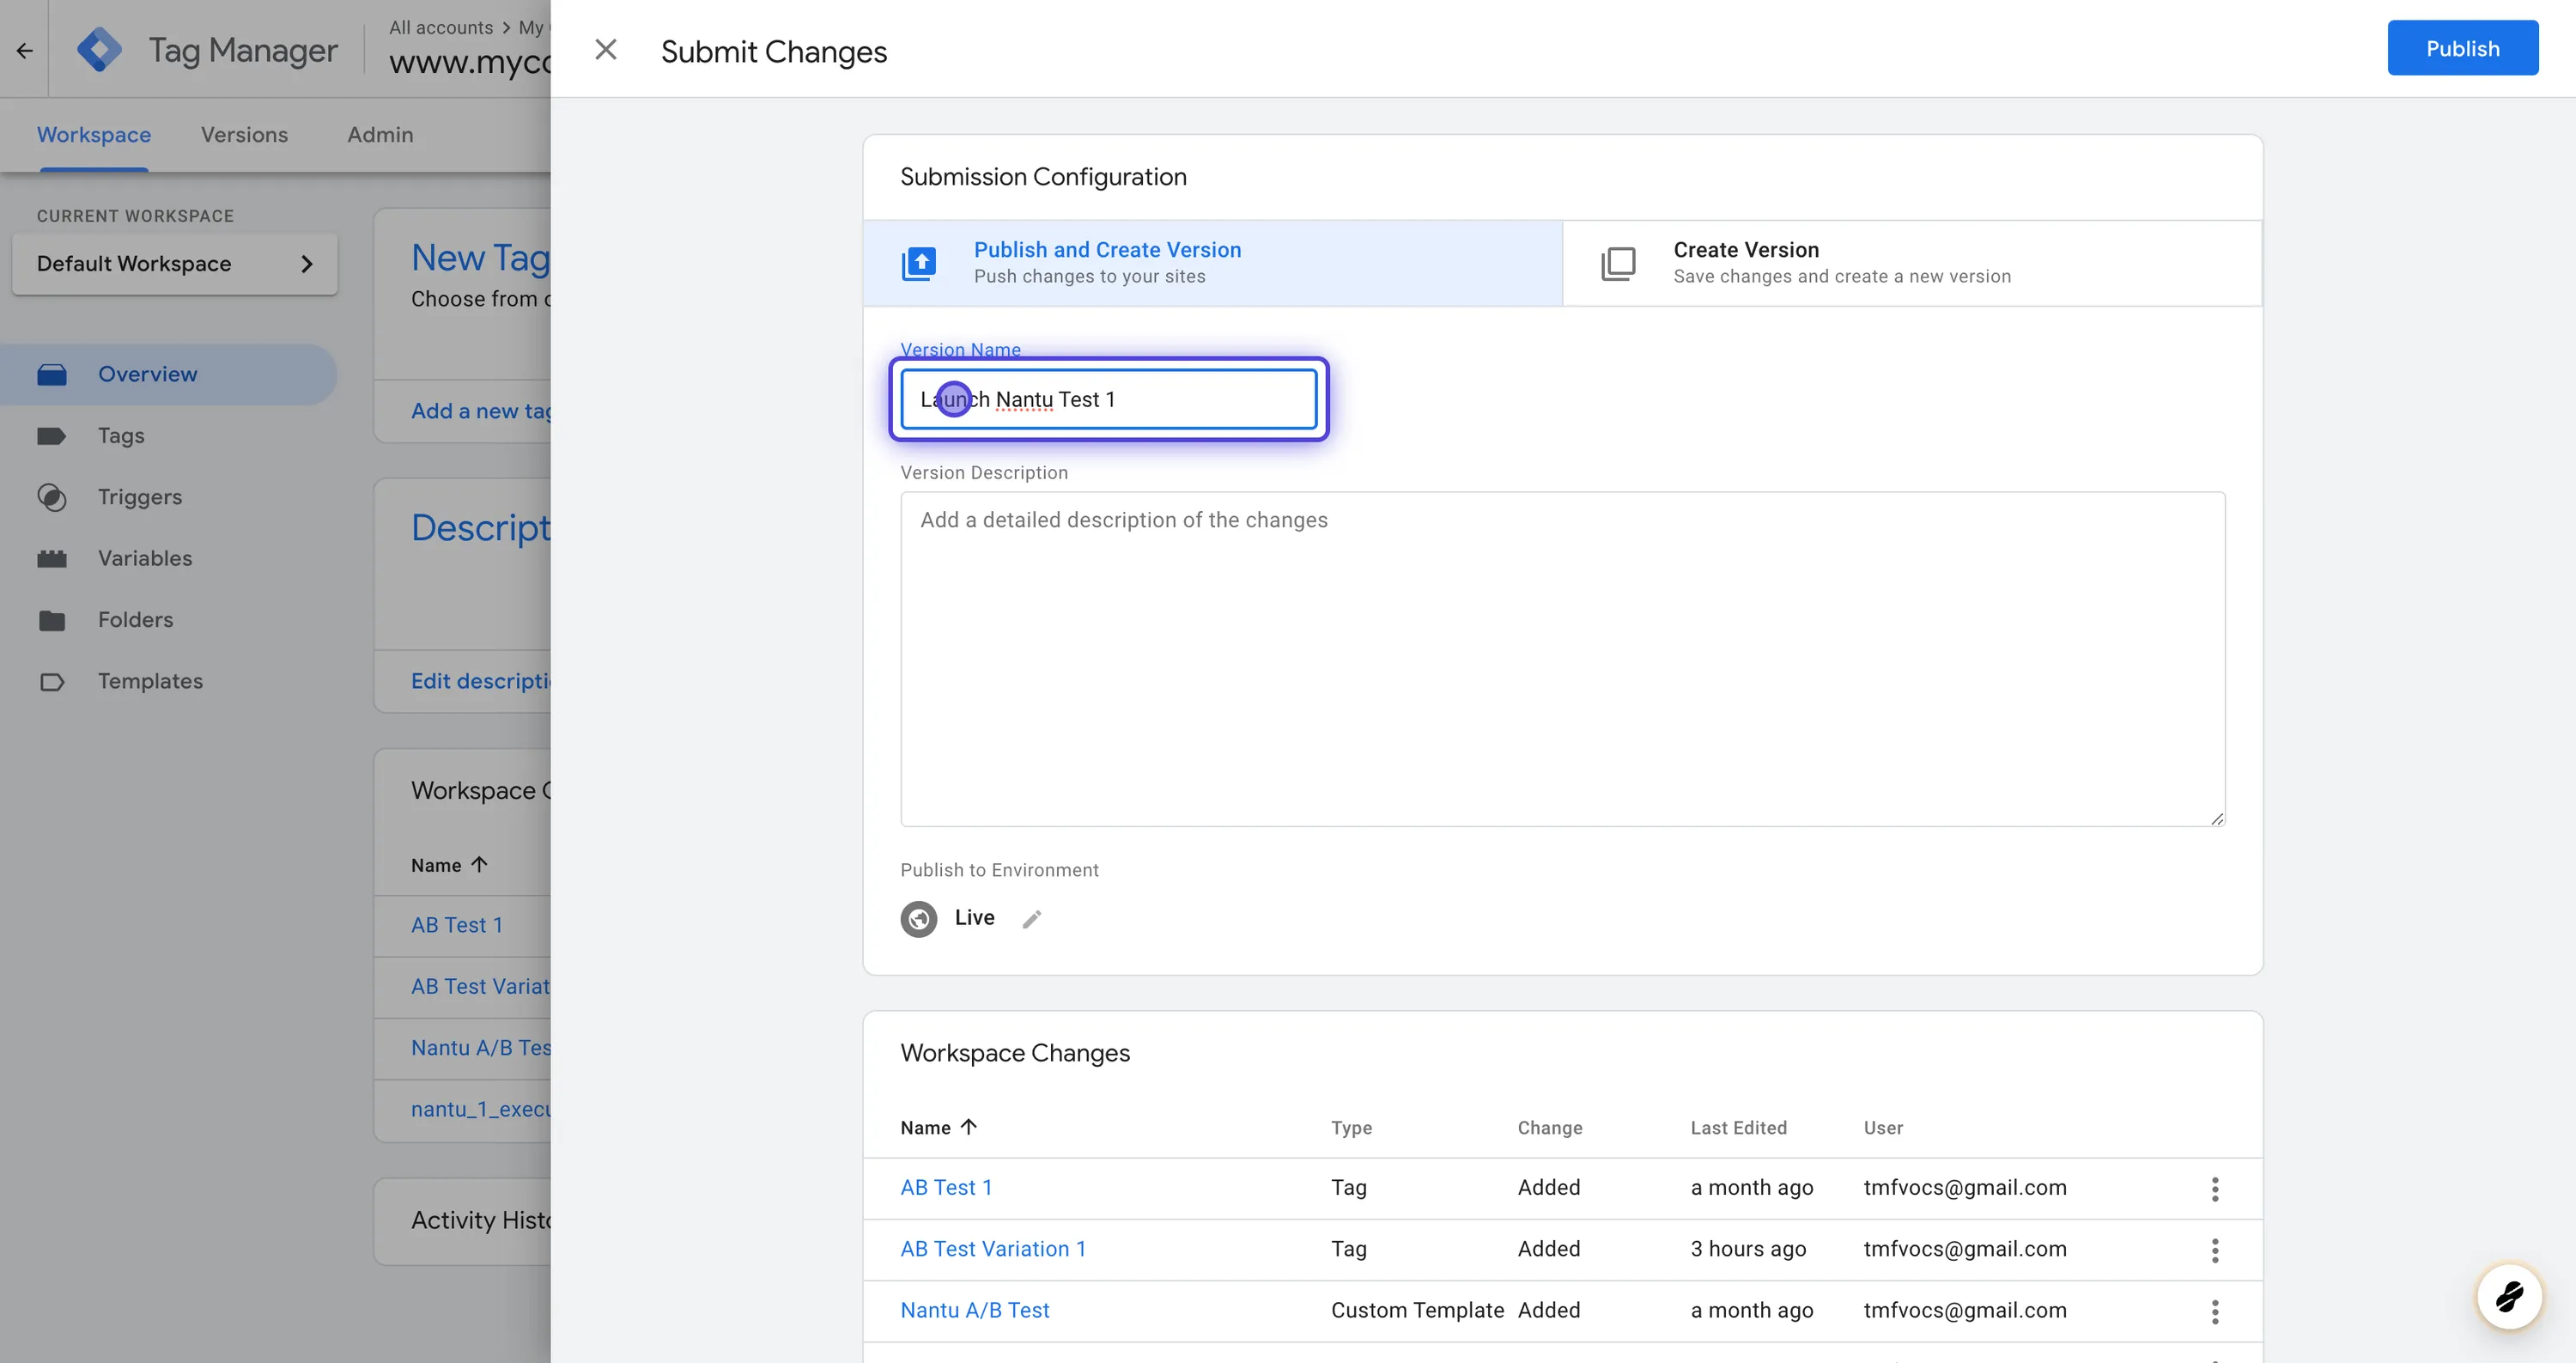
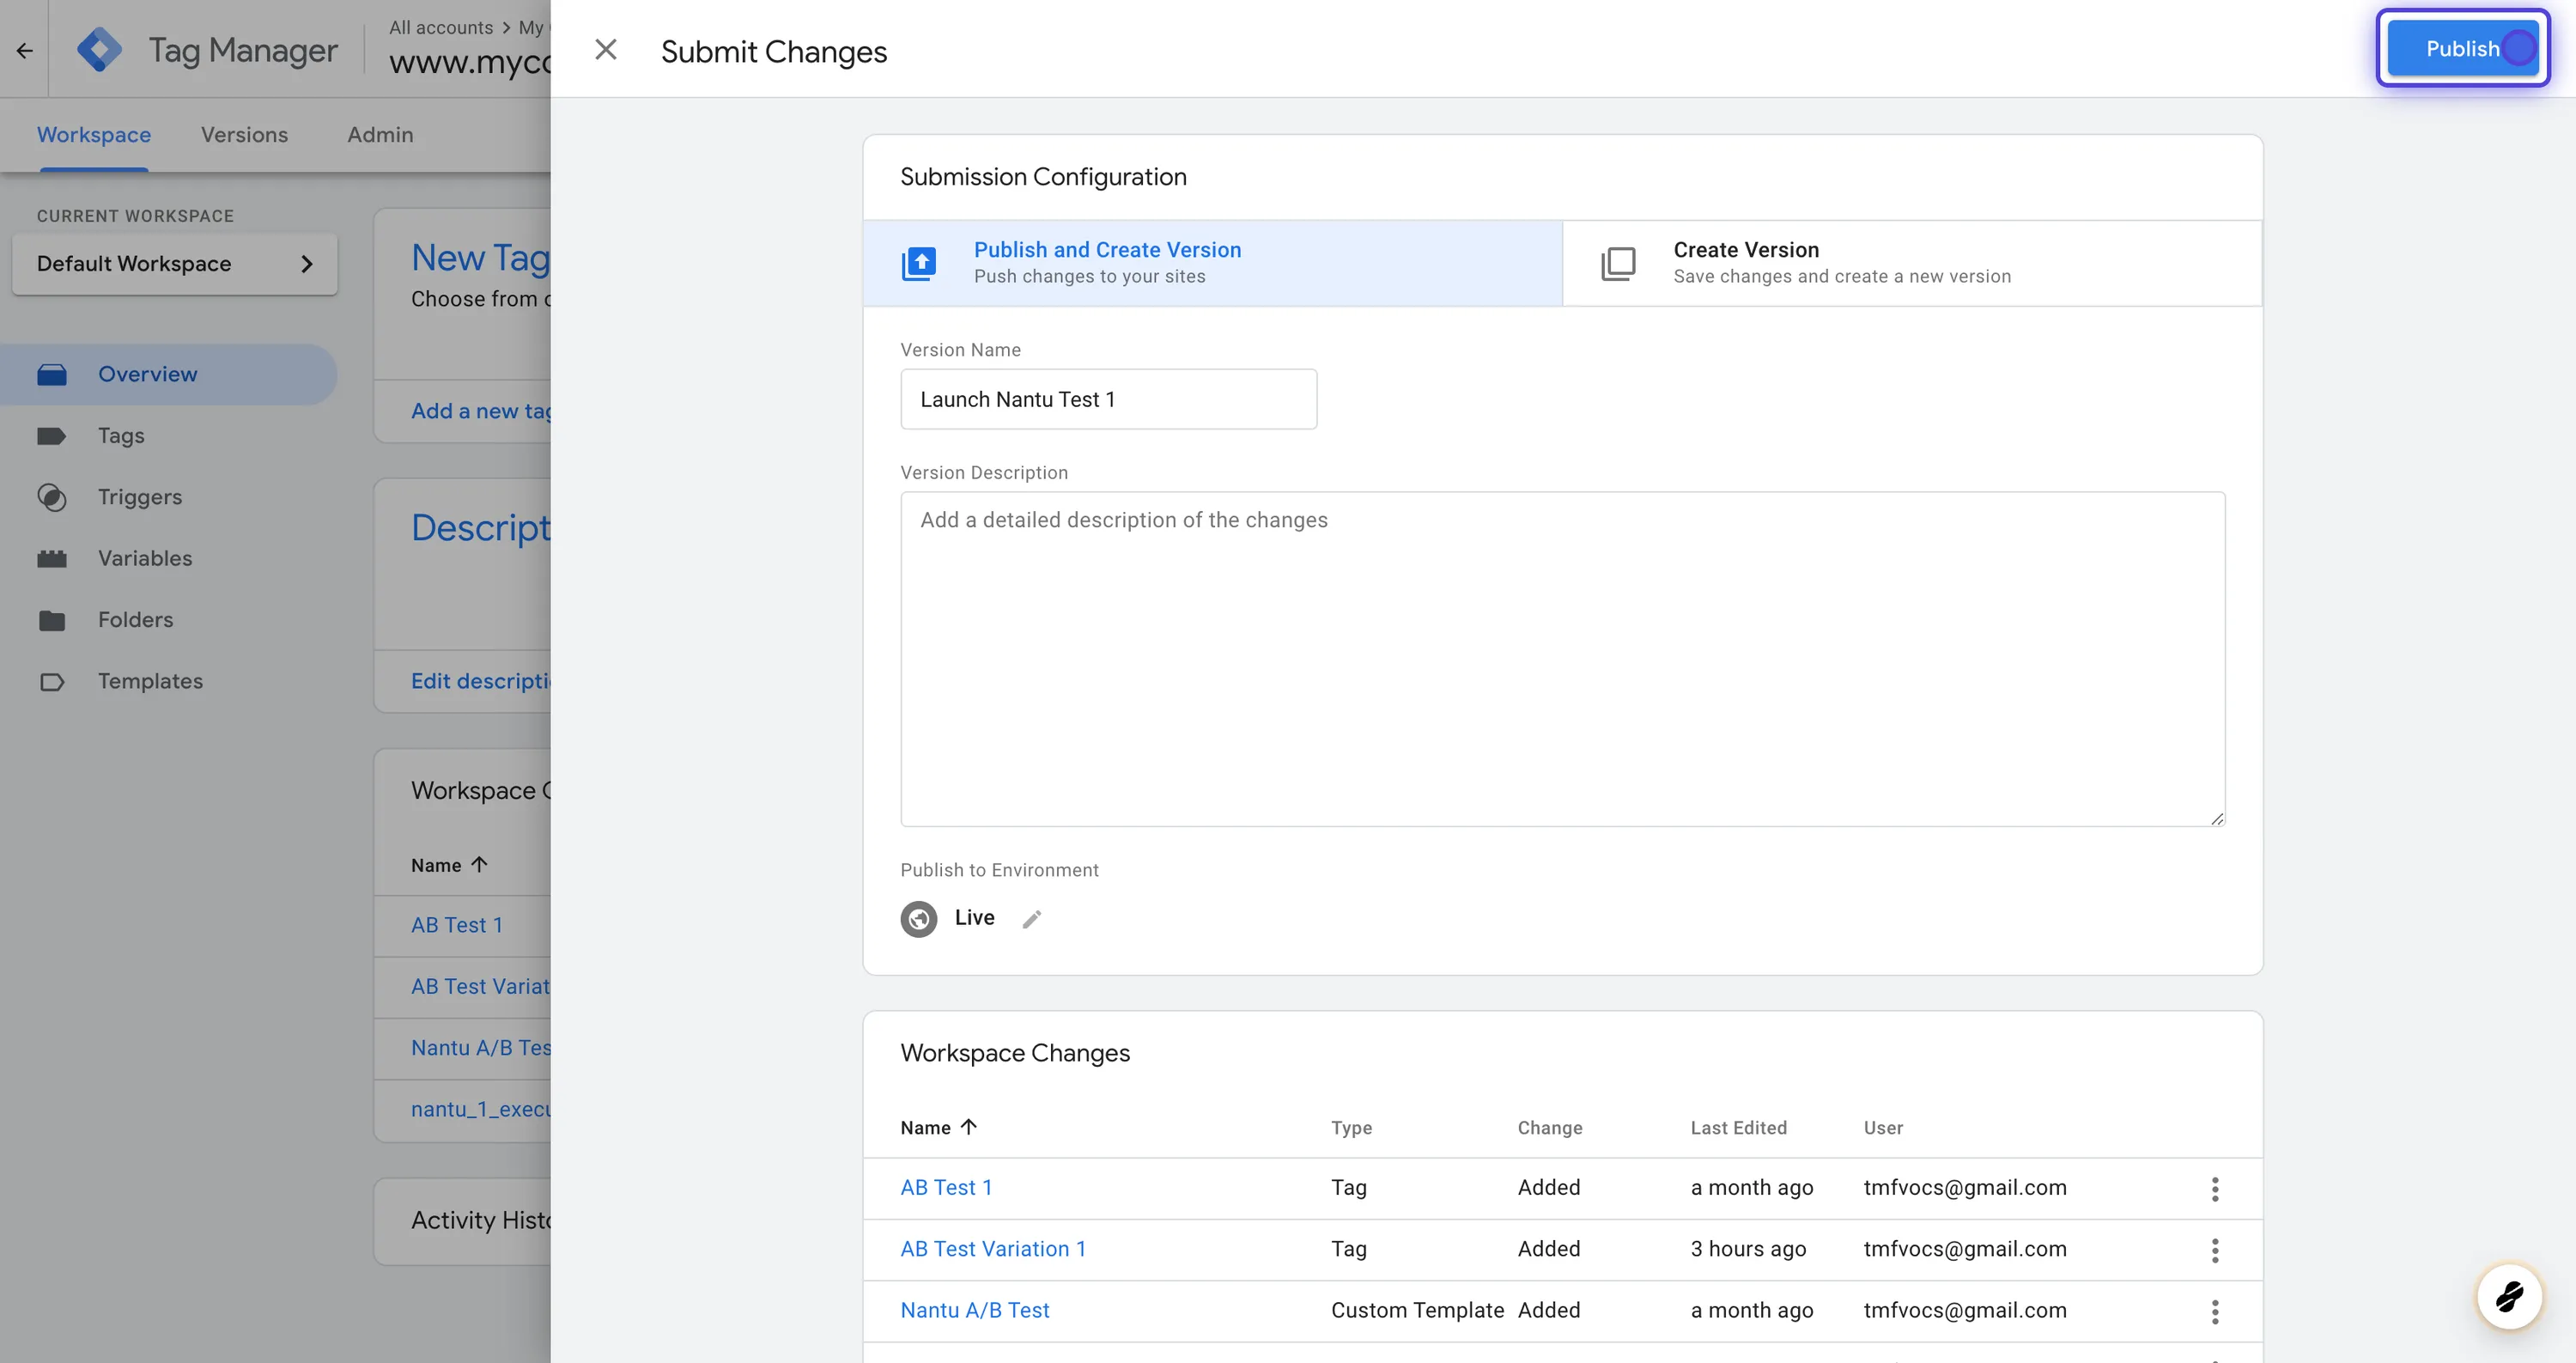
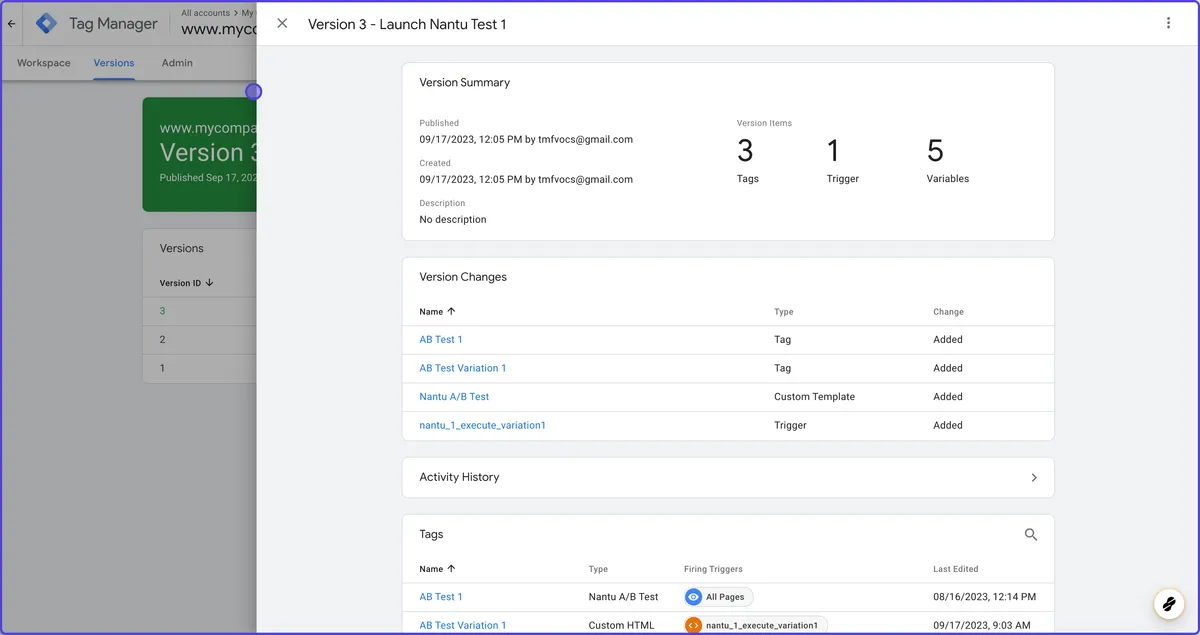
Congratulations! Your first A/B test is now live, and you can start collecting data. Remember to analyze the results and make data-driven decisions based on the outcomes of your test


